Harvesting & Freezing Lemongrass

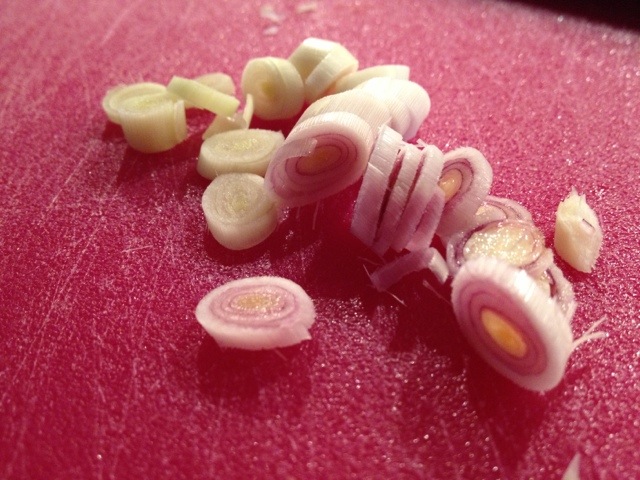
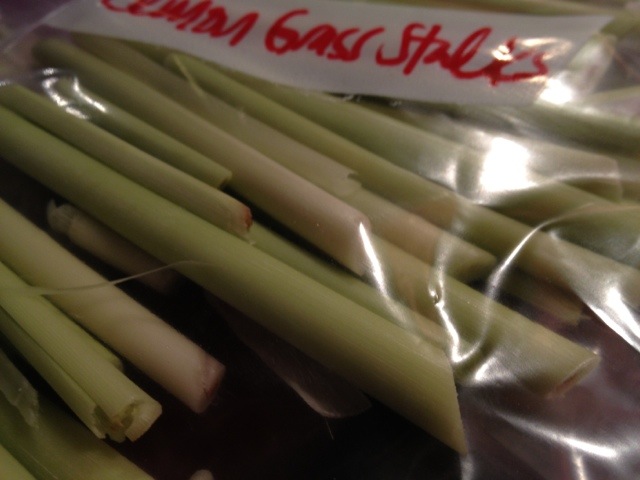
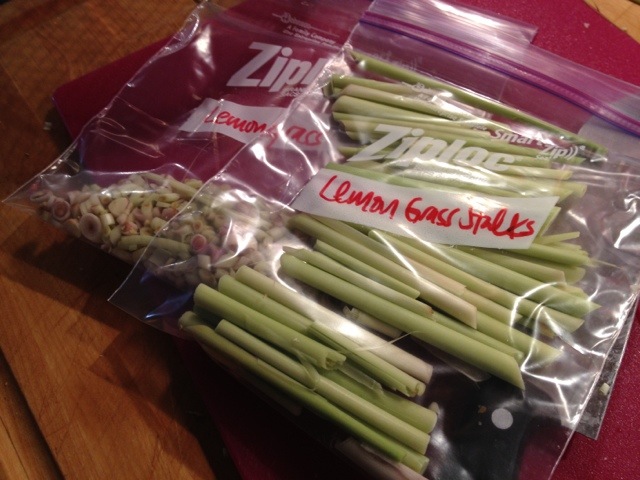
20120925-073050.jpg I've got lots of lemongrass in the freezer. Last week I harvested 50 of the delicious reeds from my own garden. I use lemongrass to perfume chicken stock & add depth to marinades. This time around I also chopped some of the tender reeds for stir-fry, but it was labor intensive.

20120925-073059.jpg

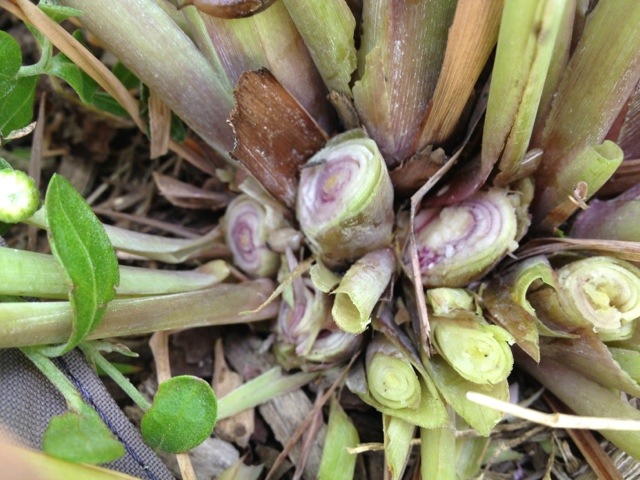
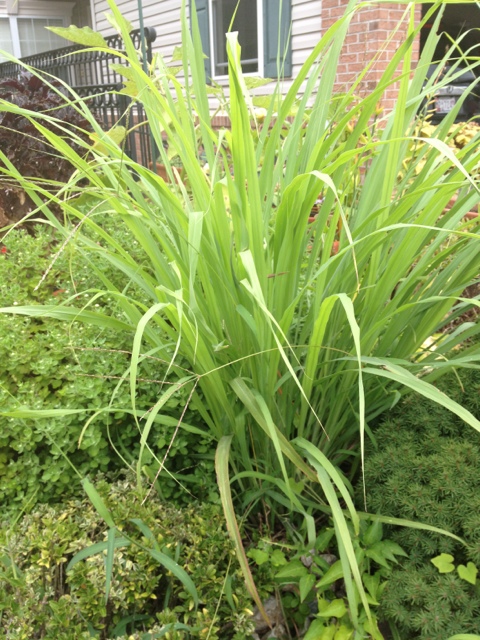
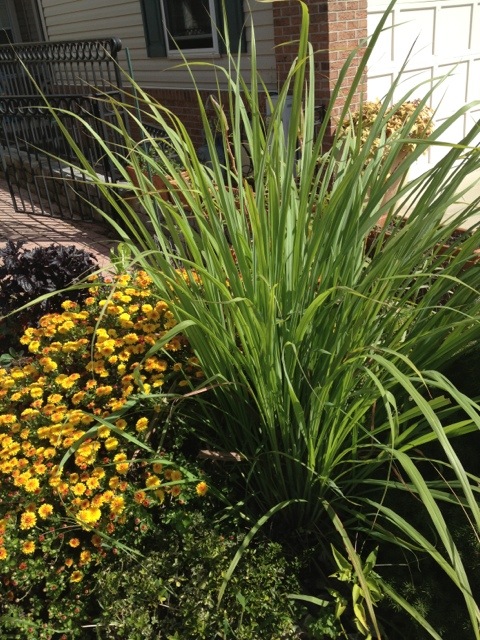
Since Autumn is closing in, now is the time to harvest. Using garden pruning shears i cut the reeds as lose to ground level as possible. Keeping the roots allows the plant to regrow. It would be nice if the lemongrass came back one more time before winter, but I'm not holding my breath. I grew the lemongrass in the front garden this year. It was surrounded by my son's rock collection and a large section of soaker hose. Other than weeding, I ignored the lemongrass for much of the summer.

20120925-073105.jpg

20120925-073109.jpg

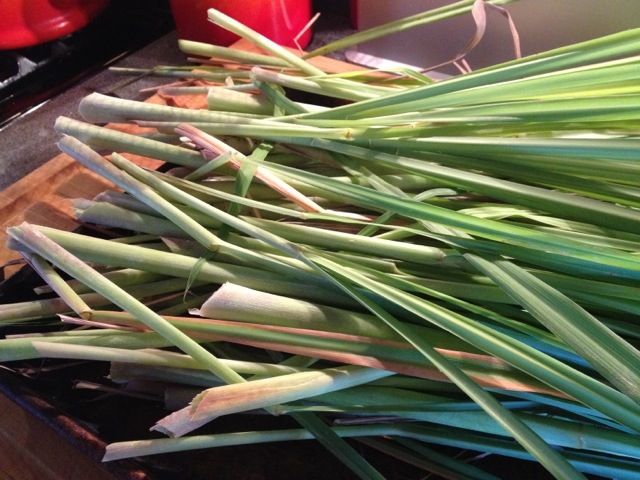
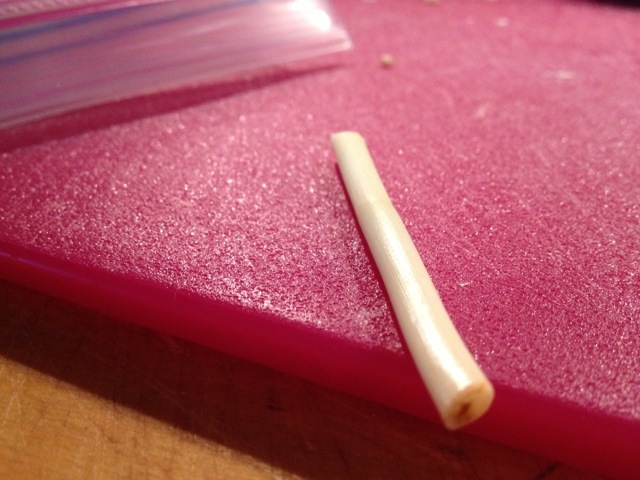
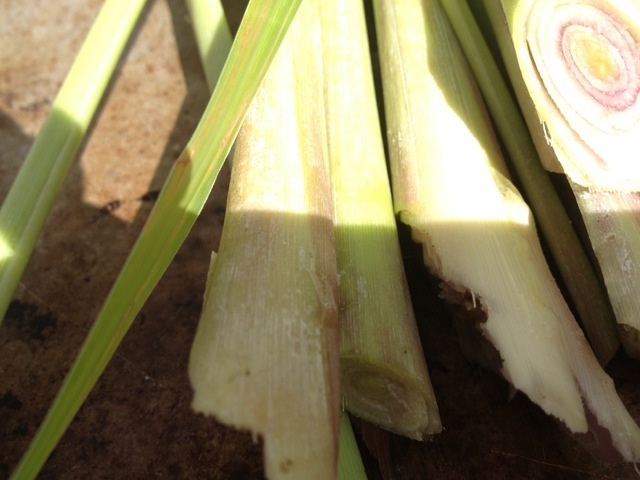
Once the stalks are cut, the fragrance fills the air. Get the stalks inside & cut the grassy top half off - into the compost they'll go. Next, peel back the blades of grass until just the white reed is exposed. At this point, you can freeze the 5 inch section of lemongrass.

20120925-073117.jpg

If you're up for a bit more work, continue removing the layers of lemongrass until you find the tender final section of lemongrass. I knew I found it when slicing it made no noise. It was like slicing soft butter.

20120925-073123.jpg

20120925-073130.jpg

Lemongrass might be the best garden investment this year. For the price of the plant, $2, I grew enough to stock my freezer for more than a year. In grocery store terms, I probably saved at least $50. Any hot bargains in your garden this year?
20120925-073140.jpg

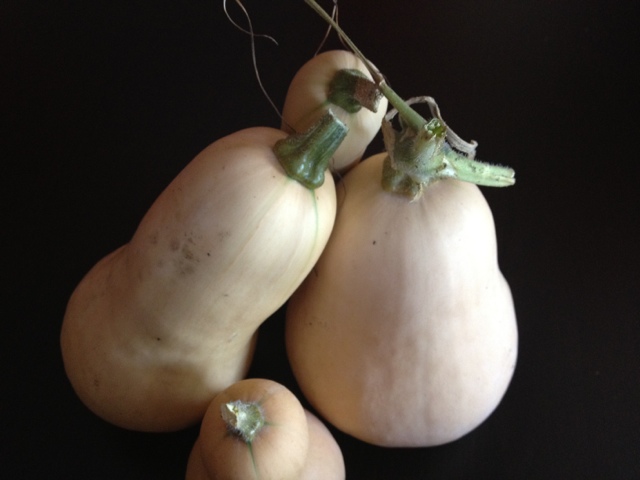
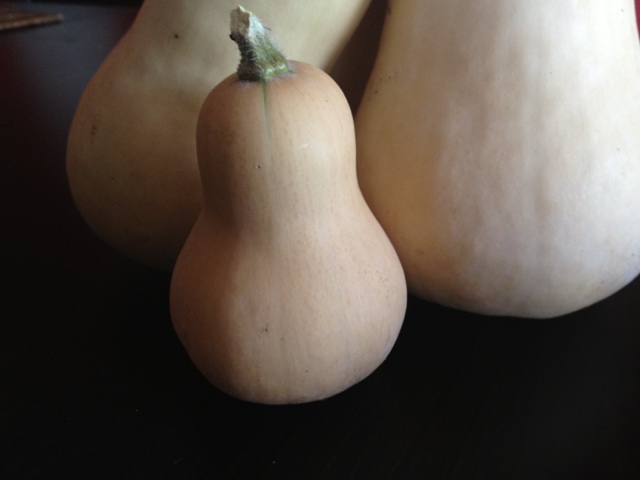
Butternut Squash * my favorite orange vegetable!

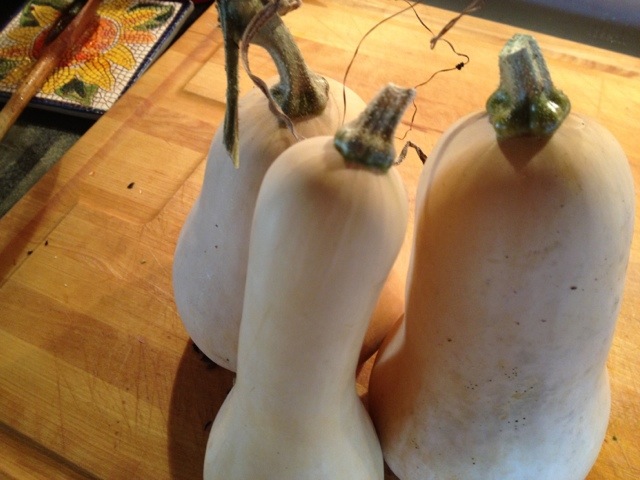
20121001-115548.jpg Carrots & sweet potatoes are great, but no vegetable revs my tastebuds quite like butternut squash. It quietly grows all spring & summer and has the most delicious sweet flesh. Butternut squash is and always will be one of my garden staples. I may only harvest a few each year but, they are worth the work & wait.

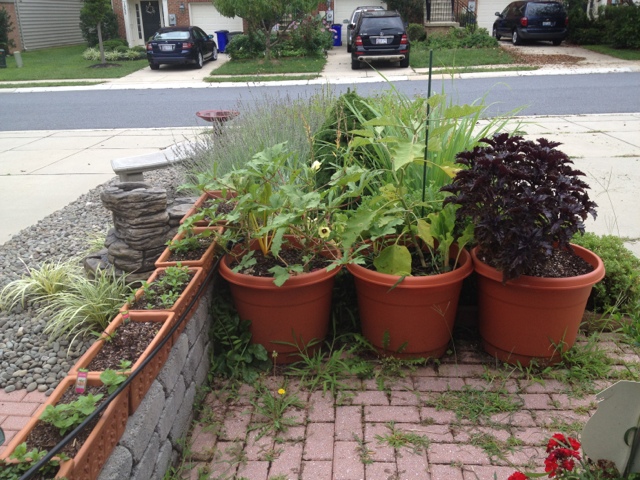
This year, I grew my squash in containers. Container growing allows me to get the seedlings outside sooner and I can move the containers if one location ends up having better sun than another.

20121001-115559.jpg

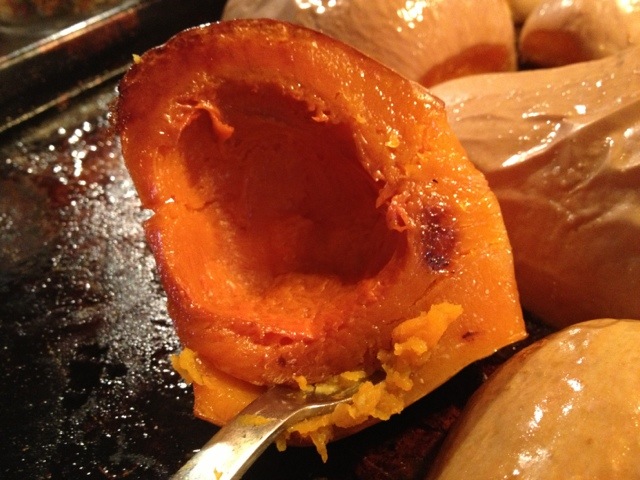
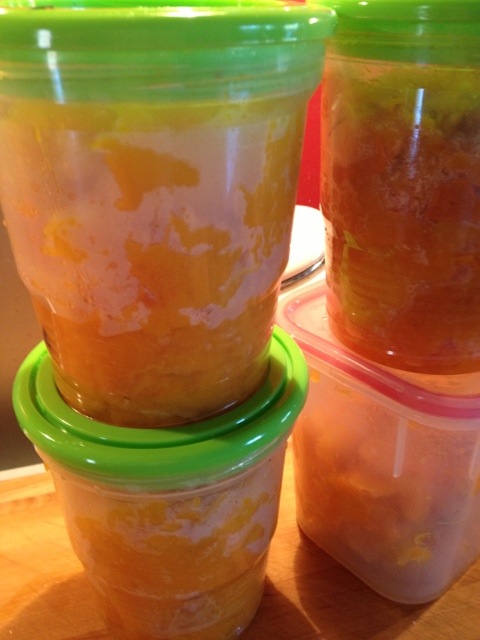
One of the best ways to preserve butternut squash is by freezing. I roasted my squash in a 400 degree oven for about 30 minutes. Just remember to halve them, seed them then drizzle on some olive oil. Then roast, cool, and scoop out the flesh and freeze in containers or plastic freezer bags.

20121001-115613.jpg

This squash will end up as risotto, or pasta sauce.

20121001-115618.jpg

What's your favorite way to cook & eat butternut squash? I love it in risotto!

September Blooms

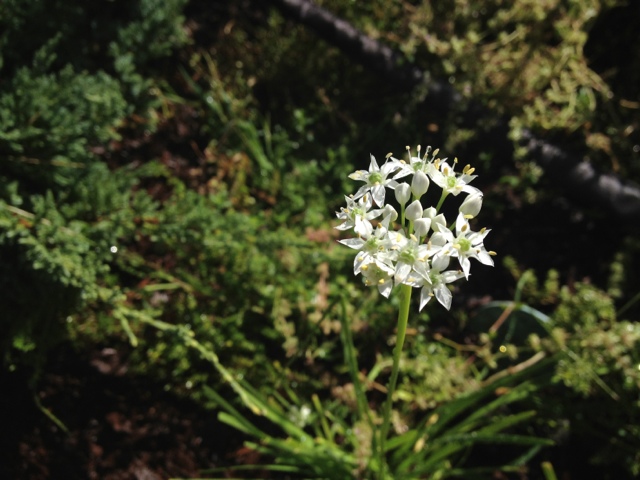
20120910-114438.jpg The evenings are chilly this week, but many flowers are still blooming or just getting ready to pop. Just this weekend, little white blossoms popped out of my chives. Usually I have pink chive blossoms. The delicate white blooms might be a bit too fragile to nosh on.

20120910-114447.jpg

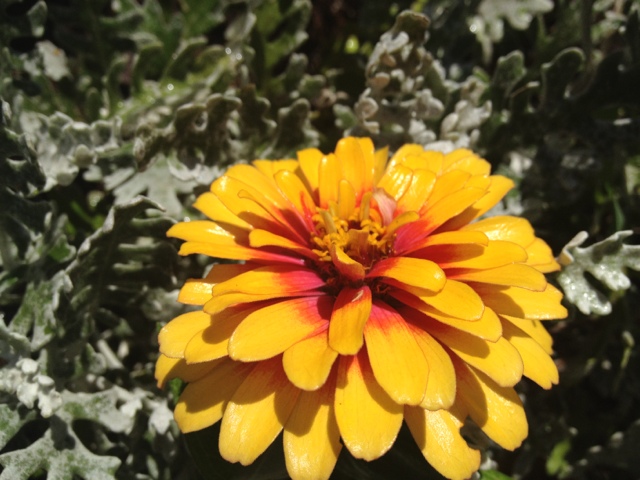
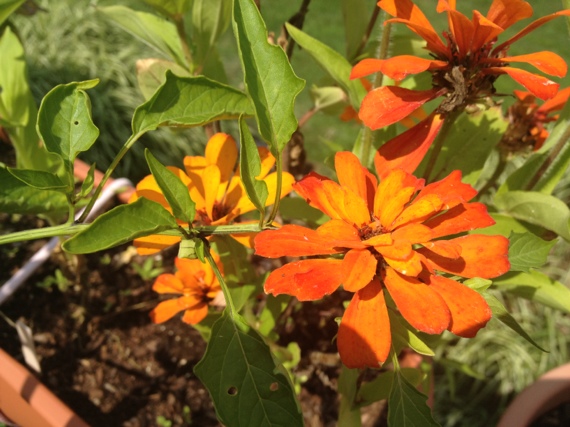
Many of my zinnias are still going strong. This is my first year growing these gorgeous flowers. I had no idea that they'd last all spring and summer. I hope they make it through the autumn as well!

20120910-114452.jpg

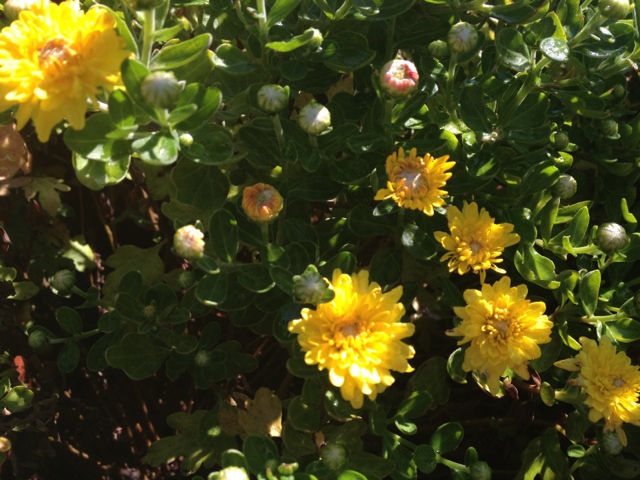
Mums are just starting to open up in my front garden. This year my red & yellow mums are taking up quite a bit of real estate, but that didn't stop me from adding purple & pink! I just need to be a bit more diligent about pruning them back.

20120910-114457.jpg

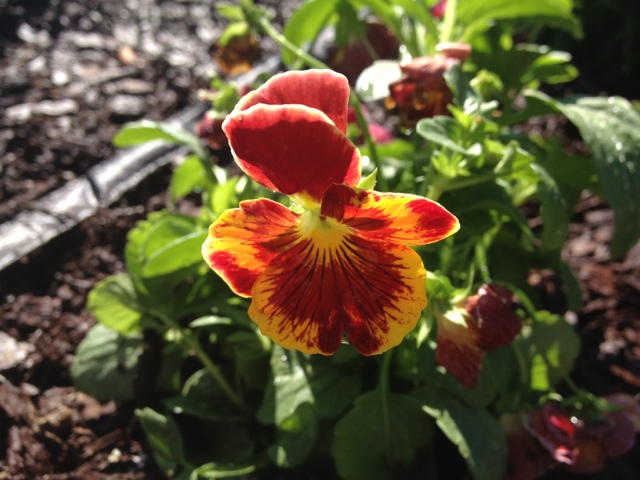
Pansies & Violas round out the flowers blooming away this month. I love the fiery red pansies. To me they are a signal that autumn is just about here, and winter isn't far behind!

What's blooming in your garden right now?

Harvesting Butternut Squash

20120907-130519.jpg I think that I've found all of my butternut squash. This year I hauled in 4. Yes, 4. It may not sound like a lot, but last year I hauled in 1. So I've quadrupled my harvest in one season - not bad!

Theres a chance that I have yet to find all of them. My garden planters are woefully overgrown, but that might be a good thing. I noticed when harvesting, the harder I looked the larger the squash.

I'm hopeful that there's butternut squash risotto in my near future. For now, this foursome will rest & cure in the basement.

20120907-130525.jpg

What's your favorite way to eat butternut squash?

Tomatoes I Grew (and cooked!)

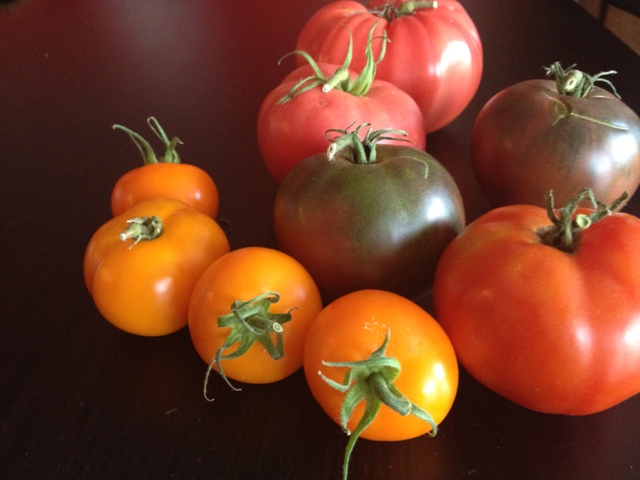
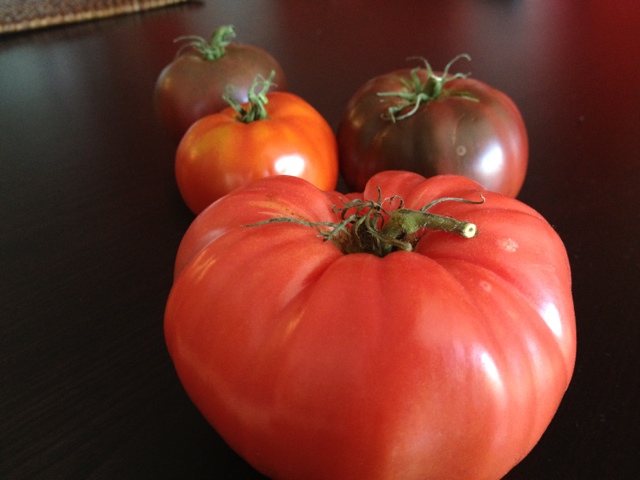
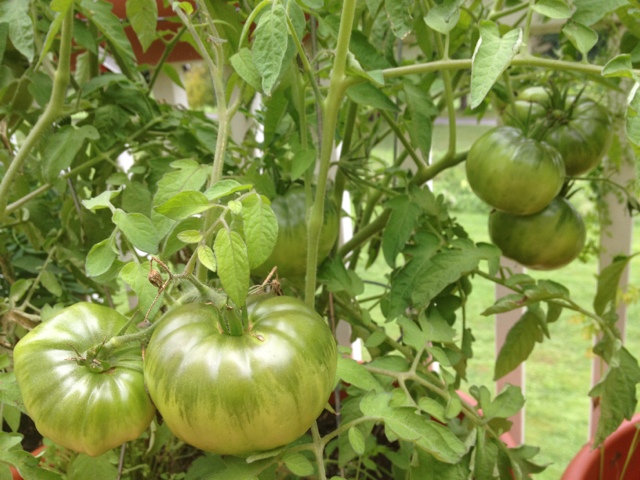
20120827-121128.jpg This was the Summer, of unplanned tomatoes. After clearing out the backyard planters, and working in heady home-compost, up shot 20 random tomato plants. It took about a month or so before I really noticed them. Though I don't know how I missed these, they were in between the blackeyed susans and hostas. Well now all of my tomatoes are ripening and though it might be hard to get to some of these guys, especially with the squash vines, it's been a great way to compare container tomatoes with in ground tomatoes.

20120827-121144.jpg

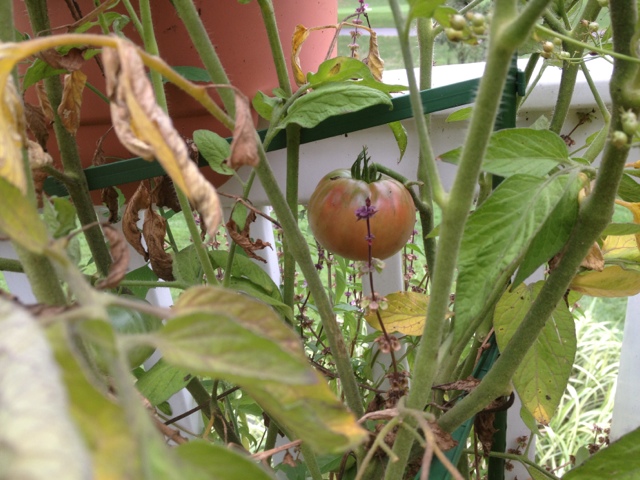
My favorites, as always, are the Purple Cherokee, some even turned pink! It's a tomato that you can devour immediately, no salt needed. The crop was so plentiful that I had enough to satisfy my raw needs as well and canning needs. So far I've canned some super spicy salsa, and crushed tomatoes are lined up for this weekend!

20120827-121204.jpg

Some of my favorite ways to prepare tomatoes are: BLTs Tabouleh Salad Eggplant Parm Salsa Ratatouille

What's your favorite way to nosh on tomatoes?

Purple Ruffles Basil

20120824-132752.jpg My goal is to grow organic, non-GMO veg & herbs to feed my growing family. So I grow most of my garden from seed. But every once in a while I'll find an organic farm that grows plants to sell at farmers markets - enter purple ruffles basil. I was enamored by the color and scent of this little plant back in May. Now, this garden behemoth is ready for a trim, purple pesto anyone?

20120824-132538.jpg

Like my Thai Basil Pesto & Traditional Pesto this will end up as frozen cubes of summer in my freezer. The difference is, this pesto will not be green. The dark purple leaves make the pesto almost black. I'm looking forward to stirring a few cubes into a homemade tomato soup in a few months.

20120824-132551.jpg

This has been one of the most exciting plants in the garden this year. It was a huge plant that didn't go to seed for months - I must have done something right, or it just really liked its growing space. Purple Ruffles Basil will certainly be back in my garden next year!

20120824-132806.jpg

Making Salsa Verde

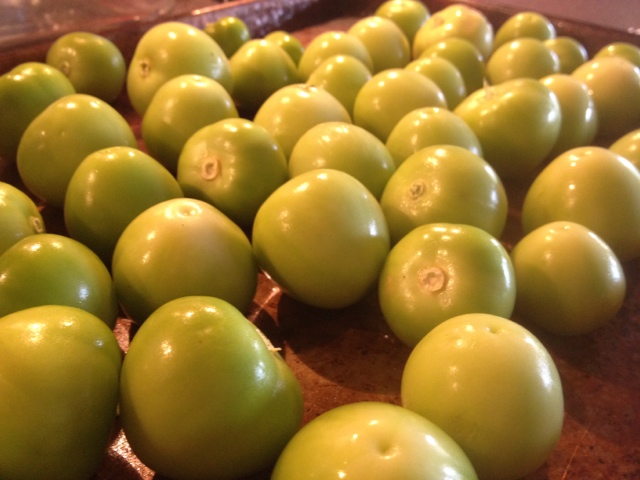
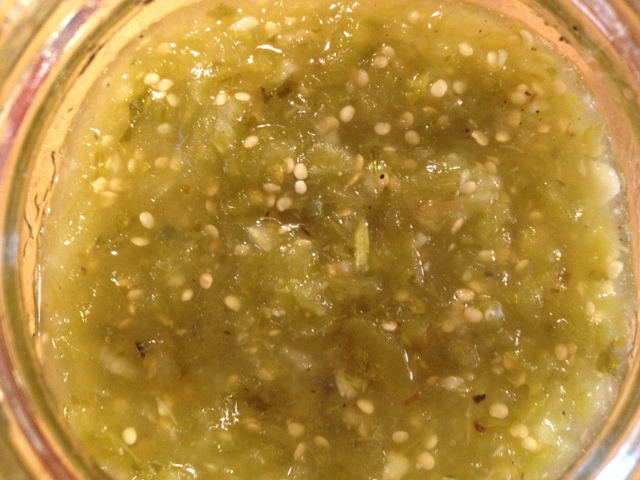
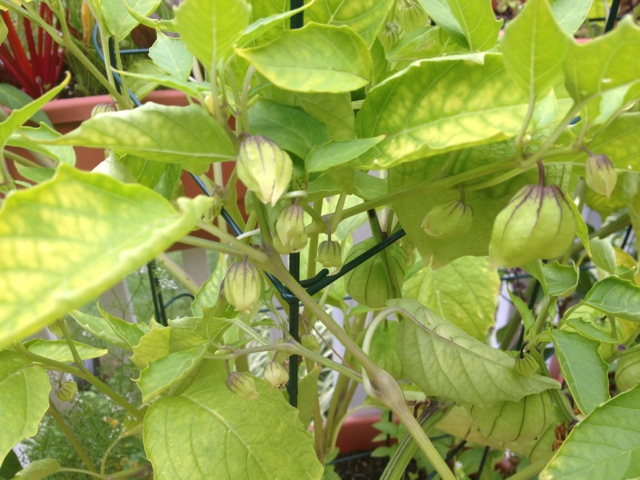
20120820-104628.jpg My tomatillos are booming with fruit. The branches are laying on the deck, so I guess it's time to harvest. Actually, I've been harvesting for weeks, and tucking the little zesty orbs in the fridge. Now I have 4 pounds and I'm ready to make salsa verde.

20120820-104644.jpg

Ingredients: - 4 pounds of tomatillos, husks removed - 1 large onion, quartered - 4 cloves of garlic (in skins) - 5 jalapeños, stems removed - 1 tbsp kosher salt - 2/3-3/4 cup fresh lime juice - 1 cup of cilantro - 4 tsp citric acid, if water bath canning

20120820-104650.jpg

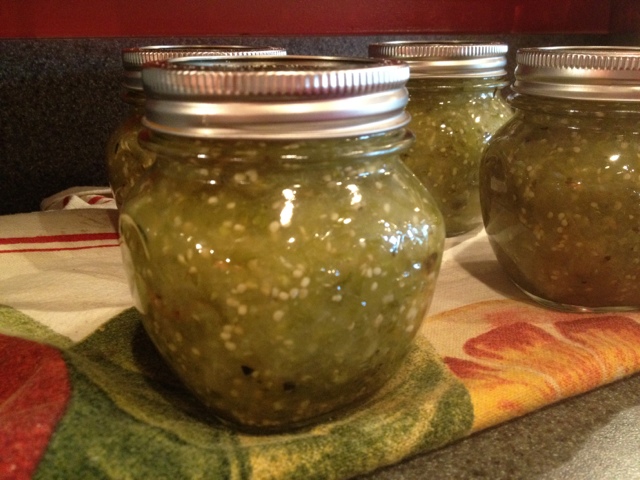
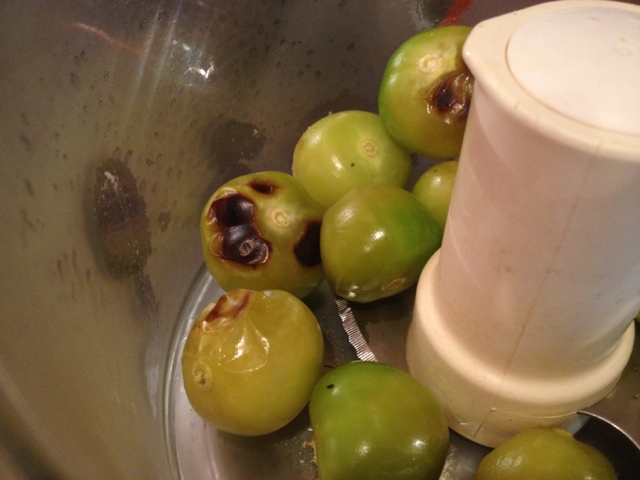
Method: - broil the tomatillos, garlic, onion & jalapeños until slightly charred & soft, 10-15 mins (don't walk away, keep an eye on them.) - in batches, blitz the veg, including the cilantro, in a food processor until smooth. Then transfer to a large soup pot or dutch oven. Add the salt & lime juice and simmer for 10-15 minutes. - if water bath canning, follow the USDA canning best practices to make sure your salsa verde will preserve properly. I'd also recommend checking out Canning for a New Generation. That was the foundation for my recipe.

20120820-104703.jpg

Now dig in with some tortilla chips or, make a delicious chicken & salsa verde soup! Tomatillos are awesome, I'm so glad I gave these a shot in the garden. They did so well, that I might expand to purple tomatillos next year!

20120820-104710.jpg

Did you have any good surprises in the garden this year?

How My Garden Grew

20120820-110456.jpg

The summer gardening season is coming to a close. Though I'll get another haul of tomatillos, peppers and tomatoes, my fennel, cucumbers, squash and herbs are slowing down. I will be planting an autumn garden, and garlic again, but that's a cinch compared to the amount if time and work I put into the spring & summer garden this year.

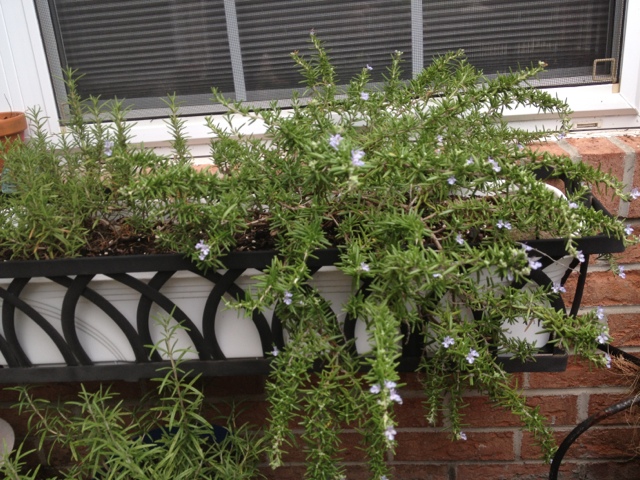
In the front garden the all stars were the herbs. The prostrate rosemary continues to bloom, and might get a transplant to a deeper pot.

20120820-110505.jpg

Mint, okra, basil & eggplants did alright in the front. Though of the 4, the mint & basil rocked, where eggplant & okra were on the low side.

20120820-110527.jpg

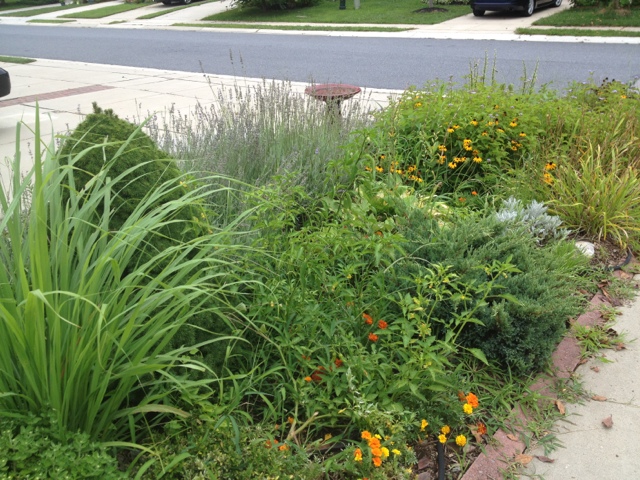
The front garden is a delightful mess of annuals, perennials, and hardy plants that just take up space. Next year I'm planning an overhaul of the front. But I need some off time to make my plans come true.

20120820-110535.jpg

One of the front garden all-stars is lemongrass. This plant was happy as a clam all spring and summer long. Soon it will be time to harvest & freeze/dry these fragrant reeds.

20120820-110542.jpg

Marigolds & peppers did well this year. Though I think the slugs had a hand in destroying some of them. If I grow peppers in the ground again, I'll need a new strategy.

20120820-110548.jpg

I was plagued by the plant/weed below. My garden was inundated with it. If I was more concerned I would have done more, after July I just gave up.

20120820-110556.jpg

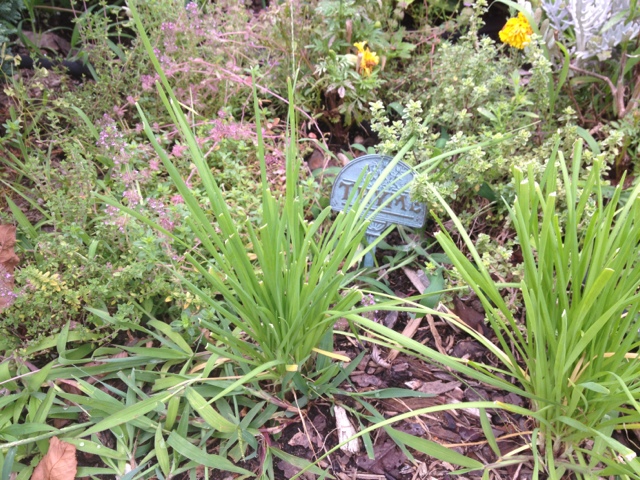
My thyme & chives seemed to like being in the ground. I'll see if they come back after the winter, if not, I'll definitely replant. 20120820-110604.jpg

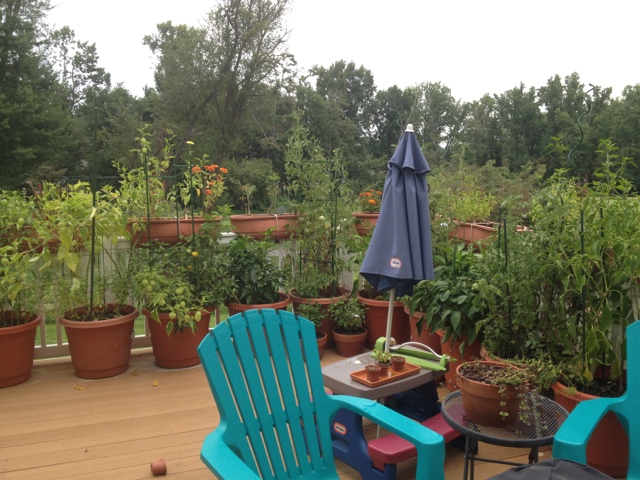
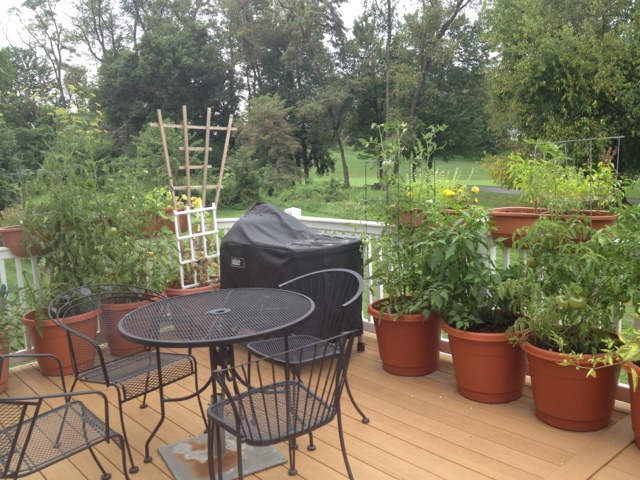
To the deck. No weeds here, just 40+ pots of veg & herbs. I had hopes of irrigating the pots, but it rained enough that I really only had to water a few days a week.

20120820-110612.jpg

20120820-110617.jpg

The big producers this year were tomatoes, tomatillos, poblano & pequillo peppers. 20120820-110625.jpg

20120820-110630.jpg

20120820-110636.jpg

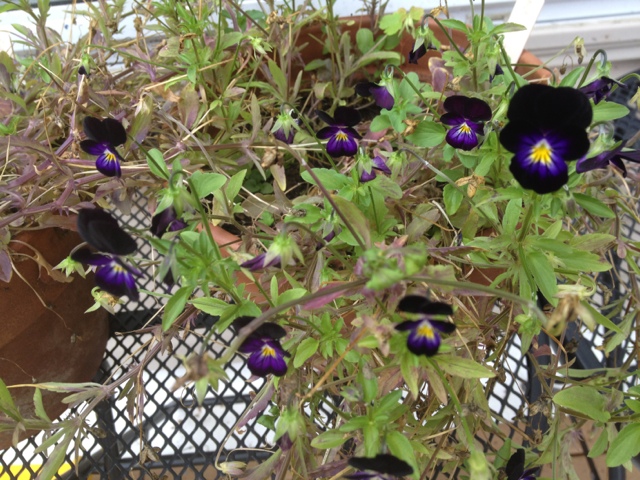
Surprisingly my black violas made it through the summer. I found a shady spot and kept them watered. I'm thinking about transplanting these in September when things cool off a bit more.

20120820-110643.jpg

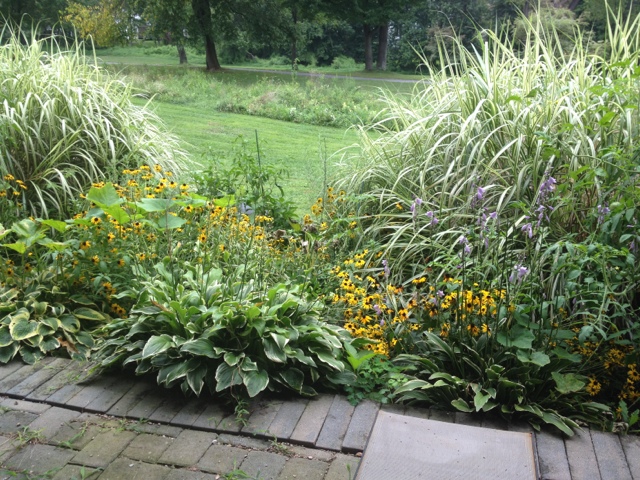
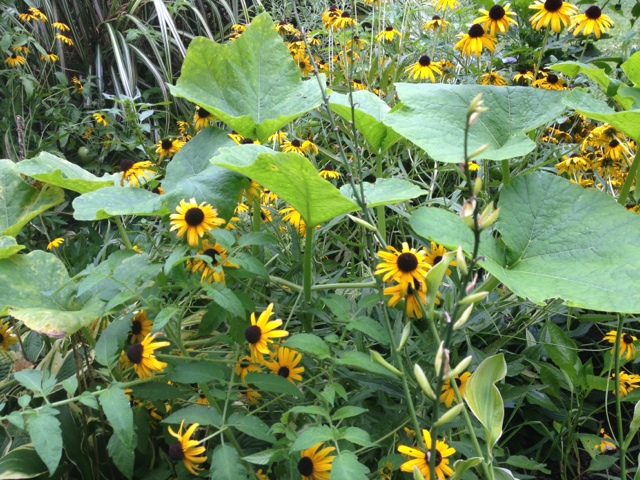
On to the backyard. This is certainly a jungle. The hostas, black eyed susan's & ornamental grasses were huge. But I had some room for a few containers to grow squash, as well as the 10 tomato plants that came up on their own.

20120820-110650.jpg

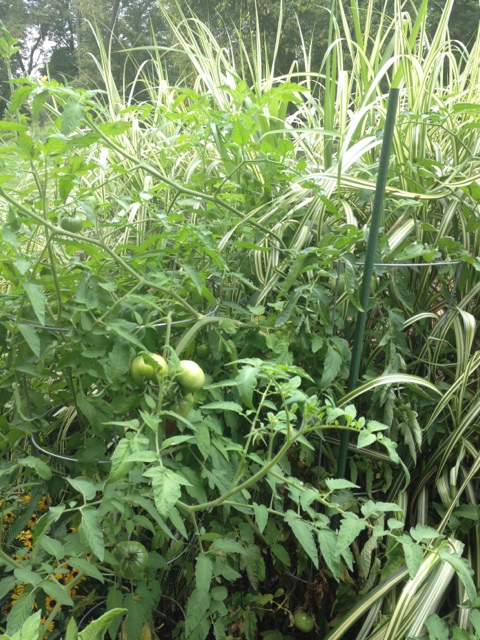
The tomatoes took root behind each of the grasses, and flourished. They appear to be tomatoes that I got from last years CSA. I've never grown reds, and these all ripen to a deep red color. 20120820-110712.jpg

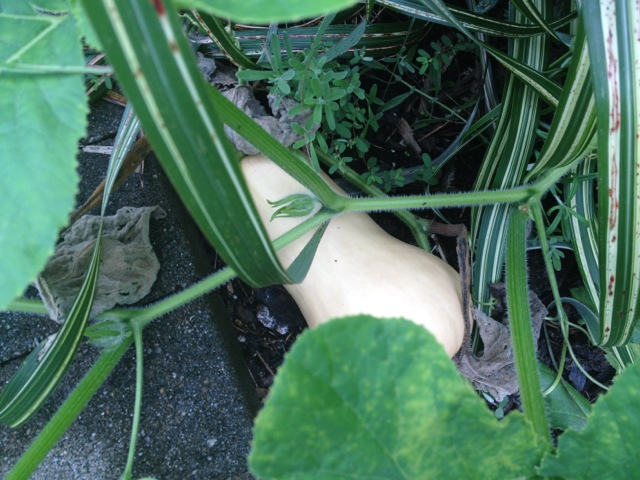
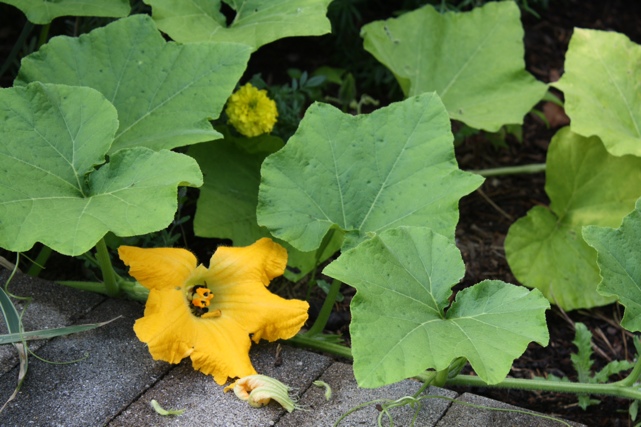
The butternut squash seems happy. So far I've found 4 fruit, and I'm hoping for more. The squash vines wove in and out of the flowers and tomatoes. next year I'll be more diligent about hand pollinating. In the last few months I thought the bees could handle it. Though, four is better than one!

20120820-110703.jpg

20120820-110719.jpg

20120820-110729.jpg

The fall sprouts are up, and it's time to start canning, freezing, and drying. It's definitely been a fun season, but a lot of work. Often I think having a bigger garden would suit me. However, on days like this, I'm happy that I have the limit of the small space. Otherwise I'd never have time to cook and enjoy the harvest!

20120820-110742.jpg

Waiting (Patiently) For Zinnias

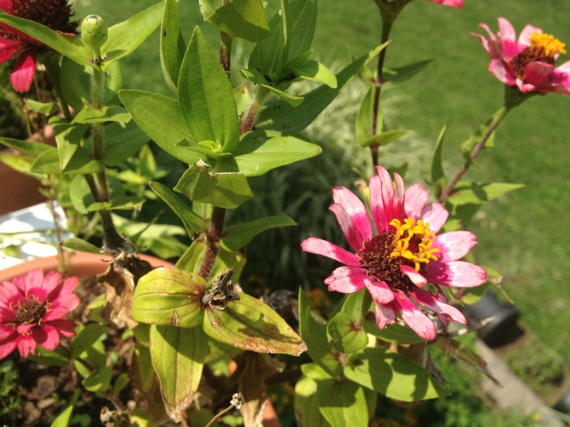
20120813-142645.jpg I have been waiting 4 months for this flower. Back in May I planted a handful of Green Envy Zinnia seeds. To date, I have one flower about to bloom, the rest still look like little sprouts - or punks!

Because I wanted my veg garden full of flowers, to lure in pollinators, I purchased 2 zinnias from the farmers' market. And I'm thrilled that I did, because my planter would have been sans-flora for much of the summer. The zinnia really added a punch of color and we've been rewarded with gigantic butterflies, tons of little buzzing pollinators, and a resident hummingbird that is fairly protective of the nectar from the marigolds & the zinnias.

20120813-142654.jpg

20120813-142659.jpg

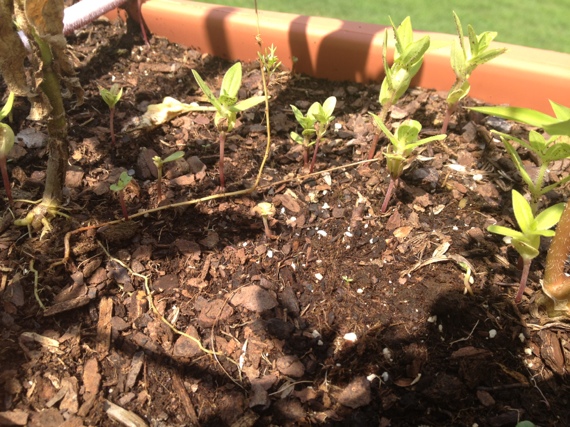
So I'm hoping for a big green bloom soon. Maybe the rest of the little sprouts (see below) will decide to join the bloom party soon. I guess my winter will be filled with flower seeds & grow lamps, I'm determined to have a truck load of zinnias for next spring!

20120813-142707.jpg

What's your fav summer flower? Did you grow it from seed?

Autumn Garden

20120813-135736.jpg

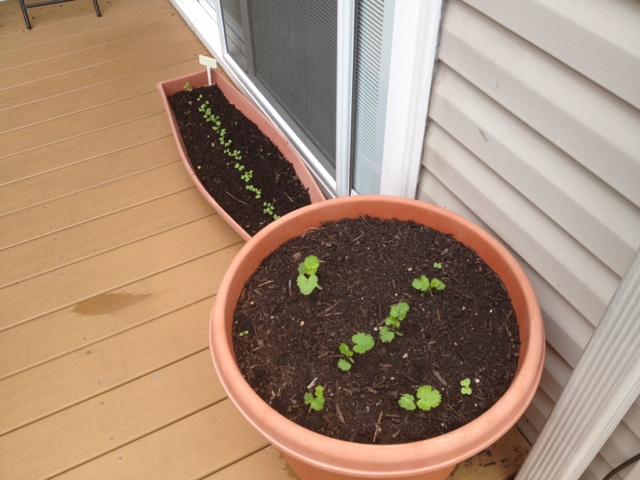
The summer evenings are dropping into the 60s, and the days are getting shorter. Time to start thinking about an autumn garden! In my neck of the woods, I can grow leafy greens, root veg & lettuce into December.

This year I'm hoping to have an autumn bounty for my holiday dinners, so I'm planting:

Radicchio Lacinato Kale Red Russian Kale Turnips Carrots Parsnips Red Freckle Lettuce Endive Golden Chard

20120813-135721.jpg

Mid-October I'll also do a bit of scratching in the garden. It will be garlic planting time. I'm thinking about trying shallots as well. Any advice? What are you planting in the garden this autumn?

20120813-135742.jpg

Oven Roasted Peppers: Poblano & Pequillo

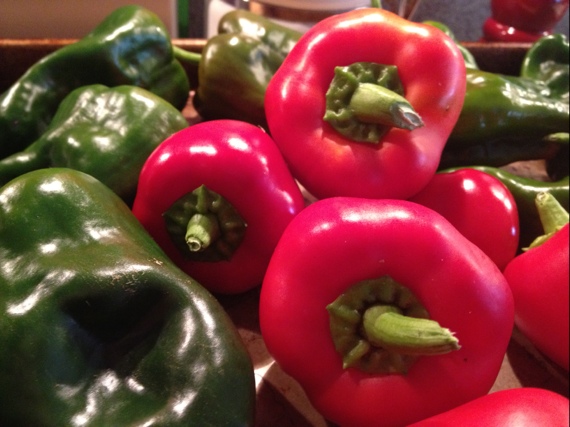
20120811-152423.jpg There's nothing like coming home from vacation to find a ton of ripe peppers in the garden! Since it will take me a we days to sort through the laundry, catch up on emails & so on, I decided to roast and freeze these beauties for a later date.
20120811-152433.jpg

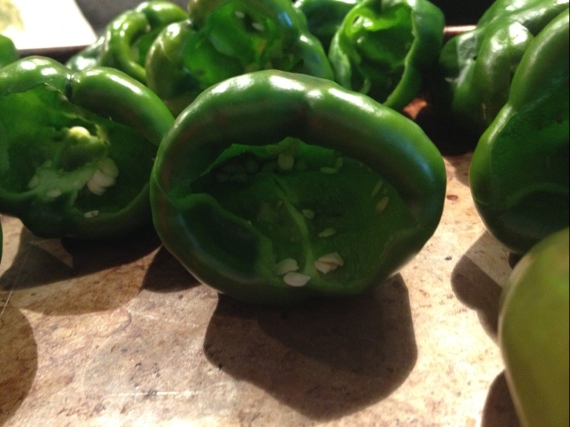
Since I'm oven roasting the peppers, I cored each pepper, this removes the stems, seeds & cores. Coring the peppers also allows you to stuff the peppers post-defrosting. I've tried coring the peppers post roast & post defrost, I'm horrible at both. So core now & save time later.

20120811-152446.jpg

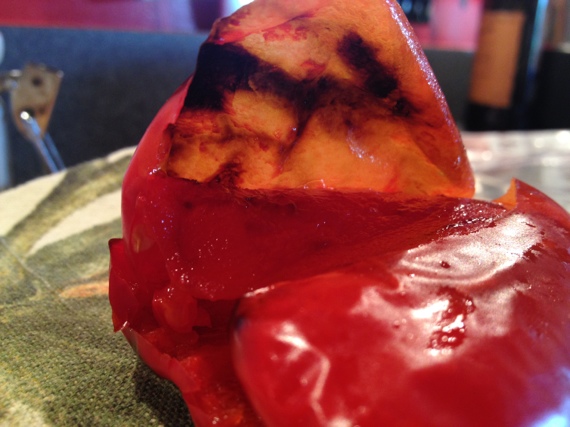
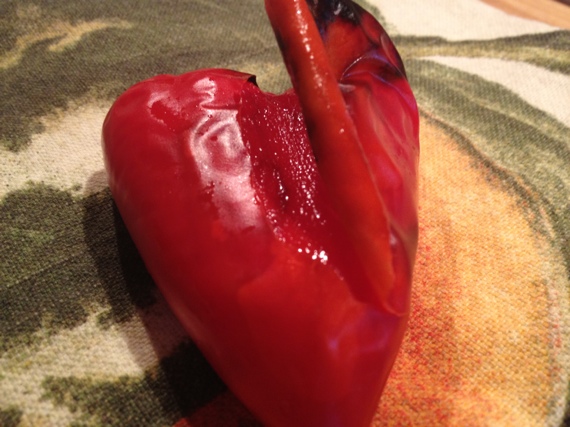
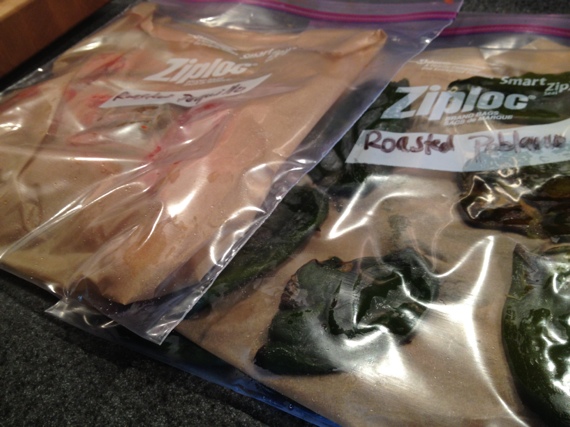
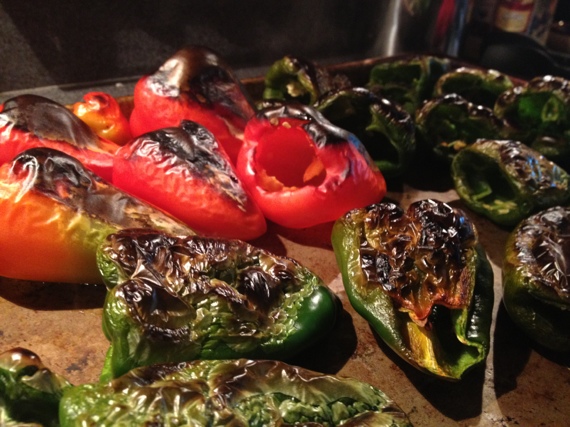
So why roast? Why not just slice & freeze? First - pequillos have a very thick skin. You can't just chop & sauté like bell peppers. These fire engine red peppers are prized in Spain for their meaty sweet flesh. Roasting & peeling off the charred skin is totally worth it. Second - roasting the peppers brings out a smokey flavor, not a grill flavor, but just a little char. Here's how I did it:

Oven-Roasted Peppers: 1. Wash & core the peppers 2. Place the peppers on a large rimmed baking sheet 3. Set the oven to broil & make sure the grate is on the top rack 4. Roast under the broiler until the pepper skin is blistered & blackened, roughly 5-10 mins per side 5. Flip the peppers and rotate your pan, the back of the oven is hottest 6. Gently place roasted peppers into a paper bag, fold it shut and let them steam for 5-10 mins 7. Carefully remove the blackened skin & allow to cool before storing

20120811-152510.jpg

I like to seperate each row of peppers with parchment then I slide it into a freezer bag. The flatter the better. This method can be used with any type of pepper, though I prefer to dry my hot peppers and freeze or pickle my sweeter ones.

20120811-152516.jpg

Now I just need to come up with a way to use these. Maybe a spicy soup in January, or some stuffed peppers for the holidays.

Second Favorite Pollinator: Butterflies

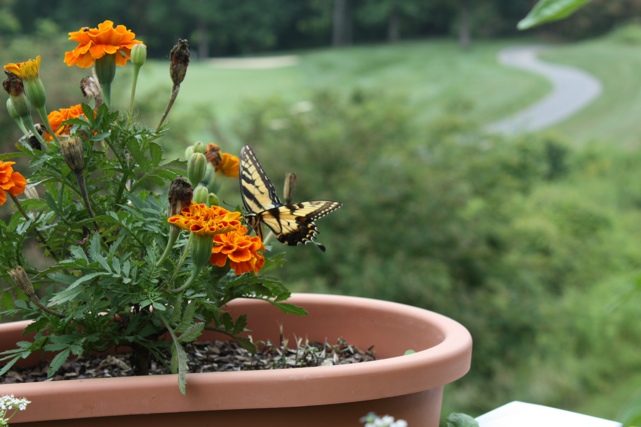
20120723-163802.jpg Butterflies are fluttering throughout the garden. I happened to catch this one dinning on some marigold nectar. She's been in the garden every afternoon for the past week, guess I'm doing something right!

20120723-163810.jpg

The bummer about this beauty, she's not interested in any of the vegetable flowers. Just the marigolds, zinnias, and lavender. This is why she takes the silver medal in my book. The bees make good use of all the flora in the garden; basil flowers, tomato flowers, and they go gaga for tomatillo flowers.

20120723-163815.jpg

The moral of this garden story, be diverse in your plantings. The more varieties = more garden visitors. Just the other day a hummingbird was zipping around the flowers too, who needs a bottle of red dye #5 & sugar when you have red, yellow, white, green, orange and purple flowers?!

20120723-163820.jpg

So what's your favorite pollinator?

Mint Jelly

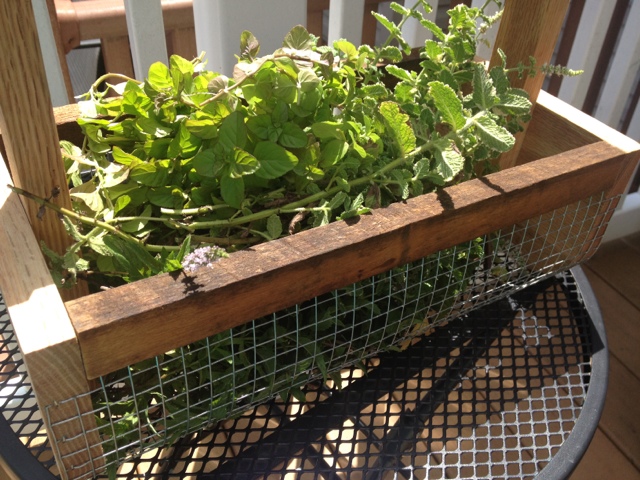
20120727-144213.jpg My mint is starting to take over the garden! Before I head off on my west coast adventure, I thought I should give the mint a trim. I'd love to use this all up in mojitos, but that's a lot of rum to drink. Mint jelly it is!

20120727-144232.jpg

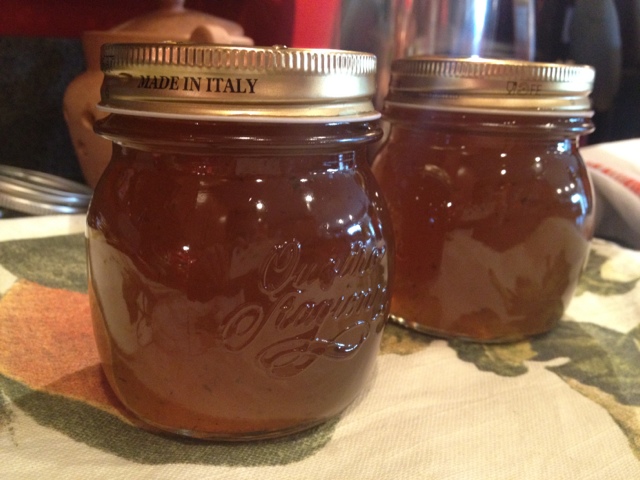
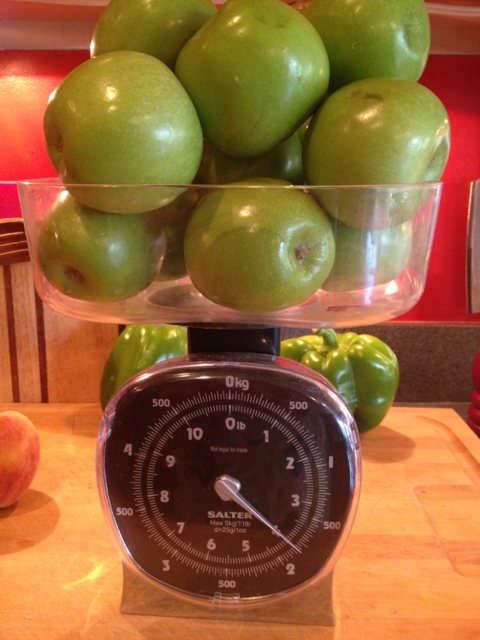
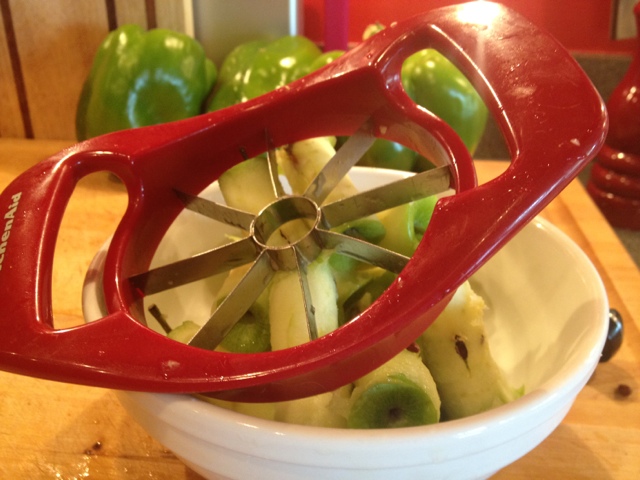
Instead of using ready made pectin, I made my own with 4 pounds of apples. The recipe for the pectin & mint jelly came from a fabulous canning book called Canning For a New Generation. Lianna Krissoff has a zillion fabulous recipes, and they work fairly effortlessly. If you're a canner, you must read this book. I changed only 2 things in the recipe, 1. Mint quantity: She called for 1 cup of chopped mint. I did 4 cups. I just had that much mint and took a leap of faith. 2. I did not use the seed-filled cores. The arsenic in the apple seeds freaks me out. I'm no expert on the science, but I excluded the cores and seeds and it turned out great.

20120727-144224.jpg

Ingredients: - 4 pounds of apples, washed & sliced into eighths, cores into the composter - 4 cups of chopped mint (mine was a combo of different varieties), washed & stems into your composter - 2 1/4 cups of cane sugar - 3 tbsp of bottled lemon juice (bottled has consistent acidity) - 6 cups of water

20120727-144238.jpg

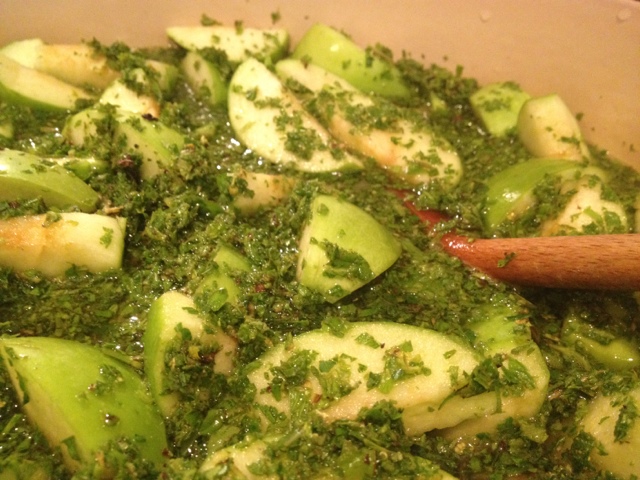
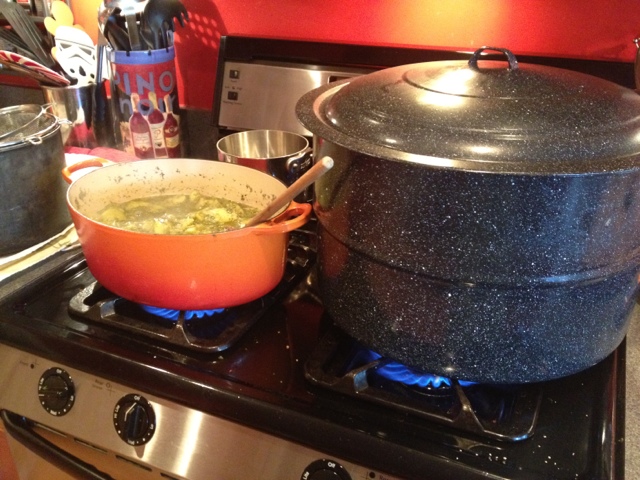
Method: - using an apple slicer, cut the apples and discard the cores & seeds - add the apples, chopped mint & water into a large dutch oven. Bring to a boil & simmer over low heat for 30 minutes. - if you're planning on canning the jelly, start prepping your water bath & sterilized jars - after the apples begin to break up and seperate from their skins, carefully strain the apple-mint mixture into a heat safe bowl. Allow the strainer to rest over the bowl for 20-30 minutes. You need to get 3 cups of liquid out of this.

20120727-144245.jpg

20120727-144253.jpg

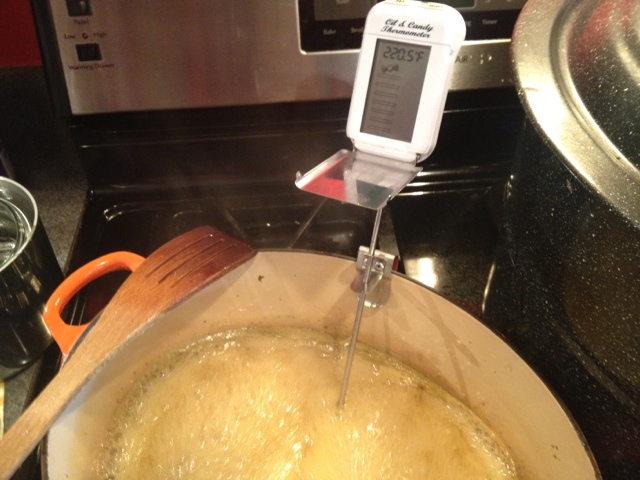
Method continued: - Rinse & dry the dutch oven - Put the strained liquid into the dutch oven, along with the lemon juice and a candy thermometer, then bring to a boil. - while the mixture heads to 220 Fahrenheit, prep your canning lids & cooling station - this can take up to a half an hour, so stick around, maybe organize a drawer or two. Then using a sterilized ladle & funnel, get the sticky jelly into the warm/dry glass jars. - wipe the jar rims with a warm damp (clean) cloth and get the lids on just finger tight. - process the jelly in the water bath for 5 minutes if you're using half pint jars. - remember to allow the jars to rest for 12 hours after processing. I usually check mine after an hour just to make sure they sealed. Love to hear the pop of a canning lid! - if you're not canning these, store the jelly in the fridge. It should last a few weeks to a month.

20120727-144300.jpg

One of the main reasons I made the jelly, is my Father loves it. Though most of the mint jelly he consumes is Martian green and probably full of corn syrup. So this is a small way for me to get some homegrown & homemade treats on his table.

I do think this jelly could go beyond the dinner table. I have hopes of stirring some into a mid-winter Mojito or maybe some green tea. I have a feeling this will remind me of spring when the wind is blowing and my mint is dormant.

20120727-144308.jpg

Salsa 101

20120716-082842.jpg Even if you don't have a food processor or a fancy schmancy machine, you can make your own salsa. Nothing tastes like summer quite like sweet tomatoes, bright cilantro & zippy jalapeños. I'm so in love with the stuff that I can at least a dozen jars of salsa to use during the winter months. My spicy salsa soup is just what I need to remember the summer sun during frigid February.

20120716-082846.jpg

Ingredients: - 2-3 pounds of tomatoes, halved then seeds into a bowl in (or more if you're making enough for the week!) - 2-3 cloves of garlic, crushed - 1 large sweet onion, diced - 1 large bunch of cilantro, wash thoroughly then chop leaves and stems (omit if you're a cilantro-hater) - 2-3 jalapeños, diced (depending on your desired spice level) - salt

Method: - if you're using a machine, blitz in this sequence: (keeping each prior ingredient in the food processor) salt & garlic, jalapeño, onion, cilantro, tomatoes, salt again and add in desired amount of tomato juices if needed. - if you're doing this by hand, just dice it all up and put it in a bowl. - serve with your fav chips, over steak, or use as a base for your chili.

20120716-082901.jpg

I love love salsa. Don't forget things like mangos, peaches, and other chilis are great in salsa. Experiment and enjoy!

Pesto w/ Thai Basil & Cilantro

20120723-083609.jpg This year I'm growing 6 different basil varieties: Marseilles, Purple Ruffles, Sweet Genovese, Thai, Lemon, & Spicy Bush Basil. Five out of the six work deliciously in my traditional Italian pesto (you know the one with olive oil, pinenuts, garlic & parm.) But the Thai Basil is a different bird. The intense bail flavor is deep and licoricey and I don't like it with olive oil and parm, I love it with cilantro and sesame oil!

Ingredients: - as much Thai basil as you have, I had 2 freezer bags full, leaves removed from stems - as much cilantro as you can find, I had 1 freezer bag full, I use the stems & leaves - 4-5 cloves of garlic, depending on your love of garlic and amount of herbs - 2-3 jalapeños depending on how spicy you are - sesame oil (half a cup or so) - sesame seeds - salt, just a pinch for the garlic

20120723-083636.jpg

Method: - clean & prep your basil & cilantro. A deep sink & a salad spinner come in quite handy - put your garlic, pinch of salt and jalapeños into a food processor. Pulse until they're chopped up. - add herbs a handful at a time into your food processor. Pulsing a few times, drizzling in some sesame oil - add sesame seeds and blend until they're incorporated. - put the paste into ice cube trays & allow to set over night. When solid, pop the cubes into a freezer bag. - Don't forget to mark it Thai Basil Pesto!

20120723-083647.jpg

These cubes are great on rice noodles, pho, and mixed into stir fry. Just remember, like all herbs, don't over cook & add them in at the end of your cooking process.

Which kind of basil are you growing this summer?

Hand Pollination

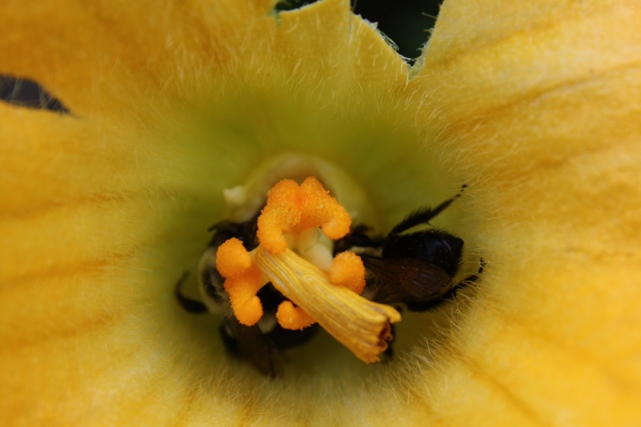
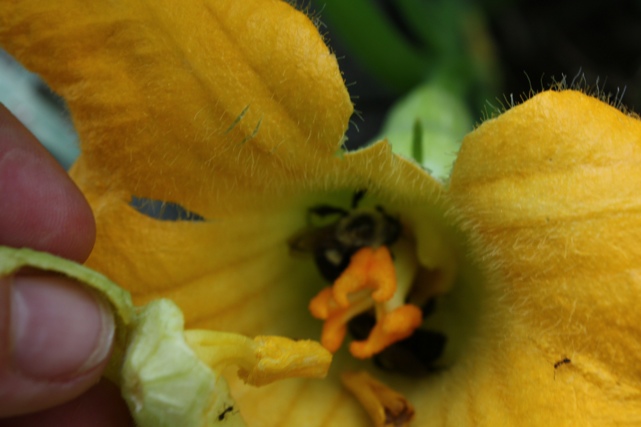
20120716-082305.jpg Growing winter squash always includes a little hand pollination. Though the bees are buzzing, especially in my tomatillos, the bees don't seem to understand how my butternut squash flowers work. Yes, the bees are deep in the female flower, but they show no love for the male flowers, that's where I come in.

20120716-082325.jpg

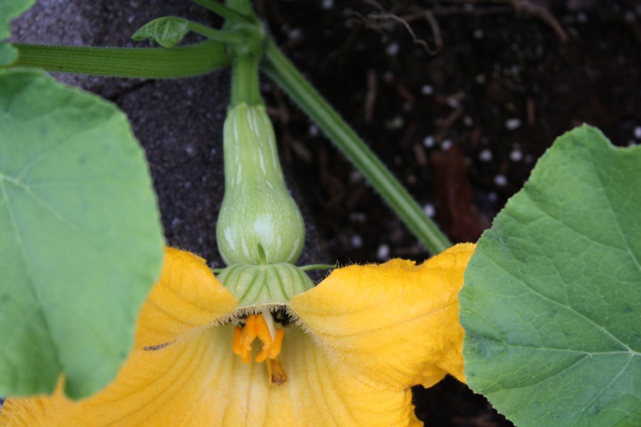
First: locate your female flower, look for the one with a fruit attached to it, (see above.)

20120716-082319.jpg

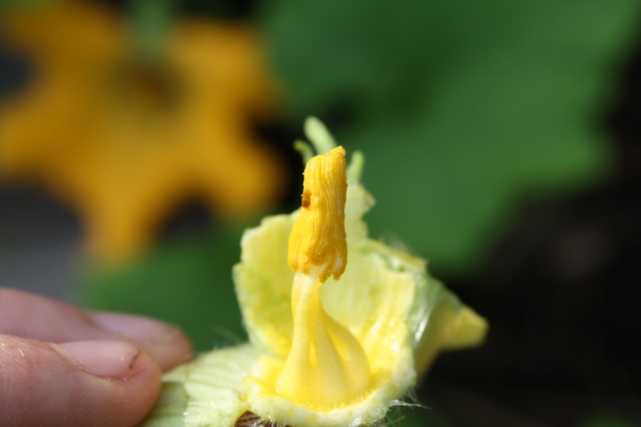
Second: locate a male flower and remove it from the vine.

20120716-082331.jpg

Third: insert the male flower into the female flower and pollinate like the dickens, try not to disturb the oh so hard working bees.

Fourth: keep an eye on the female flower. Within a day or two it should wither away and start growing the squash.

20120716-082313.jpg

Who knew the bees would need a lesson on the birds & the bees! If I'm going to devote this much room to butternut squash, I'd better get more than one this year!

Growing Seeds

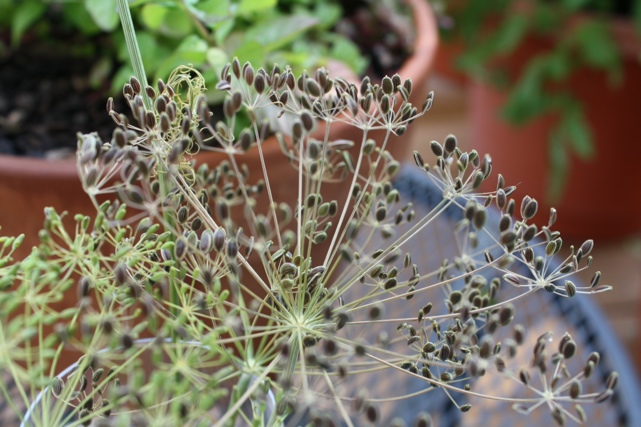
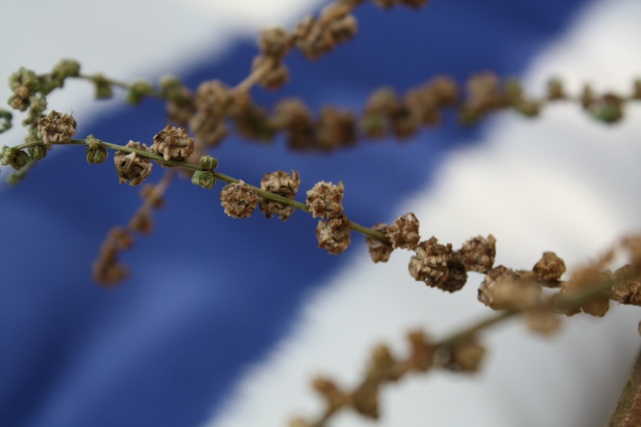
20120713-083028.jpg My garden is full of goodies just waiting to ripen. But I do have a few things ready to harvest, seeds. Along with plants, many of the herbs in my garden end up going to seed. Some I don't want to, basil, and some I do, fennel, coriander, dill & chard.

20120713-083033.jpg

Presently, my chard & dill seeds are starting to dry. The dill seeds will be used for making pickles. The chard seeds will be saved for planting future chard plants. Chard doesn't go to seed until the plant is one year old. Earlier this spring I documented my golden chard going to seed. It's a fascinating process.

20120716-082137.jpg

20120716-082143.jpg

Everyday in the garden is a learning experience. Growing & preserving these seeds is one way I ensure future garden adventures!

Lovely Eggplant

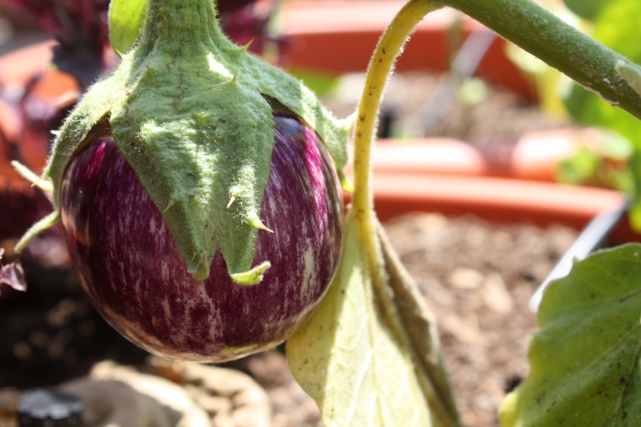
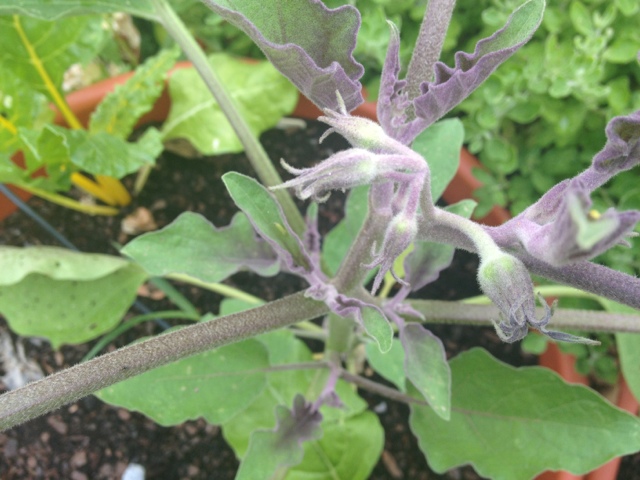
20120623-133704.jpg Eggplants are growing well this year, in my garden and at Breezy Willow (my CSA). Over the past few years I've learned a few tricks for growing eggplants in containers (heavy feeders & drinkers!) but this year I'm trying some in the ground as well. I'm growing two varieties this year, little fingers & listada de gandia. So far only the listada is producing fruit, but the little fingers just started to set flowers.

It's been a wonky start to the gardening season so far. But lucky me, no stinkbugs, yet! Here are a few of my favorite eggplant recipes:

Caponata Ratatouille Grilled Pizza

How are you cooking up eggplant this summer?

I Spy: Praying Mantis

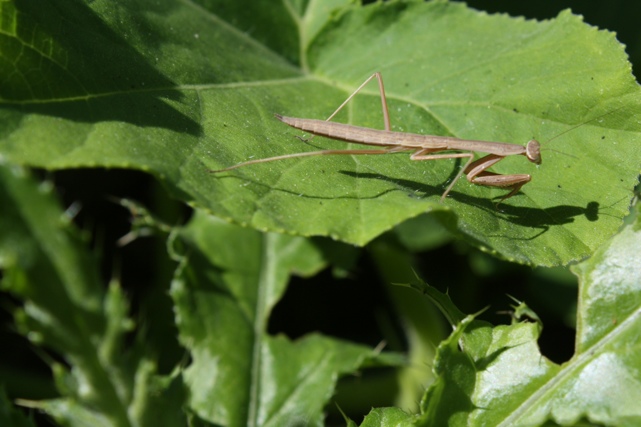
20120623-133837.jpg These days my garden doesn't just grow vegetables and flowers, we also grow bugs! Though some are not our favorite, tomato hornworms & cabbage worms to name a few, we do grow good bugs like ladybugs & praying mantids.

Earlier in the spring we placed 3 mantis egg cases in the front and back gardens. It looks like this one has found a home in the butternut squash. Hopefully she's keeping the squash bugs at bay!

What good bugs are growing & protecting your garden?

Eating Local: Garden Ratatouille

20120708-182307.jpg Last week was a bit rough at The Soffritto. We, like many other mid-atlantic state inhabitants, lost power for many days & lost my fridge/freezer contents as well. The power came back quite serendipitously as I went to pick up my CSA goodies. On the verge of tears I contemplated what I was going to do with all of the veg & eggs. At that moment I received a text message from my neighbor: "the power is back!" I was (and still am) full of joy & relief. That day I filled the fridge with kale, eggs, cucumbers, squash, green beans, peas, and eggplant. After a few days restoring order to the house I'm ready to start cooking and blogging again - how about some ratatouille?!

20120708-182315.jpg

20120708-182320.jpg

20120708-182325.jpg

Ingredients: -2 summer squash, sliced into discs, with a knife or mandolin -2 bell peppers julienned -3 cups of cherry or grape tomatoes, large ones halved -2 cloves of garlic, smashed -3 Japanese eggplant, or one large - though I recommend the smaller varieties, sliced into discs - 2 shallots or one small sweet onion, diced - 1 tbsp fresh thyme (I used lemon thyme) - a few sprigs of basil (I used Marseilles) - olive oil - salt & pepper

20120708-182405.jpg

Method: - preheat oven to 375, move the rack to the center position - place paper towels on a sheet pan & lay out eggplant discs. Salt them & let them weep while you work on the rest of the dish, 10-20 mins. I like to flip them and salt the other side too. - in a large Dutch oven or sauce pan, add olive oil, shallots & garlic. Cook for a few minutes then salt & add tomatoes - cook until the tomatoes pop, 5-10 mins on low heat, then stir in the thyme -pour the sauce into an oven-safe dish then begin layering the eggplant, squash & peppers. I tucked in a bit of basil as well - season the veg with salt, pepper and a generous drizzle of olive oil - cover with parchment paper and bake for 50-55 mins, check at the 30 minute mark - serve with buttered French bread & finish with fresh basil and another drizzle of olive oil

20120708-182346.jpg

20120708-182359.jpg

20120708-182354.jpg

The final product is a bright & satisfying dish that fills the belly of the most discerning 4 year old, as well as me & the husband. We love it over buttered french bread...makes a good lunch too. If you are a Pixar fan, you may remember this style of ratatouille from the movie Ratatouille. This most certainly plays into my sneaky Mama plans of getting my little dude to take 10 minutes to eat. If you're going for a more rustic take, cook it all on the stove-top and save yourself 30 minutes. I think it's worth the time...and I will be making this a few more times this summer, my eggplant is growing like gangbusters!

20120709-102347.jpg