Starting Seeds * 2012

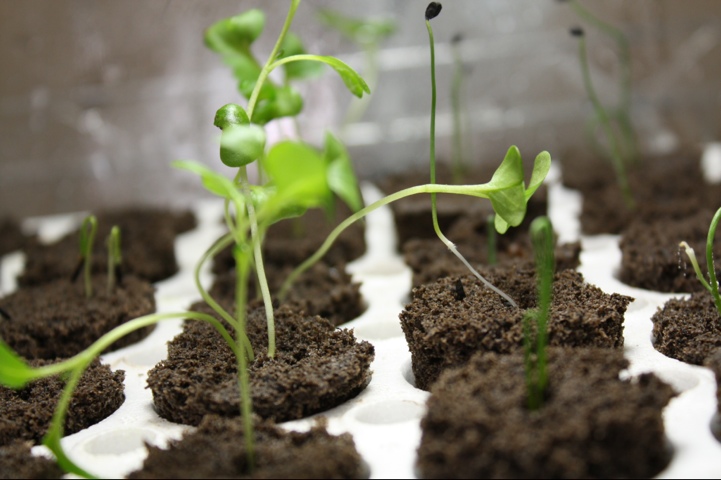
20120226-201140.jpg Spring is on the way, well winter never really got here. Regardless, the gardener is rested and now it's time to start growing the vegetable & herb seeds. In years past, I've grown my seeds & plants in the sunroom but an unnamed 4-year-old has taken over that space. I'm headed down to the basement this year.

Without any natural light in this section of the basement, I needed to build a seed cart. After cleaning out the garage & raiding the depths of my basement I found everything I needed to construct a 3 shelf seed growing station. To be honest - I conceptualized, my darling husband constructed!

The seed cart is made of: a 3-tiered shelf unit, (amazon) 2 grow lights, (amazon) 1 dismantled aerogarden lamp, 3 seed-tray heat mats, (amazon) 4 Park Seed Bio-domes, (Park Seed) 160 peat pot sponges, (Park Seed) 1 timer, 1 surge-protector outlet strip, (amazon) 4 bungee cords & a handful of zip-ties.

It may look hodge podge, but I'm getting fantastic results! And - I didnt spend the $300+ a pre-fab seed cart costs. The items purchased this year - power-strip, peat pot sponges, and seeds.

20120226-201155.jpg

20120226-201201.jpg

20120226-201218.jpg

20120226-201236.jpg

What to grow? Over the last few years, I've saved the seeds from the plants that I harvest, notably from my marigolds. It saves money, makes a great gift, and is a seed with proven results. But....it is impossible to avoid buying seeds. Around New Years my mailbox was full of colorful seed catalogs just begging to be read, over, and over, and over again. Since I grow organic, and I'm not a GMO kinda gal I ordered my seeds from Baker Creek Heirloom Seeds and Fedco Seeds.

Sprouting Seeds: As you can see in the photos above, things are growing. This year I'm employing a staggerd approach to my planting, called succession planting.

Growing (indoors) Now: Lacinato Kale Blue Curled Scotch Kale Red Leaf Lettuce Chervil Rainbow Chard Bianca di Maggio Onion Flat of Italy Onion Pequillo Peppers Purple Bell Peppers Jalapeño Peppers Cayenne Peppers Fish Peppers Orange Pixie Tomatoes Pruden's Purple Tomatoes Purple Cherokee Tomatoes

Seed Planting (outdoors) Soon: Radish Arugula Chioggia Beets Golden Beets Queen Sophia Marigolds Cilantro Dill Rosemary

More (indoor) seed starting soon: Green beans Peas Cucumbers Sweet Basil Thai Basil Thyme

20120226-201250.jpg

20120226-201255.jpg

2012 looks to be an interesting growing year, I'm looking forward to the challenges and successes of growing in the Mid-Atlantic! Are you growing any vegetables this year? Do you grow from seed or from seedlings?

Eating Local: Spicy Salsa Soup

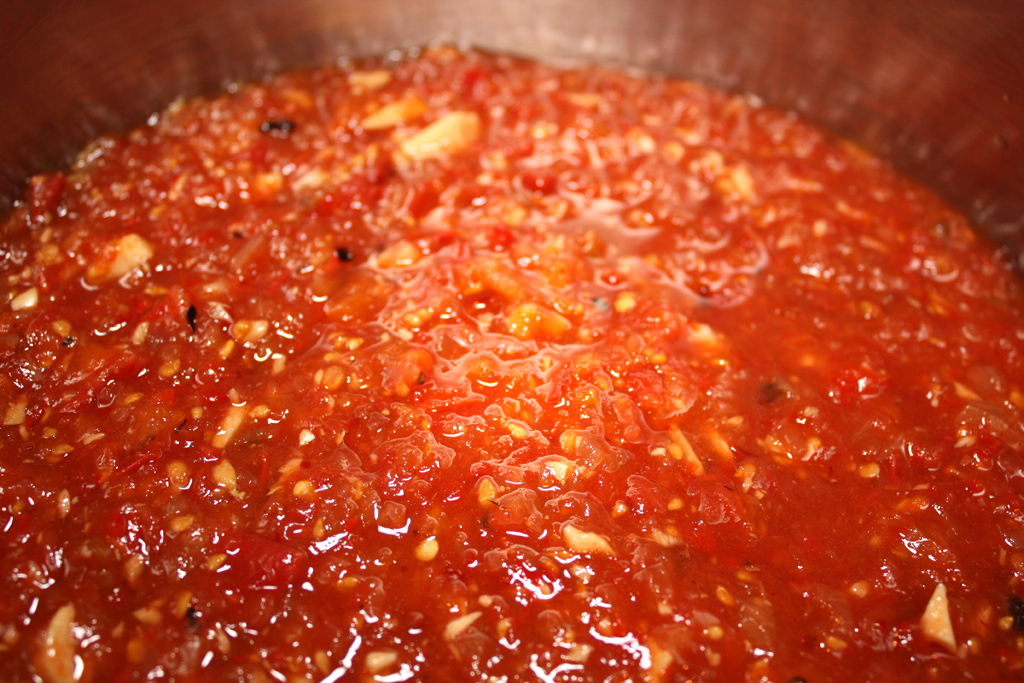
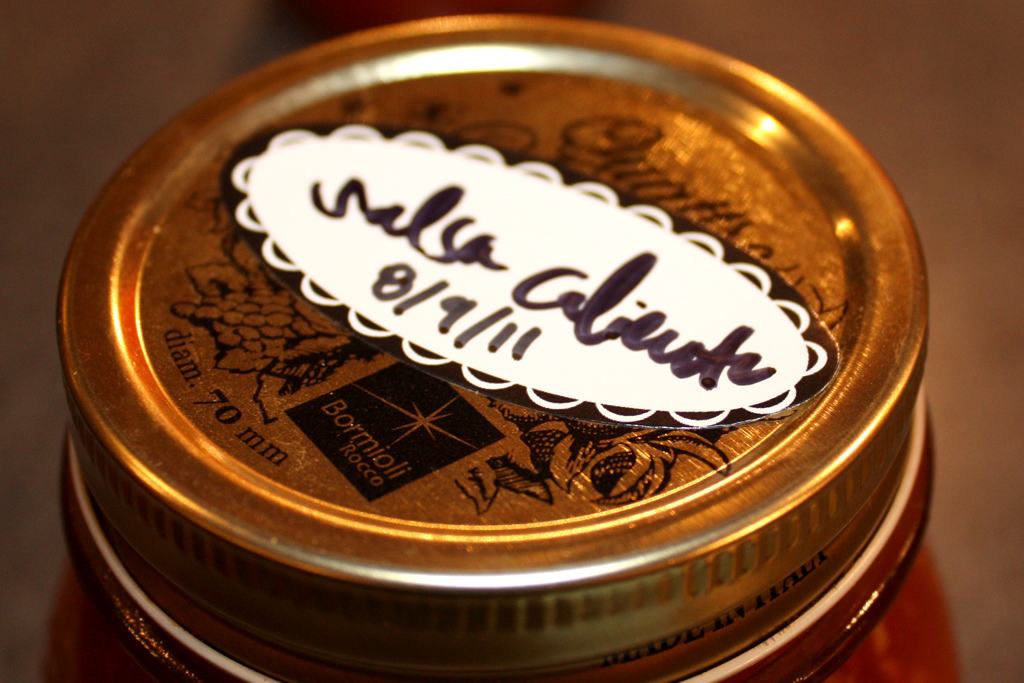
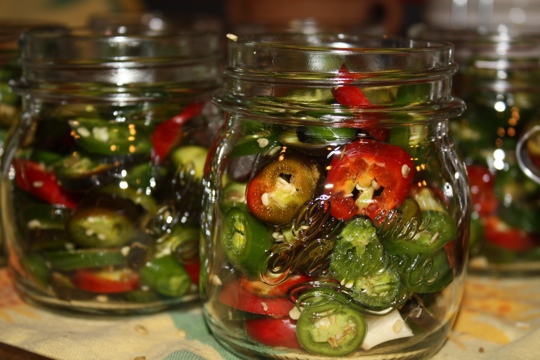
Over the summer I grew then roasted lots of chili peppers (fish, jalapeño & cayenne) and canned lots of salsa. I knew that the majority of the salsa would be enjoyed with chips - but I wanted some to serve as a soup base. My salsa has the three peppers, local garlic, homegrown tomatoes, a little sugar/salt & lemon juice.

For this week's DDC meal I made a spicy soup from one jar of homemade salsa, homemade chicken stock, home-grown & canned roasted red peppers and a splash of local cream. Here's what I did:

Ingredients: 1 jar of salsa 1 jar of roasted red peppers, puréed in the food processor 4 cups of homemade chicken stock 1/2 cup of half and half or cream handful of fresh grated (local) cheddar or chèvre Salt to taste

Method: - put the salsa & stock into a large soup pot, warm over med/high heat - after you've blitzed the red peppers, stir them into the pot - allow the soup to come up to a simmer then drop the heat down to low - stir in the cream, or half & half - taste, then adjust seasoning with salt and/or more cream - top with a bit of cheese & enjoy!

Making & caning salsa is a breeze, even in the heat of the summer! I cannot wait to see how my tomatillos grow this summer - I see some canned salsa verde in my future!

Do you do anything different with your salsa? I bet it would be great as a chili-base too!

Winter Composting

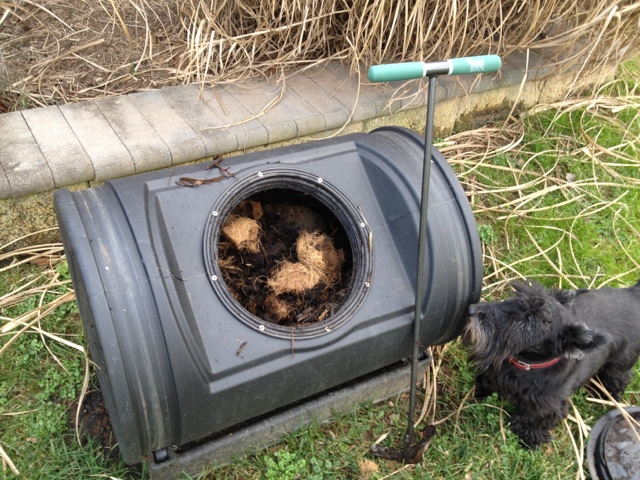
My 2011 resolution was to start composting food scraps & yard waste, and I'm happy to report that in 2012 I'm still going strong! It took a bit of research to figure out the best composting method for me. Since I live in an area with quite a bit of wild-life as well as a lot of homes, I needed a composter that would keep the pests completely out, and keep me in good with neighbors. After reading Let it Rot: The Gardener's Guide to Composting,(Stu Campbell) I decided on an enclosed compost tumbler.

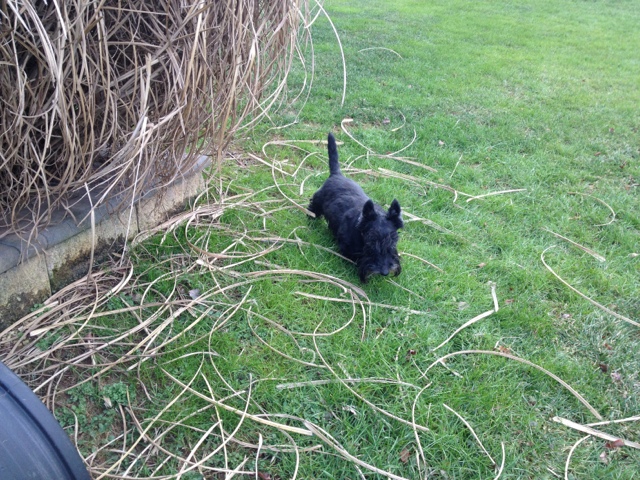
Once a week, more often in the summer, my darling husband, (often joined by our ferocious Scottish Terrier Jay,) takes the food scraps out to the composter, gives it a turn & voila he's done! To keep this easy, and as mess free as possible, we keep a small food scrap bin (with a charcoal filter) under the kitchen sink. We put fruit, vegetables, crushed egg shells, crushed shrimp shells, tea leaves, coffee grounds, & hops from beer brewing into the composter. We also have a large group of worms that live inside the bin. Every once in a while I'll see one burrow down into the scraps after I've turned the bin.

Other than food & garden scraps, many people add manure to their compost. Since I don't have a steady supply, I rely upon worm castings. Worm castings are the by product of the worms eating all of the compost, aka: worm poop. Ultimately, the composted scraps, yard waste & worm poop will be mixed in with the soil for all of the plants in my 2012 garden.

We haven't had a deep freeze or heavy snow yet, but I am a little nervous that either the compost bin wheels or lid may freeze. In case the wheels freeze, I bought a compost turner (see the first image) that will allow us to keep the oxygen flowing inside the bin. If the lid freezes, I'm not sure what we'll do. I guess we could build a worm composter and keep it in the basement, oh my three year old would love it!

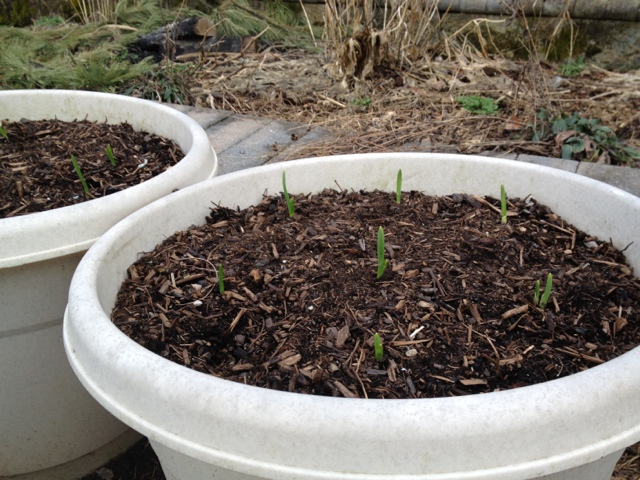
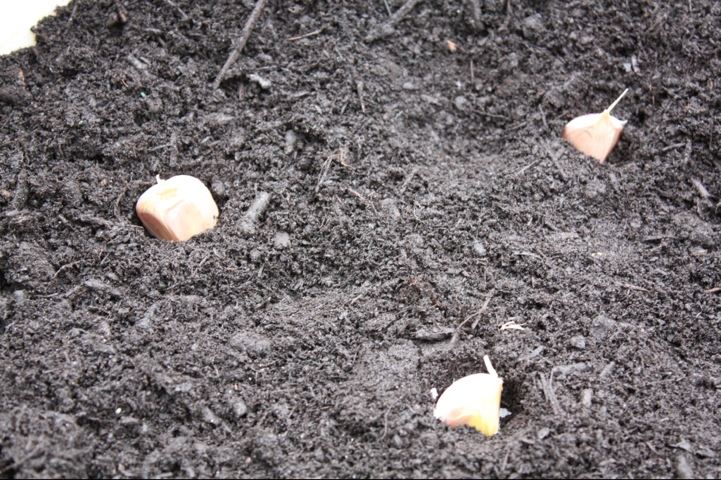
One of the first plants to receive a gluttons-helping of compost will be my garlic. In October, I planted the bulbs and I have high hopes that my generous supply of compost then, and again in a couple months will result in an abundance of bulbs by June. As you can see below, I've got sprouts!

No matter where you live, apartment, townhouse, or sprawling mansion, there's a way for you to compost your food scraps too. Just recently, a county in Maryland expanded their curbside food scrap recycling program. Talk about service! This is program has a lot of local gardeners excited because it also means the county will increase their production of local compost for purchase! Often, compost purchased at a garden center is priced 2x (or more) higher because the compost is shipped in from another state or across the country.

Even if a curbside pick-up program makes it's way to my neighborhood, I'll continue to compost so that my garden can benefit organically (on the super cheap!) from my kitchen scraps & garden waste.

Breezy Willow Farm

Over the weekend, I packed up the crew and we visited a local Maryland farm that's still producing! Breezy Willow Farm in West Friendship, Maryland, recently opened their farm-store from December-March, and I'm so glad they did.

I picked up a lot of great stuff to keep me going during the eat-local Dark Days of Winter Challenge. The farm is growing and has a root cellar full of broccoli, beets, onions, garlic, red potatoes, fingerling potatoes, and butternut squash. The farm also has a steady supply of eggs, pork, beef & chicken. Veg & protein aside, they've also partnered with local mills and bakeries to source locally produced grains, noodles, & bread. The Breezy Willow Farm Store is fully stocked with canned jams, honey, tomatoes, pickles, sauces, mustards, AND they make their own soaps & scarves - this farm is treasure trove!

While my husband and son walked the grounds to see the big tractors & livestock, I learned all about the farm, the farmers and their dedication to organic, sustainable, and local products. Their hearts are really in this. I'm fortunate to have Breezy Willow a stones-throw away from my home, and I recommend visiting or checking out their website (they sell many of their goods through their online shop). The Breezy Willow Farm Store is open Saturdays from 10a-2pm now through March and their Spring & Summer 2012 CSA membership is open for sign-up.

Tomato & Rosted Red Pepper Soup

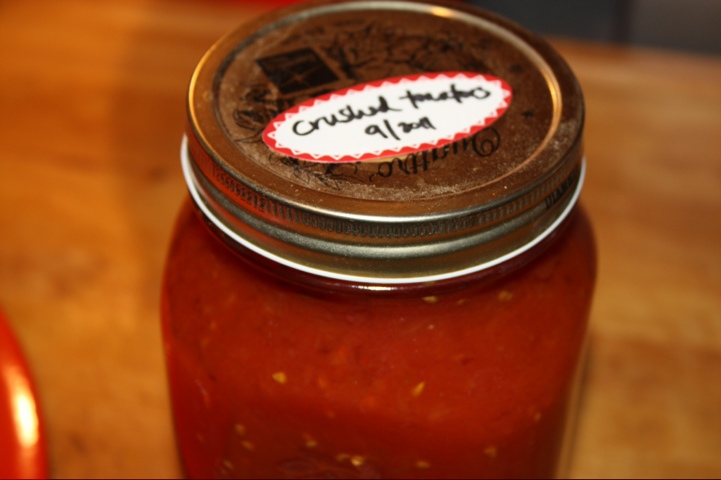
Heading into the holiday weekend, I wanted to keep things light and simple. For this week's DDC meal, I'm looking into the canning pantry and doing another soup. Over the summer I put up a lot of jars of tomatoes and peppers in the hopes of making a tomato & roasted pepper soup. Here's how I did it: Ingredients:

  • 1 large jar of crushed tomatoes
  • 1 large jar of roasted red peppers, drained & diced
  • 1 small carrot diced (from a local coop via Roots)
  • 2-4 cups of homemade chicken stock
  • 1 small red onion, chopped (saved in my basement from CSA season, I stocked up!)
  • 2 cloves of garlic, pulverized (saved in my basement from CSA season, I stocked up!)
  • 1-2 tablespoons of butter (in lieu of olive oil)
  • 1 tsp dried thyme leaves (from the garden)
  • 1/4 cup of cream (from Trickling Springs) depending on how creamy you like your soup
  • Salt & Pepper
  • Garnish: Chipotle Chevre from Cherry Glen, 1 dried chopped chili pepper (from the garden,) or some fresh herbs if you have any growing.

Method:

  1. Warm a large dutch-oven over medium/high. Add butter, carrots, onions, garlic, and thyme.
  2. Sweat the veg until soft & translucent (10-15 mins), season the soup with salt & pepper as you go
  3. Once the veg are soft, add the peppers and tomatoes. Cook on medium for another 10 or so mins
  4. Add the chicken stock and bring to a slow simmer for 30-45 mins
  5. Right before serving, us a stick blender to liquify the soup, or ladle (a little at at time) into a blender, pulse until smooth. Be careful - and hold onto the top of the blender hot foods + blenders can be tricky!
  6. Pour into bowls, spoon in the desired amount of cream & stir. Top with desired condiments & enjoy!

*Note - we cannot live on soup alone, so while the soup simmered I made grilled cheese sandwiches with a local cheddar and a local goat cheese on some local bread! All from Roots Market.

**Another Note - this is easy converted into a vegetarian dish by swapping out the chicken stock for vegetable stock. I haven't found a reliable recipe for veg stock, if you have one please share!

Still Growing Strong: Chard, Radicchio & Arugula

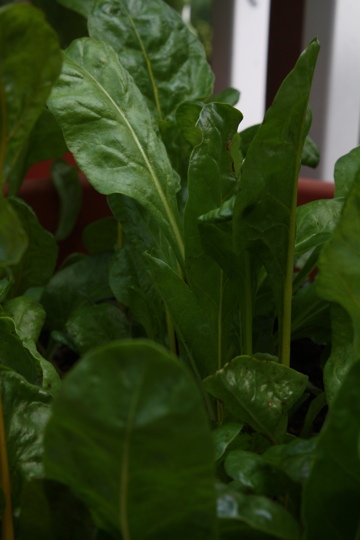
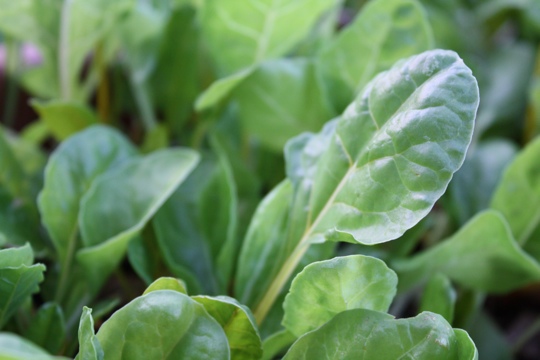
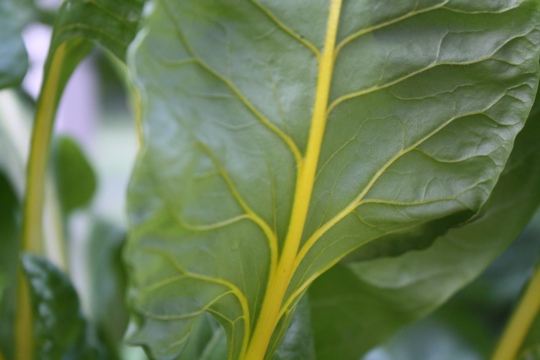
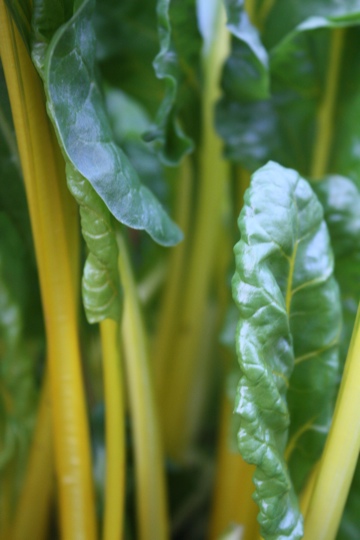
golden chard
golden chard

Last week I covered up the outdoor furniture, moved the planters off of the deck-rail, and I noticed that a few things are still growing, in December! Three containers of chard, one container of radicchio, and one container of arugula are bright green and couldn't be happier.

I made use of the radicchio & chard in a gratin, and used the arugula in my first Dark Days of Winter Challenge dinner. I don't know how long the greens will keep going, but I plan I using them at least once a week.

Anything still growing strong in your garden?

Challenge - Eating Local

A few weeks back I joined the 5th Annual Dark Days of Winter Eat Local Challenge - and it started Sunday! The folks over at Urban Henry have been doing this for 5 years, and this is my first go at it. Once a week I'm challenged to make a sustainable, local(radius of 150 miles), organic, ethical meal; breakfast, lunch, or dinner. Looks like all of my canning and preserving will come in handy, but this will certainly be chalkenging. My first post will be this Friday!

Know of any DC/Baltimore area Farmer's Markets? I'm also looking for local cheese and meat purveyors. Post or email me your recs, and recipes - I'll need them from now through March 2012!

gifts from my garden

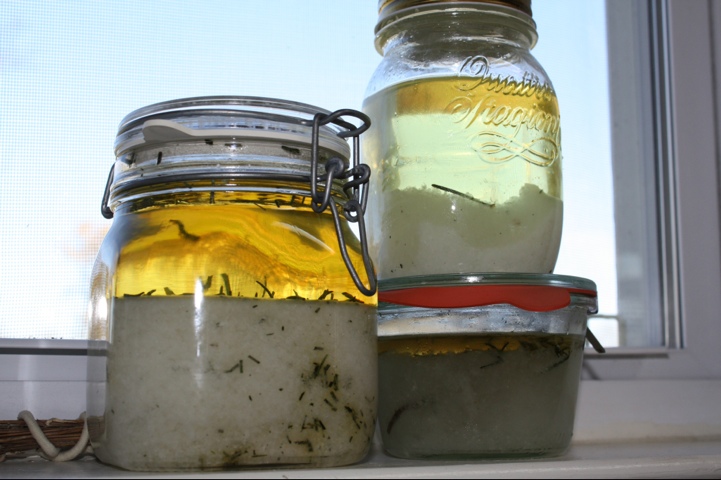
It all started with having too many glass jars. I wanted some non-edible, but equally delightful, treats from the garden. Why not make my own salt scrub? I poured through my cupboards looking for what scented my fav bubbles, scrubs and balms. Over and over again it was lemon verbena, rosemary and lavender - items growing in my garden!

So I scoped out Amazon for oil & salt. Then I cut & dried the rosemary and lavender... and pulverized my lemon verbena leaves in my food processor. The last ingredient is essential oil, and I found a variety at my local organic market.

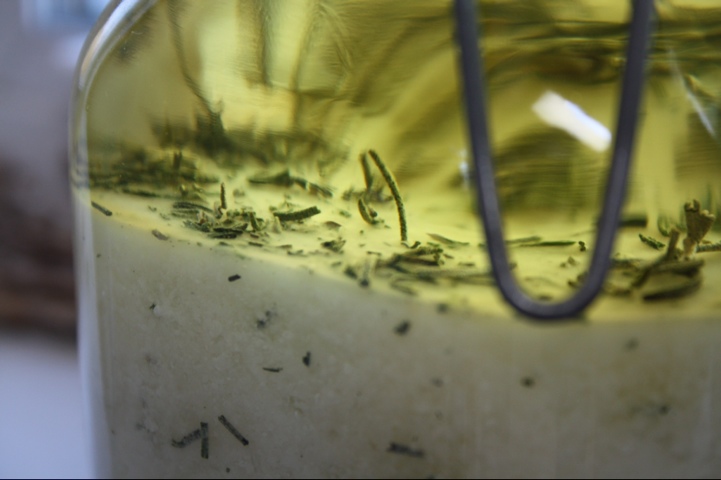
I filled the jars with salt (about half way), the herb of choice, a few drops of the corresponding essential oil (the stuff is very strong) and slowly stirred in the massage oil. Two gallons of oil, two containers of salt and three teeny jars of essential oils made 15 jars of scrub! I love the scrubs - so much so that some of my family and friends may receive a jar of scrub for Christmas!

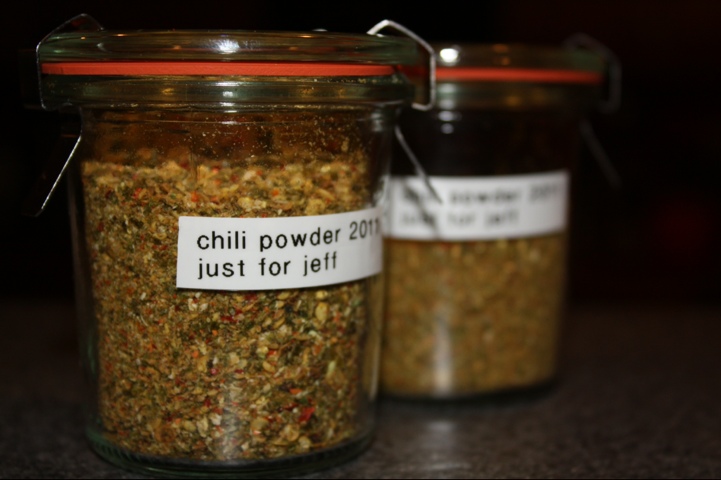
chili powder for jeff

This week I harvested the last of the hot peppers to make chili powder for a dear friend. Starting last year, I made a special batch of chili powder and Im continuing the tradition. Ripe/unripe fish peppers, jalapeños and cayennes made their way into my dehydrator on Saturday. After 3 days of drying out, I popped the peppers into my food processor and promptly began to cry and choke on the capsaicin filled air. But my work was not done. The food processor only crunched and chopped the peppers - I sought a finer powder. After digging in my cupboards, I found an old coffee grinder! The (old, out of service, aka not used for grinding coffee beans) coffee grinder is perfect for pulverizing the bits of chili into powder. Fifteen minutes, and several crying sessions later, I had one and a half jars of chili powder. For you Jeff, I make this chili powder annually with literally my own peppers and tears.

20111024-200157.jpg

autumn gardening: hardneck garlic

20111024-150620.jpg Most of my October garden-time involves harvesting the last of the summer gems like peppers and tomatoes, but this week I'm actually doing a little planting too. October is the time to plant garlic bulbs! A few years ago, I tried to plant garlic shallots, but nothing came of it. This year will be different. I've read-up on the ins and outs of garlic growing and I am ready to try again.
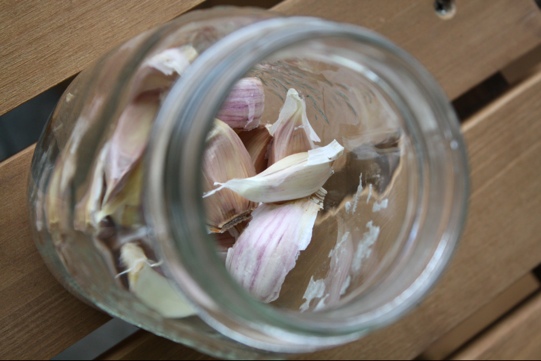
Step One - get garlic bulbs. You can order them online from various seed vendors, but the best bulbs come from your local CSA, farmers market, etc. Not only is this more economical, but you are also going to get a variety that grows well in your climate. It is important to note that bulbs from the local grocery store have most likely been treated with a chemical to keep the bulbs from sprouting, so they won't grow. Additionally - these bulbs are probably old and not from your neck of the woods. All of the garlic in my local grocery store is from California. What grows in Cali may not grow well in my garden zone.

20111024-150635.jpg

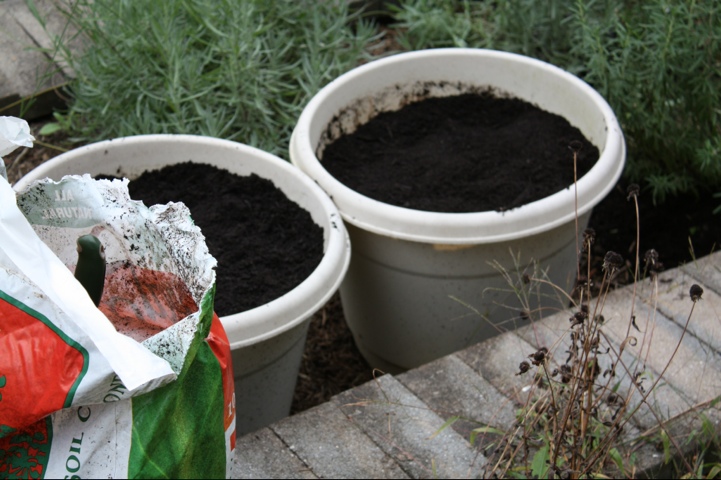
Step Two - soil and compost. Since 99% of my gardening is done in containers, I'm growing the garlic in containers too. In the Spring, I shoveled out a space in the planterbox for each container and attempted to grow corn - something else to work on next year. I pulled out the corn remains and amended the soil with loads of compost.

20111024-150647.jpg

Step Three - planting the bulbs. Separate the bulbs, you do not need to remove the papery husk from each bulb. Leave 6 to 8 inches between each bulb for root growth. Plant the bulb tip up about 1/2 an inch into the soil. Then cover with 2 inches of compost. No I do not measure this with a tape measure or ruler, just eyeball it.

20111024-150704.jpg

Step Four - water and wait. These containers have been vacant since August so the soil was fairly dry. I watered the bulbs liberally, and will do so again every few days (unless it rains.) The roots will grow until a deep freeze sets in. I wont pay attention to the bulbs until after February. Fingers crossed for a good harvest come May/June!

Where did September go?

20110930-130422.jpgThe summer garden is winding down, and I've been wrapped up in my day job. While much of September was spent in the office or on travel, I did find some time to can tomatoes, dry herbs, dehydrate hot peppers, and stockpile pesto in the freezer.
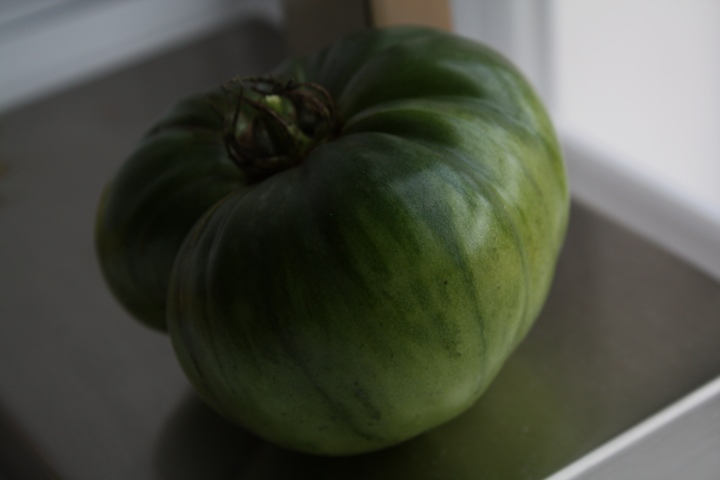
My cucumbers are long gone, bell and hot peppers have stopped ripening, and tomatoes are hanging in there but have slowed to a crawl. Any greenies I find, come inside to ripen on a sunny windowsill.

20110820-013220.jpg 20110820-013229.jpg

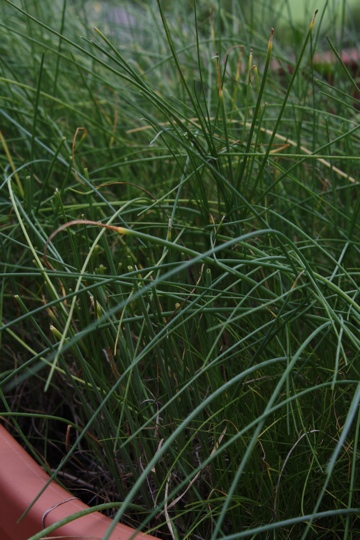
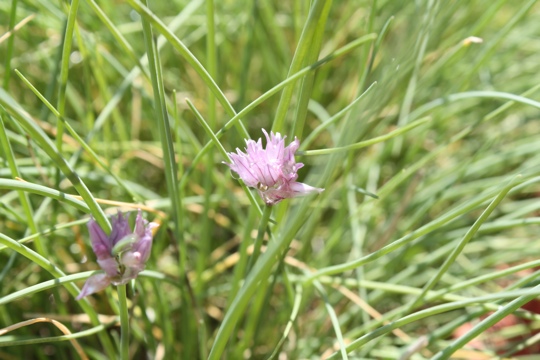
A few crops like salad greens, radishes and beets are making a comeback! And my golden chard, cilantro, and chives love the cooler temps.

20110820-013150.jpg
(cilantro)
20110820-013159.jpg
(chives)
20110820-013207.jpg
(golden chard)

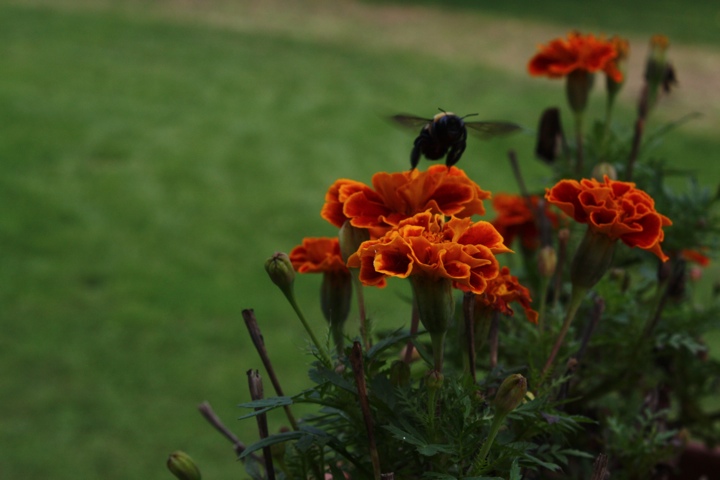
This lone bee in the marigolds reminds me that I'm six months away from doing this all over again. I do enjoy all of the fall crops, but there's nothing like sowing the first seeds of spring and the anticipation before plants flower and veg ripens.

20110930-130541.jpg

In the coming weeks I'll attempt to clean up the garden, can applesauce and plant some garlic bulbs...results coming soon!

How did you wrap up your summer?

One Butternut Squash

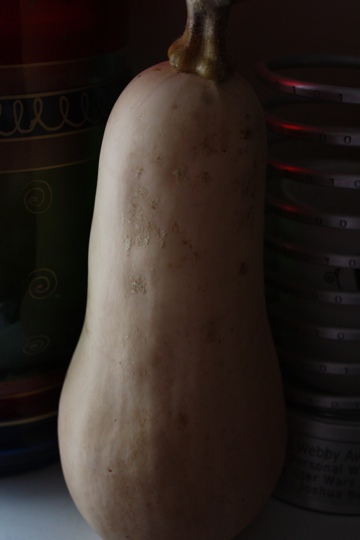
20110926-161152.jpg From February seed, to slowing September plant, I harvested one (measly) butternut squash. At first I was a little bummed, but one is better than none, right?

So, I'm trying to come up with a knockout recipe for my singular beauty...not risotto (though it's a fav in my house)...not soup, I've been asked to whip up a pumpkin soup next week...so what should I make? My garden gave me one and I feel compelled to make something completely brilliant, I just don't know what...

(not hot) Peppers

20110820-013100.jpg Last week my CSA newsletter mentioned that the stinkbugs spoiled their bell pepper crop this year. While their offerings were a little on the small-side, I didn't mind, my peppers are rockin! This year, I grew bell, sweet, and pequillo peppers on the deck, and all the spicy peppers out front. I'm not exactly sure why I had a better yield than the CSA. But I think a few factors contributed, (1) each pepper plant is situated next to a marigold plant, (pests hate the fragrance of marigold), (2) I frequently pick and squish stinkbugs, (3) I released ladybugs into the garden three times this year in the hopes that they'd eat the stinkbug eggs, and (4) i fed and added compost to the plants every two weeks. Whatever I did, or maybe this is all a coincidence, it worked.

The Plants:

20110820-013150.jpg 20110820-013159.jpg 20110820-013207.jpg

My peppers have been steady producers all year, and might continue into the autumn - and we are not tired of them yet! The fresh peppers made their way into numerous dishes, including gazpacho and chopped for dipping into hummus, I canned and froze ripe roasted peppers. The preserved peppers will be a welcome treat when making hummus, chili, tamale pie and tortilla soup this winter.

20110820-013220.jpg Bell Peppers 20110820-013229.jpg Pequillo Peppers

20110820-013238.jpg Sweet Peppers

Ignoring Carrots

20110824-113805.jpg Container gardening can be limiting at times, but I can usually find a way to grow what I want by changing the variety. I'm fascinated with root vegetables, beets and carrots in particular. When it comes to carrots, I grow the little round baby carrots. Parmex-baby ball, Parisienne,and Tonda di Parigi, are a few varieties of this little orange gem. Instead of straight down, these carrots grow round, and are perfect for container gardening. Their flavor is dynamite, and I thought any excess would make a killer indian-spiced pickled carrot.

Admittedly, this year I was a bit lazy with my carrot planting technique. I picked two containers, made (quasi) rows, tossed in the seeds and covered with soil. Carrot seeds are teeny, and I have been known to have little patience when it comes to seeds so small you forgot if you planted them or not!

20110824-113816.jpg

Well - I pretty much forgot I was growing them until today. I was cultivating the tomatoes, coaxing the cucumbers, and flicking stinkbugs off of the pepper plants when I noticed that the carrot tops were getting pretty tall. I reached down and pulled out a beautiful carrot - though not quite ready for a full harvest. In about a month I'll have a on of these beauties.

20110824-113831.jpg

20110824-113848.jpg

20110824-113855.jpg

If the cucumbers give up on me this week, I may amend the soil with compost and get in another planting of carrots....or maybe beets...

Chives

20110822-071610.jpgThree cheers for this garden champ! Chives grow easily in my garden, and winter surprisingly well. Last year, this container of chives was only six months old when it was covered with it's first snow. It survived temperatures in the low teens, and complete neglect from me. Early March, I was counting, organizing and cleaning containers for spring planting when I pulled back the brown and yellow chives to find green shoots looking for some sun. This was a moment of pure joy. The trees were bare, my yard was still cold and grey, but I had green chives!
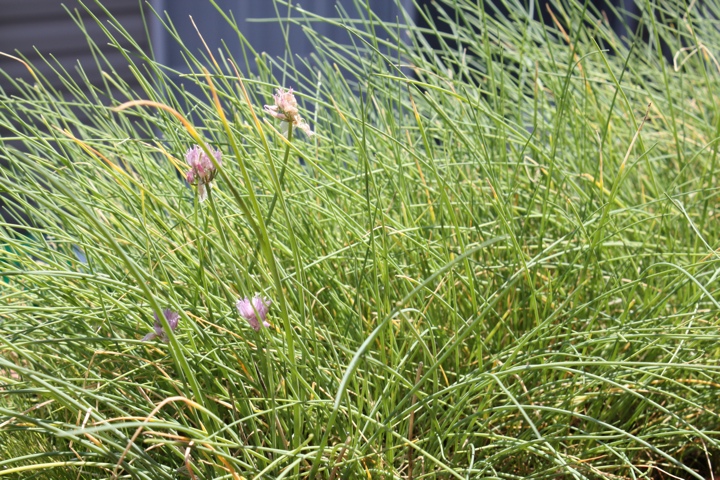
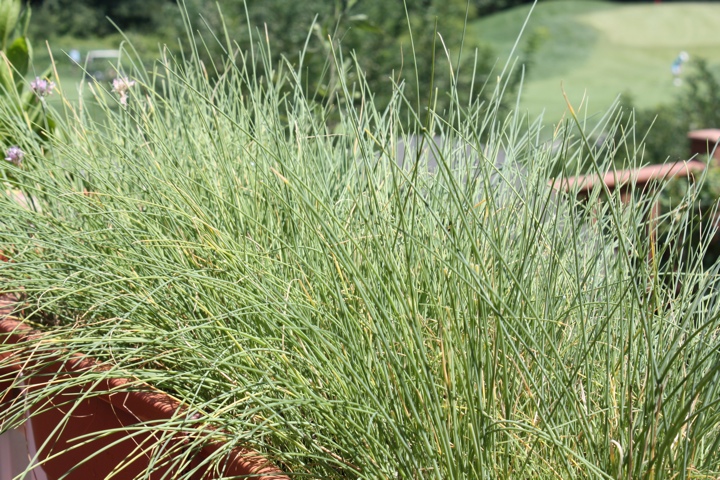
As I inspected the soil and bald patches of the chives, I realized I could carefully lift and separate the chives from the dried soil, as if I was going to roll up sod. So I tossed the sad wintered soil into the compost and filled the container with rich organic soil. I carefully laid the chives (and the remaining soil they clung to) onto the new soil, and filled in the "bald" spaces with new chive seeds. This growing season, I've been dazzled by chive blossoms twice and hope they continue to thrive.

20110820-014258.jpg

20110820-014305.jpg

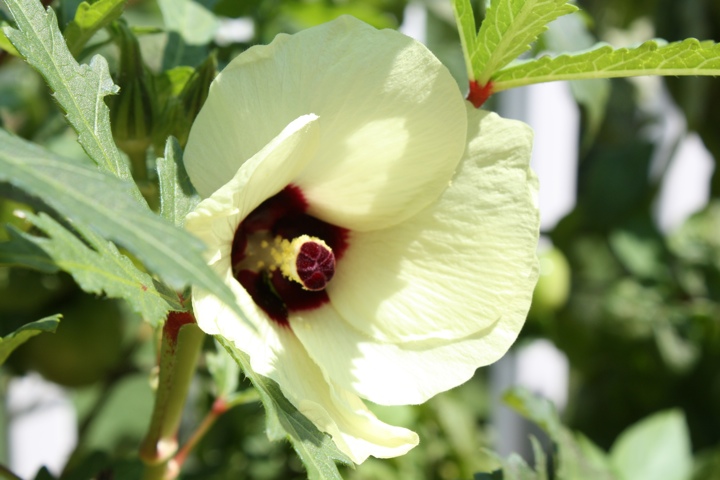
Okra

20110820-025057.jpgThe newest addition to the garden this year is Okra. During the winter there was an okra shortage and I couldn't find frozen okra at any of the seven zillion grocery stores near me. After being denied delicious home-cooked gumbo and jambalaya during Snowmageddon 2011, I vowed to grow it myself.

Okra loves heat, moisture and the muggy-swampy weather of Louisiana, it's perfect for Mid-Atlantic gardens! I started my plants from seed in March, and they grew insanely fast. After an April transplant to a larger pot, they grew steadily but were not ready for 24 hours of outdoor time. The final transplant for the 4 plants to their home outside, came in May.

20110820-013514.jpg 20110820-013551.jpg

My first gumbo of the season was tasty, but it was clear that I had let some of the pods get too large, it was like eating delicious splinters. Now I venture out everyday looking for pods around 2-4 inches long, 3 inches is optimum. I had hopes of pickling okra, but I don't get enough pods in a week to justify hauling out the canning equipment. Perhaps a second container next year will do the trick.

When I'm not frying or grilling okra, I'm blanching and freezing the pods whole. I'm determined to have piping hot bowls of gumbo to warm us up when the temps drop into the teens this winter!

20110820-013528.jpg

A unexpected benefit of okra - these beautiful flowers. I'm head over heels for this veg and will have a space for it in my garden for years to come.

Pollinators

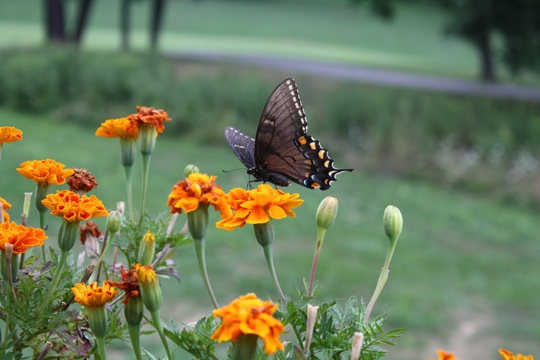
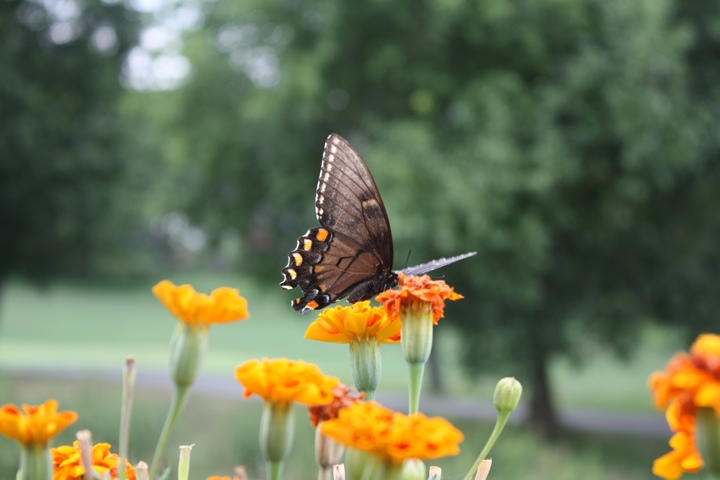
The garden has been full of honey bees, ladybugs, and other pollinators all summer. This is the first year I've seen such large butterflies. A few days ago this butterfly went to town on the marigolds. Usually as I creep outside with my camera they flit away, but not this time!20110819-102818.jpg

This morning, I found a butterfly and moth research website powered the Big Sky Institute at Montana State University. The site helped me to identify my butterfly by narrowing down, the state, wing coloring and markings, and wing shape. After a few minutes of clicking through images of other Maryland butterfly species, I found mine! The butterfly in my garden is a Pipevine Swallowtail and is found all across North America.

20110819-102733.jpg

I'm not sure if it's the digging in the dirt with my (bug obsessed) son, or just the extra time in the garden, but I find myself learning something new about nature each day. There are still a few creepy-crawlies that I'll squish (stinkbugs) or swat at in an instant. But now, I inspect and research the bugs in our garden. When in doubt, I'll debate the bug's merits with my son and we decide on whether it's a good bug or a bad bug.

The Pipevine Swallowtail is certainly in the good bug category, and is an awesome pollinator. The butterfly swooped through all of the plants in the garden looking for nectar, and probably a place to lay some eggs. This butterfly spent close to 20 minutes in my garden, 10 of which were spent with me annoyingly taking pictures. Having flowers in and around my container garden certainly helped to attract the butterflies, ladybugs, bees and others up to my deck garden this year.

20110819-103012.jpg

20110819-102624.jpg

Drying Herbs

20110815-065108.jpg

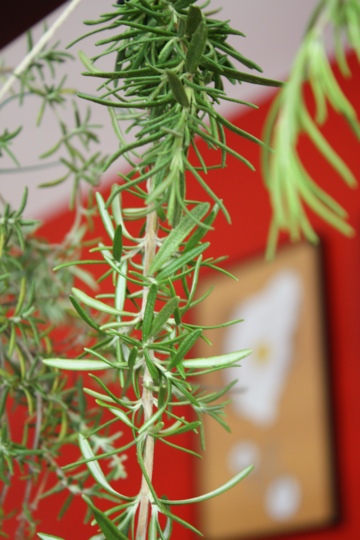
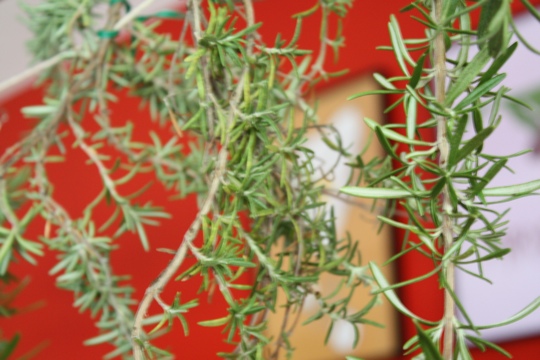
Year after year I can count on the herbs in the garden to provide a bounty of flavor through the growing season. But I want the flavors of sage, thyme, rosemary, and the like in the coldest months, when we have so much snow i cannot possibly find them! Last year, I did just that! Each June I take stock and I devise a plan to start drying herbs and store them for future use.

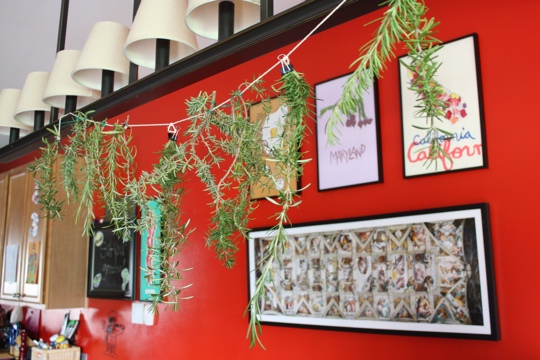
There are a few different methods, I tend to use air drying and also employ a dehydrator. I like to air dry rosemary, sage, and lavender because they don't loose their leaves until you pull them off. Tie the woody stem on to kitchen twine and let them hang over the dinning room table. After a week i check to see if they are dry and brittle enough for storage. All of the herbs are eventually packed into little air-tight glass jars and put n a cool, dark pantry.

20110815-065139.jpg

20110815-065122.jpg

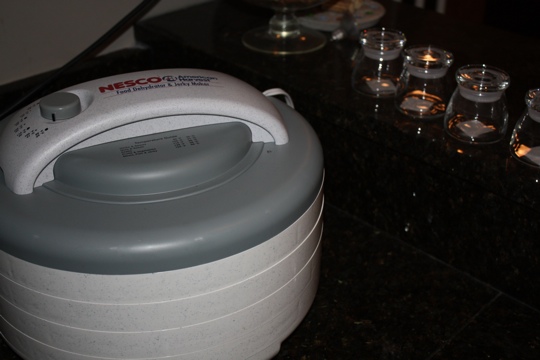
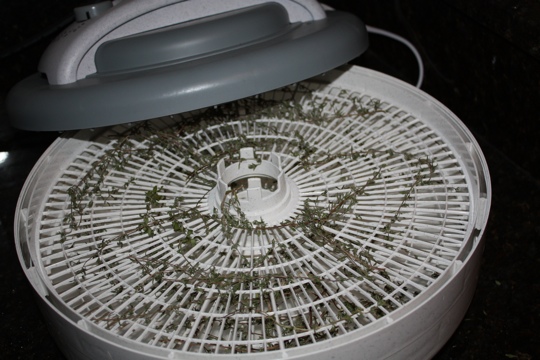
Oregano and Thyme, on the other hand, start to shed their leaves early in the drying process. I found the best way to dry and preserve their leaves is with a food dehydrator. This process takes about 2-3 days, depending on the amount that I'm drying and the thickness of the leaves. The only drawback is, you can only dry one type of herb at a time.

20110815-065223.jpg Bundle of thyme. This will fill one small glass jar.

20110815-065153.jpg Here's my dehydrator, I use a Nesco. They are easy to use and you can find them on Amazon.

20110815-065214.jpg

20110815-065205.jpg

In addition to drying herbs, food dehydrators do wonders with hot peppers!

Saving Seeds

20110806-025655.jpgOver the past two years I've grown most of my vegetable plants from seed. Some plants are best grown into seedlings and then transplanted to their growing location, like tomatoes and eggplant. While other plants are best grown by planting the seeds in the container or location you ultimately set aside for them, also known as "direct sown." Root vegetables, like carrots and beets, prefer to be direct sown. Marigolds don't seem to have a growing preference, it grows well direct sown or through transplanting. Marigolds are also champion seed producers. In May, I noticed that some of the flowers were starting to die-off while new buds were emerging from the plants. I examined the bud that was dying off and found that underneath the flower the was a ton of seeds! I plucked a few more dead-heads from the various marigold plants, and decided to scatter the seeds around all of the containers in the garden. Now almost all of my containers have a marigold plant growing right along with them.

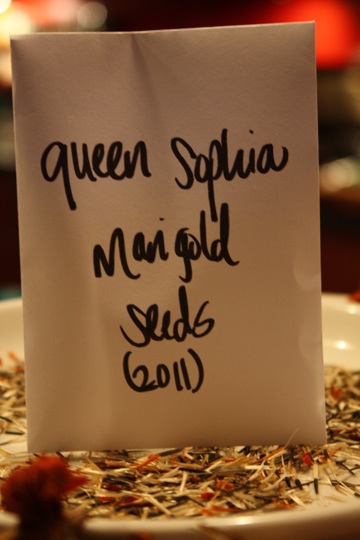
Queen Sophia Marigold just blooming: 20110806-025552.jpg

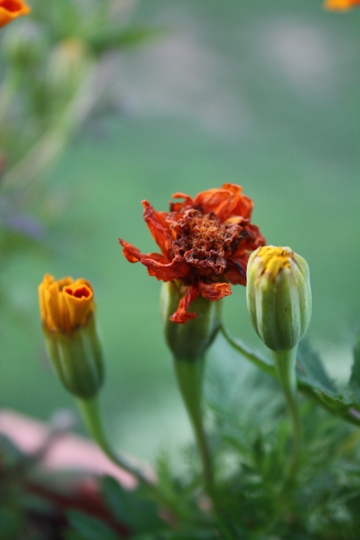
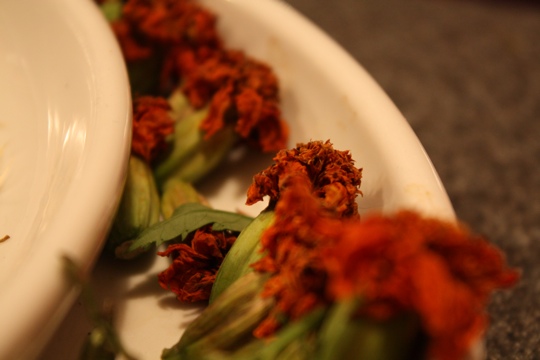
Marigold buds and a bloom going to seed: 20110806-025608.jpg Around this time, I pluck the bloom that is going to seed and bring it inside to dry out. I don't pluck every "dead-head" but I like the idea of harvesting my own seeds for future flower beds. The seeds will also make great gifts come holiday time.

Marigold blooms drying out: 20110806-025641.jpg

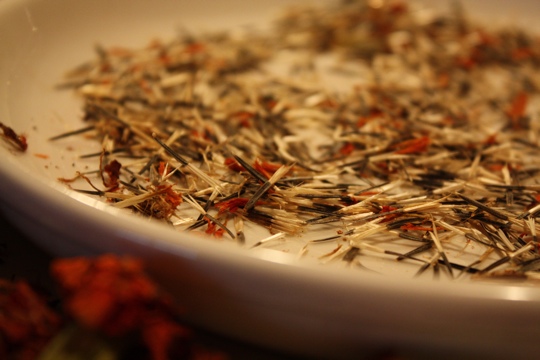
How I Save Seeds: After the blooms have dried out, I remove the remaining flower petals and pull the seeds from the seed cavity. I allow the seeds to air dry for a week before storing them in envelopes and then file the seeds away in my seed-box. On average, seeds are viable for 2-3 years, if you want them to last even longer, store them in the freezer.

There are numerous seeds that are just as easy to save; hot and sweet peppers, and herbs like dill, basil, chervil and coriander. You can save the seeds in a plastic bag, or in plain seed envelopes. Just make sure to store them in a cool, dark, dry space. Next year I may try my hand at saving tomato, eggplant and squash, seeds but for now these marigolds are keeping me busy.

Seed packets for next year: 20110806-025704.jpg

In addition to saving a little money, saving seeds helps me to share the beautiful flowers and plants for generations to come.

I Love Chard

20110806-023906.jpgWhen my gardening adventure was in its infancy, my Nana advised me to grow chard. She went on and on about it, easy to grow, easy to cook, so good for you, etc... So I half-heartedly grew some rainbow chard last year. Chard was not sexy. Heirloom chard does not grow any differently than regular chard, it did not excite me in the way tomatoes and peppers did. I used it a few times but I did not tend to it and basically ignored it.

20110806-023951.jpg

I had it all wrong. Throughout the winter, I bought quite a bit of chard. Nana was right - It cooks just like spinach! After washing it, remove the leaf from the stem. Then chop up the stem and sauté it olive oil. Chop up the leaf while the stem cooks. Once the stem has softened, toss in some garlic and the chopped up chard leaves. After it cooks down, eat it as is or on brushetta. It's divine with homemade marinara and pasta - i could go on and on - chard is amazing.

After i realized the deliciously wondrous world of chard, I made considerable space for it in the garden. I'm head over heels for this stuff. I ordered the golden chard from Fedco Seeds back in February, and it is still going strong. Earlier in the season it shared a container with my green bean plants, and now it's growing with some late blooming peppers.

20110806-023936.jpg

20110806-024005.jpg Each evening I check in with the plants and give them a sip of water after a long day of growing beneath the scorching sun. I love how the just-watered chard almost smells like it's cooking...it stops me in my tracks and has me thinking about how I can cook with it this week.

Nana was right, and I'm fortunate to have listened to her garden tips and stories. Each growing season I grow the chard for my own family table, but mostly I grow it to see her golden hair every time I glance at the golden chard.