Market, Two Markets

20120603-142103.jpg

It's the last weekend before i start my Breezy Willow CSA pick up but I need veg for the first week of the SOLE Challenge! For much of May, I relied upon farmers' markets for local produce, cheese, honey, baked goods & meat. Today I hit up two local farm stands, Jenny's Market & Harbin Farm.

20120603-142116.jpg

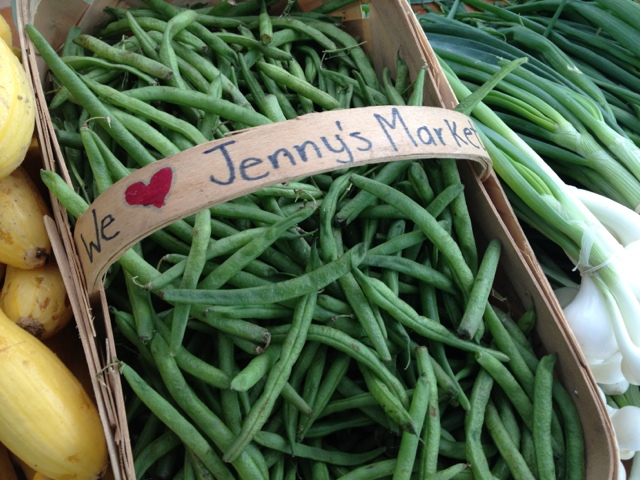
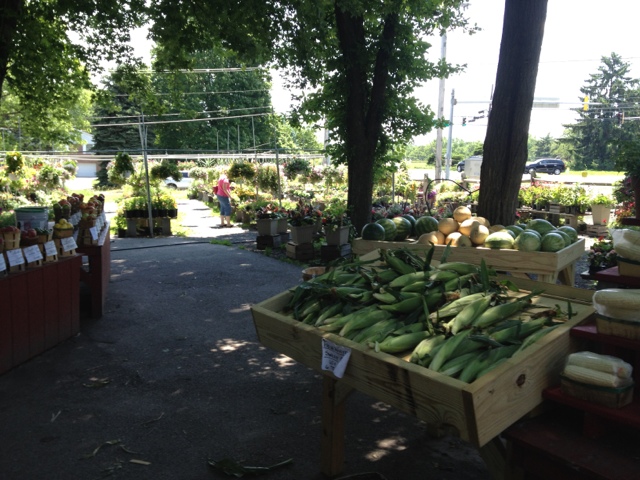
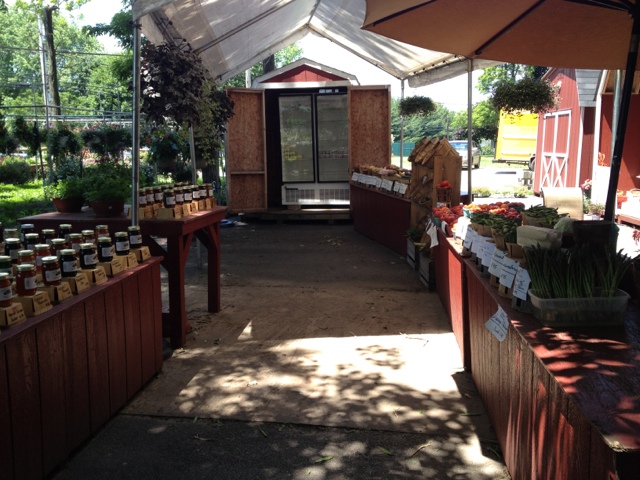
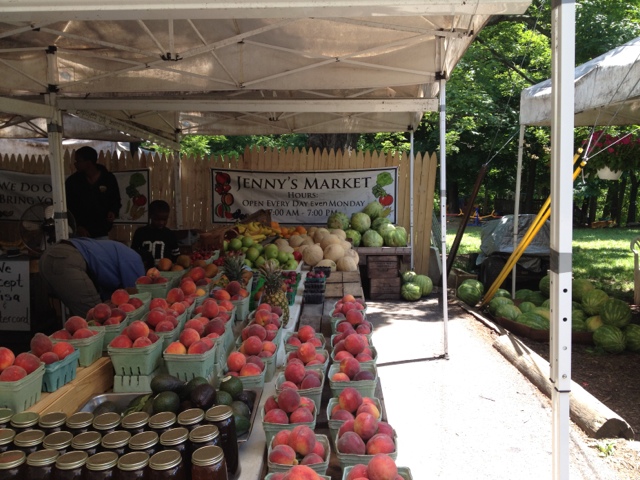
First up is Jenny's Market, located on East Ivory Rd just off of 32 & Ten Oaks Rd. Jenny's carries produce from all over the East Coast, but specializes in Maryland veg & fruit when it is in season. Today I picked up some gigantic spring onions, clover honey, pickled cucumbers, peas, and some banana bread.

20120603-142125.jpg

20120603-142134.jpg

20120603-142146.jpg

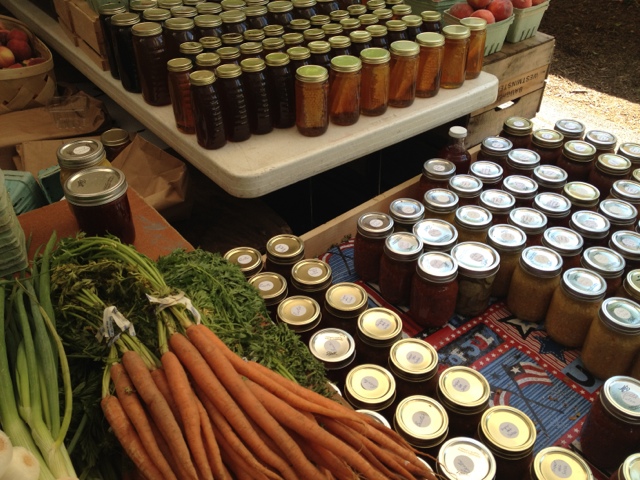
As you can see, Jenny's has a wide variety of baked goods, local produce, canned goods (from last years local harvest), herbs & plants. For years I've seen the signs for Jenny's (the ones on route 32 & Ten Oaks) and I'm glad I stopped by today!

20120603-142152.jpg

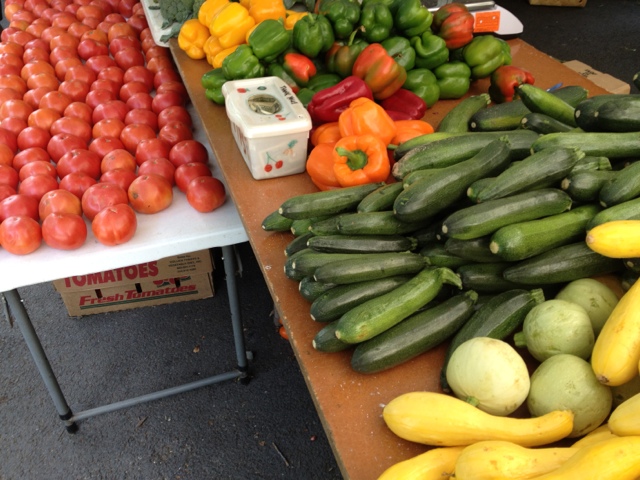
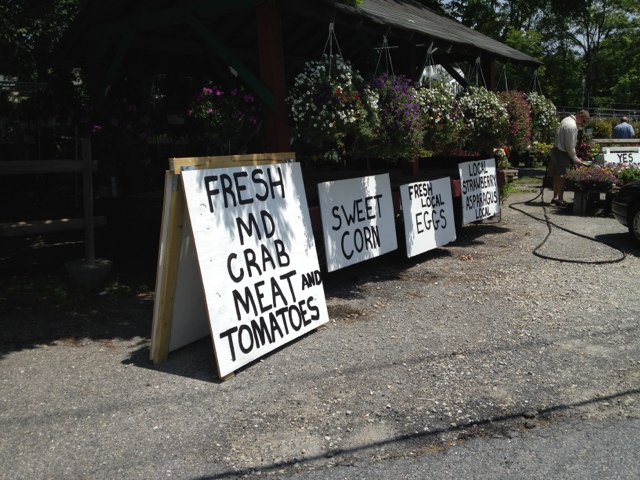
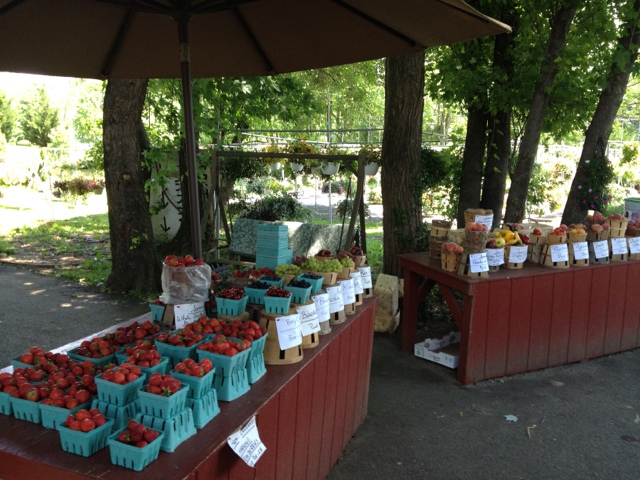
Next up is Harbin Farm, on the corner of 99 & Bethany Lane in Ellicott City, MD. I've been stopping & shopping at Harbin Farm for years. I drive past it at least twice a day, and am easily lured in by the flowers, produce & treats. Today I picked up tomatoes, patty pan squash, strawberries & nectarines.

20120603-142603.jpg

20120603-142619.jpg

Harbin is a little larger than Jenny's and carries a lot more flowers, plants & also carries local eggs. In the Fall they have pumpkins and around the holidays have Christmas trees. One of my favs at Harbin is the basket/bucket of "special" tomatoes. These tomatoes have spots or imperfections, to me this means 10 gigantic tomatoes for under $3...it also means I'm making salsa or gazpacho!

20120603-142633.jpg

20120603-142648.jpg

I'm fortunate to have both of theses markets so close to home. Tonight we'll be grilling up some of the delicious veg & making strawberries & cream for dessert. Finding a local farm-stand is just as easy as hopping in your car. Hope your dinner night is just as local & tasty!

20120603-142657.jpg

Eating Local - Southern SOLE Food Challenge

Over the winter I contributed to the Dark Days of Winter Challenge. Once a week we ate a local, organic, & sustainable meal - from meat & veg to wine & milk. Everything came from within a 130 mile radius of home.

Many of my fellow DDCers stayed in touch and we're starting a new challenge with a Summer twist. We'll be coming up with fun ways to prepare all of Summer's bounty with a few twists here & there. The challenge will run from June through Halloween, and I foresee lots of tasty dishes as well as a few culinary adventures.

The participants are: Annie Rie Unplugged Backyard Grocery Bumble Lush Eat.Drink.Nourish Eating Appalachia Eating Flyod Family Foodie Survival Guide Sincerely Emily Chew on This! & me, The Soffritto

I'm fortunate to have a great CSA, some great local resources & my own garden. Check back weekly, starting in June, for all the fun. As I type, the rain in pouring and my rain barrels are filling. Let's hope for a good weather growing & grilling season!

Weekend Grilling: Wings & Garlic Scapes

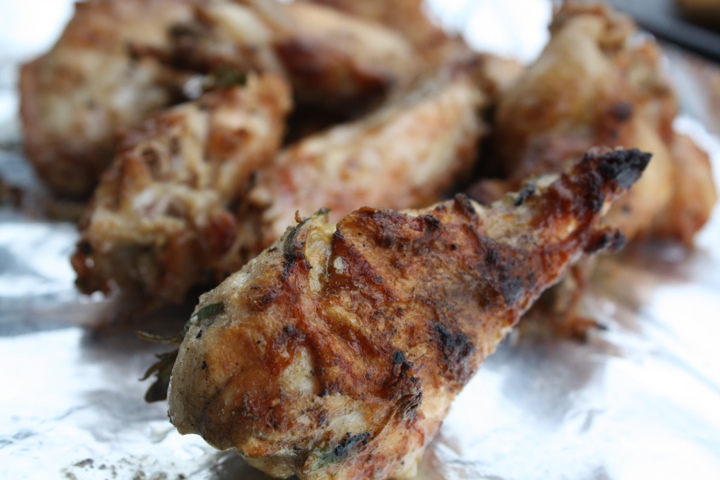
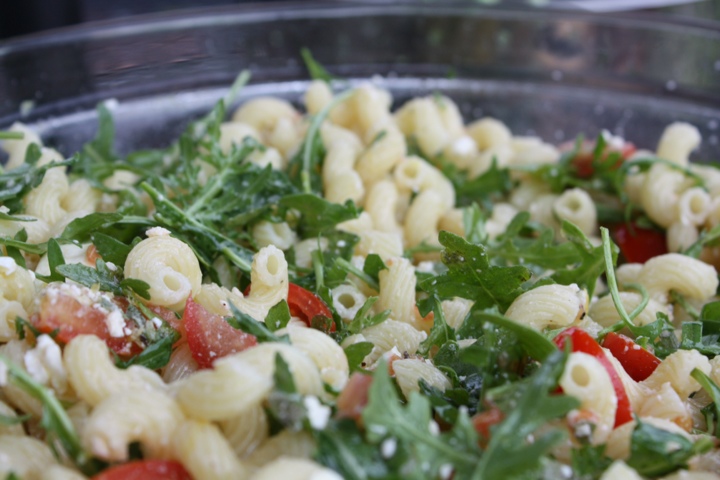
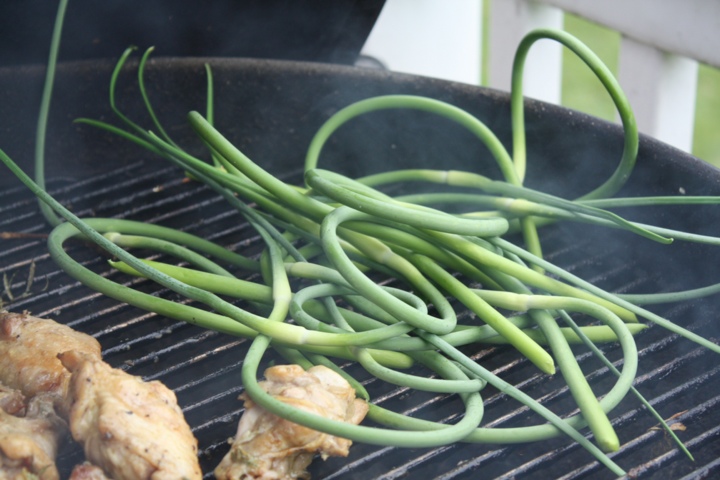
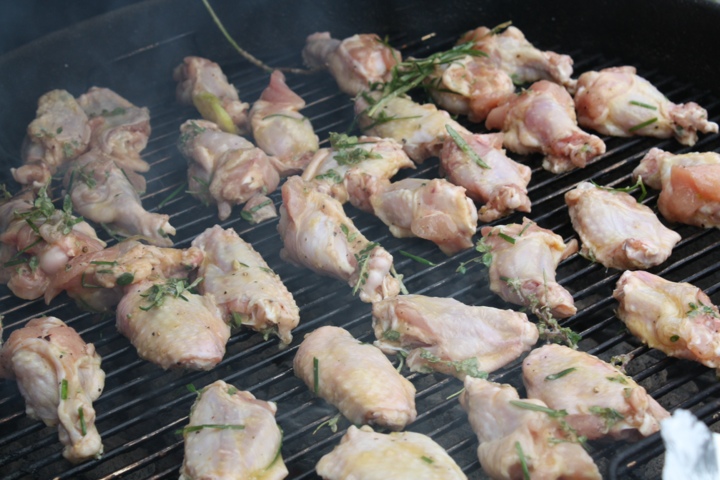
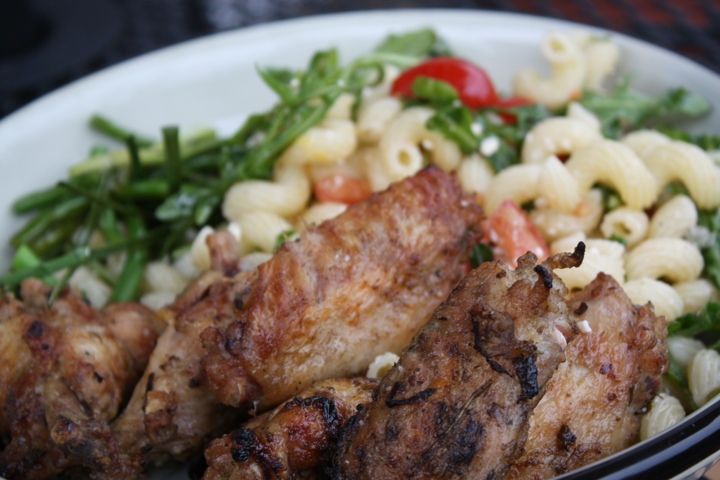
20120528-100645.jpg We had a full weekend and most of it involved the pool & the grill. One of the best meals was so simple, grilled herby wings, garlic scapes & pasta salad. To season the wings, I ventured into the garden and plucked rosemary, chervil, chives and lemon thyme. Then whilst the chicken marinated, I made a fresh pasta salad with arugula, cherry tomatoes and feta cheese. Here's how I pulled it all together:

Ingredients: - 30-40 wings, sectioned and patted dry - chopped herbs from the garden, I used rosemary, chervil, chives and lemon thyme - olive oil - 2 lemons, zested & juiced - 1 box of curly pasta, cooked according to package instructions - Arugula, 2 cups or 1 bag - 8 oz of cherry tomatoes, halved - 1 package of feta cheese, crumbled - salt & pepper to taste

20120528-100701.jpg

20120528-100706.jpg

Method: - get the noodles cooking, then cooling - while they bubble away, prep the salad the veg and make a lemon vinaigrette with; half of the lemon juice & zest, whisk in salt & pepper and olive oil. Taste as you go. - combine the vinaigrette with the arugula, tomatoes and feta in a bowl. Toss in the noodles after they've cooled and refrigerate for up to 2 hours. - on to the meat, let's make the marinade first. - take the chicken and put them into a plastic zip bag. Add the remaining lemon juice & zest, a few glugs of olive oil, all of the chopped herbs, salt & pepper. Mush them around in the bag and toss in the fridge for up to an hour. - when you're ready to cook, fire up the grill, and get it nice and hot. First thing to cook is the chicken, it's pretty quick so stay close. After you flip, get your garlic scapes ready. - the scapes will grill for about 14/15 minutes total. 10 mins on the first side then flip. - plate it up & finish the scapes with a drizzle of olive oil and some sea salt.

20120528-100654.jpg

It was wonderful to be surrounded by family and friends as we remember those that served and continue serve in the military. This Memorial Day weekend was full of love and admiration, and some good eats from the grill.

20120528-100712.jpg

WaPo Kale & Chickpea Stew

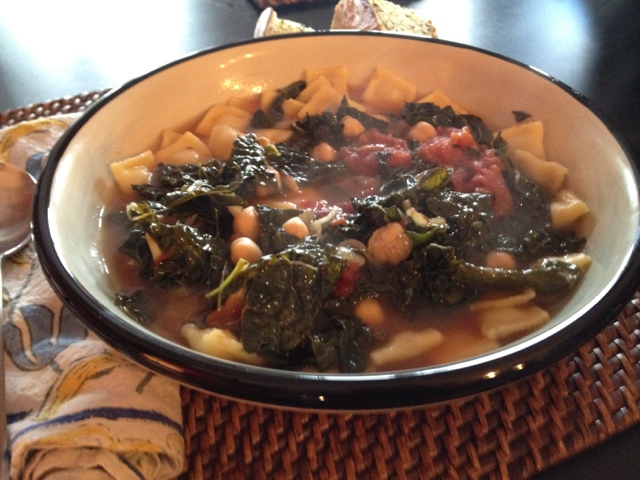
20120522-195517.jpg Last week the Washington Post featured a delicious stew chock-full of kale. I gave it whirl (with a few changes here and there) and loved it...so did everyone else! It's the perfect mid-week meal and easy to omit or add ingredients.

Ingredients:

    2 bunches kale (I used lacinato) rinsed, de-stemmed and chopped 1 28oz can of whole tomatoes, broken apart 4 shallots, diced 4 to 6 cloves garlic, minced 8 cups of chicken stock 2 tablespoons olive oil 2 tbsp butter 2 15-ounce cans no-salt-added chickpeas, drained & rinsed 1/2 teaspoon salt, or more to taste Grated parmigiano reggiano

Directions:

    In a large Dutch oven melt the butter into the olive oil and sauté the shallots and garlic over medium heat, season with salt & pepper and add the kale, cook, until it wilts.

    Add the tomatoes, chicken stock, and chickpeas, simmer for 25 mins.

    While it simmers boil water and cook your fav pasta, my son adores ravioli.

    Divide among individual bowls; top with cheese and dig in!

My adaptation of this hearty soup is simplified, but really let the kale shine, all 2 bunches of it!

Roasted Fiddlehead Fern Salad w/ Grilled Shrimp

20120520-122646.jpg I ventured into Roots on Saturday and was thrilled to find fiddlehead ferns!! Last month, in NYC, we enjoyed delicious fiddleheads at ABC Kitchen and I as hoping for the chance to prepare them myself this spring - lucky me.

20120520-122701.jpg

First things first, these guys are dirty. So I washed and spun them in the salad spinner a few times. Next, in order to get their outer coating off, and to clean the internal fern frawns, I boiled them in salty water for 8 minutes. No joke - the water was brown when I pulled them out and shocked them in icy clean cool water. Next up, prep for roasting.

20120520-122708.jpg

To prep the fids for roasting, I patted them dry and trimmed off a 1/4 inch. Tough these were trim to begin with,the edges were a bit brown. After all this work I want close to perfection. After the clean up, I laid them out on a sheet pan, drizzled olive oil then roasted them for 8-10 minutes. Here's what I did to pull together the entire meal:

20120520-122729.jpg

Ingredients: - 1 pound of fiddlehead ferns, cleaned, prepped & roasted - 1 pound of jumbo shrimp, cleaned & shelled - Mixed salad greens - I used kale, red leaf lettuce & arugula from my garden - washed, dried and chopped - Edible flowers, bachelors button & arugula for the salad - 1 bunch of radishes, I used french breakfast, sliced - 1 tomato, sliced into wedges - 4 cloves of garlic, minced - butter, olive oil - salt & pepper - Your fav salad dressing or vinaigrette (homemade is best! But Trader Joes is a close second) - A baguette for crutons or for turning this into an awesome sandwich

20120520-122740.jpg

20120520-122745.jpg

20120520-122751.jpg

Method: - Folling the directions above, rock out those fiddleheads and other ingredients - Meanwhile, prep the grill for the shrimp - While the fiddleheads roast and grill warms up, add 5 tbsp of butter and 1/2 cup of olive oil to a sauce pan. Gently warm it up and toss in your minced garlic. This will make for a great pool of garlic yumminess for the shrimp post-BBQ. Just remember, you are not frying the garlic. This is a gentle slow process. - You should b grilling your shrimp by now...I like them on metal skewers so I don't have to bother with soaking wooden skewers ahead of time. - Get your chopped greens and prepped veg in a large bowl. After your fiddleheads cool, toss them in too along with your dressing. - After your shrimp enjoy a few minutes in their garlic bath, plate it all up with the salad and the bread. (note - grilling the bread makes this quite delightful)

20120520-122810.jpg

20120520-122817.jpg

20120520-122842.jpg

It all came together in a snap. I love cooking with new ingredients, especially when I get to enjoy them outside on a beautiful spring night. Now that I've conquered ramps and fiddleheads I'm going to start thinking about how to jazz up the summer standbys, tomatoes, cucumbers, peppers & eggplants. Though, I may get one more chance at cooking something special, I spied some garlic scapes while watering this afternoon!

20120520-122852.jpg

Korean BBQ Pork Sandwiches

20120509-205804.jpg Grilling season means lots of leftovers for us. In an effort to use up all of the delicious meat that comes off of my grill we often slap it between two slices of bread. This time we had a delicious pork loin roast that simmered in soy, ginger, chili paste and gojuchang. Instead of eating it over rice, we picked up a baguette, made a chili-lime mayo, and stuffed in some beet and mustard greens. Drool....

20120509-205749.jpg

Ingredients: - 3 pound pork roast, or a few pork tenderloins - 1 cup gojuchang - 1/4 cup soy sauce - 2 cups vegetable stock - 2 cups water - 2 inch nob of ginger grated - 4 garlic cloves, grated - 2 limes, zested and juiced - 3 oz jar of chili paste - kimchi, mustard greens, micro beet greens(from your garden perhaps?) - 2 baguettes, halved so you can fill them up - 1-2 tsp sriracha - 2 tbsp chopped cilantro - 1/2 cup of mayo - olive oil & sesame oil to sear the pork

20120509-205754.jpg

Method: - Preheat oven to 325 - Pat down pork with a paper towel - In a dutch oven, sear all sides of the pork in olive oil - Remove the pork and let it rest while you build the braising sauce - Deglaze the pan with the veg stock and water, then add the soy sauce, juice of one lime, chili paste, gojuchang, ginger, garlic, and chili paste. - Add the pork to the braising liquid and bring it up to a simmer. Lid on, and into the oven for 60 minutes. - Make the chili-lime mayo now so it has time to chill and mellow in the fridge. - In a bowl combine the remaining lime zest and juice, cilantro, mayo, and a tsp or two of sriracha. Done. It's that easy and that good. Adjust for heat and zippiness. Cover and into the fridge. - Clean your greens & dry them, I use a salad spinner. - Check your pork for doneness. Depending on thecut, it could be done. If not, drop your heat to 275 and cook for another 45 minutes. When it is done, shred it with forks and let it mellow in the sauce. - build your sandwich with lots of everything, greens are crisp and punchy, the sauce is sloppy and delicious, and the meat melts in your mouth. It is worth the effort for just the sandwiches. My husband could eat this weekly!

20120509-205743.jpg

What have you grilled so far this season? Anything new and adventurous?

20120509-205811.jpg

Farro Risotto Primavera

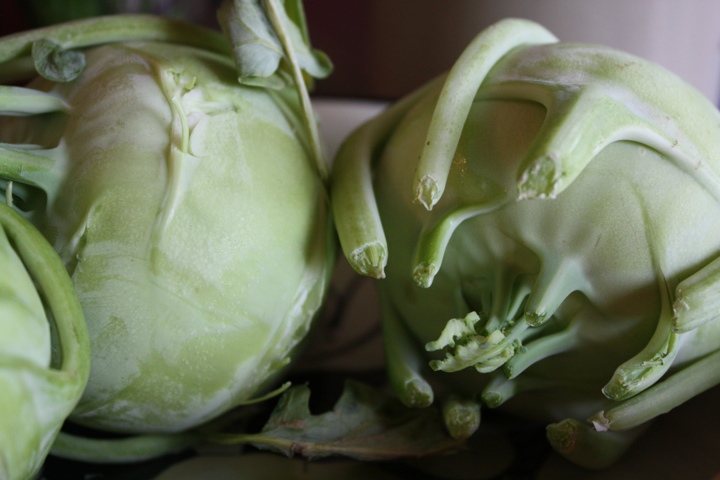
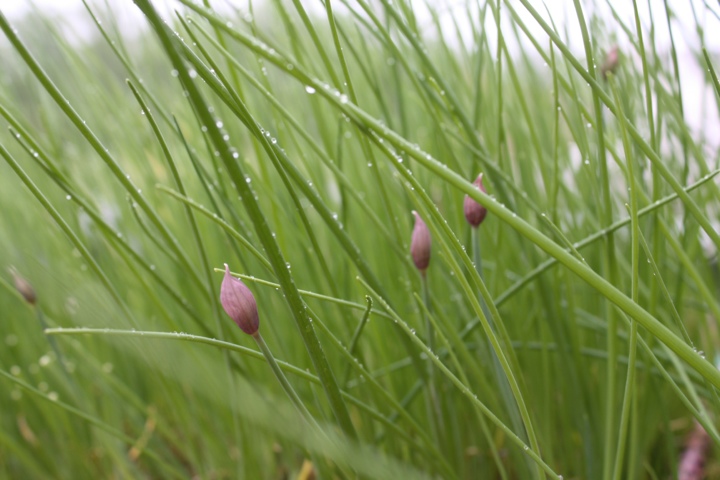
20120507-203052.jpg Risotto is yum, Farro Risotto is amazingly yum! I love this humble grain mixed with fresh spring veg & topped with chive blossoms. Last week I took AnnieRie's advice and headed down to the Silver Spring Farmer's Market. I picked up: ramps, chive blossoms, kohlrabi, asparugus and lots of cheese. All of them tuck - quite neatly - into creamy farro risotto.

20120507-202933.jpg

20120507-202938.jpg

20120507-202912.jpg

Here's how I did it:

Ingredients: - 2 cups of farro - 4 cups of veg or chicken stock - 2 kohlrabi, diced - 4 or 5 of ramps, diced (substitute garlic) - 2 shallots, diced - 1 bunch of asparagus - 1 chive blossom per bowl - 1/2 cup of parm, grated - 1/2 cup of gouda, shredded - 1 bay leaf - 4 dried mushrooms (optional) - olive oil - 1 tbsp butter - salt & pepper (s&p)

20120507-203024.jpg

20120507-203039.jpg

20120507-203033.jpg

Method: - In a large bowl, soak your farro in water. This softens the farro a bit and you always rinse your dried goods (beans, lentils, etc..) before you cook with them, right?! - While they soak, in another pot bring your stock + bay leaf + dried mushrooms up to a simmer, reduce heat to low - Now prep your veg (ramps, kohlrabi, asparagus) and sauté them in a large dutch oven, in olive oil, season with s&p - When the veg start to loosen up, after 10 mins, transfer them in a heat safe dish. Add butter and olive oil to the dutch oven. While it heats up, dice your shallots and then toss them in. - While they sweat over medium heat, drain your farro and prep your cheese - Stir your farro into the shallots, and add stock one ladle at a time. Just like regular risotto. For the next 20 mins you'll be ladling and stirring - and maybe sipping wine. No walking away. - After 20 mins, taste your farro. It should have some firmness but no crunch. Too firm? Continue to stir and ladle, check the firmness again in 5 mins. If you're done, add your veg back into the pot, stir in cheese too. Lid on and reduce the heat to low. Let everything hang out while you finish that glass of wine. Ten miutes later stir again and plate it up. - Don't forget the chive blossoms. Gently break each one over the dish. Scattering the petals. So yum.

20120507-203047.jpg

The foundation of this meal is the farro, but the appearance of springtime veg makes this special. Ramps sing quite nicely in this dish, and the chive blossoms add an elegant onion flavor to each bite. Have fun with all of the springtime veg. Soon it will be gone and we'll be up to our eyes in tomatoes and cucumbers!

20120507-202928.jpg

Barbacoa Tacos w/ pintos & avocado slaw

20120507-082255.jpg Cinco de Mayo came and went, but my beef barbacoa tacos kept on going! Earlier this week I was overwhelmed and not sure of what to make or whether we should venture out for some delicious cuisine de Mexico. I'm so glad we stayed home and cooked. Here's what I did:

20120507-082314.jpg

20120507-082327.jpg

Ingredients: for the beef tacos... - 1 three pound chuck roast - 3 cups of beef stock - 2 cups of veg stock - 2 tbsp smoked pimenton - 1 tbsp cumin seeds - 3 dried New Mexico chilis - 4 dried jalapeños - 5 ramps, sliced in half (substitute garlic) - 2 large scallions (substitute a small onion) - 1 bunch of cilantro, washed & chopped - corn tortillas - feta cheese - olive oil - salt & pepper

for the slaw... - 1 small red cabbage, shredded - 1 large carrot, shredded - 2 limes, zested & juiced - 1 lime, zested & juiced - 6 oz of plain greek yogurt - 1 tbsp of mayo - 1 avocado - 2 scallions - salt & pepper

for the beans... - 16 oz of pinto beans - 1 cup of stock, veg or beef - 1 dried fish pepper - 1 ramp, halved - 1 tomato, diced - 1 red onion, diced - chipotle chèvre (substitute other goat cheese or feta) - olive oil - salt & pepper

20120507-082319.jpg

Method: the beef... - Prep the chuck roast: pat it down and let it rest while you make the cooking liquid. Add half of the pimenton and some salt and pepper to the top. - In a cast iron skillit, add cumin seeds, new Mexico chilis and jalapeños. Toast on both sides. Add the chilis (both NM & Jalapeño) to a heat resistant bowl. Cover with hot water and steep for 8-10 mins. When soft, remove stems. - Add the chilis and cumin seeds to a food processor. Blitz until they are broken up. Toss in 1 chopped up scallion and 2 of the ramps. Pulse and add some olive oil and some of the liquid from the chili soak. - Preheat the oven to 325, rack to the middle - In a large dutch oven (that has a lid), add olive oil and raise the heat to high. Carefully add the chuck roast (season side down) and sear. Add the other half of the pimenton and some salt & pepper to the top half. Flip after a crust forms, and cook another 5-8 mins. - Add the remaining ramps and scallions and cook for a min. Then add the beef and veg stock. Gently lift the roast to make sure it gets underneath. - Stir in the chili mixture and bring to a simmer, cover and into the oven for 90 minutes - While the meat slowly roasts, this is a two-part process. You might want to pull the slaw together so it can mellow in the fridge. - At the 90 minute mark, flip the beef and lower the heat to 275. Cover and back into the oven for 45 mins. Time to warm up the beans. - When the beef is done, shred it in the cooking liquid and let it mellow. I let mine chill for 20-30 mins before taco building commenced. - We got a little fancy with the taco shells. I broiled them flat at 500 for a few mins, when pliable, I flipped them in half, slid a cork in to keep it open then sprinkled feta and pimenton. I broiled them at 500 for a few mins more and they came out great. A little chewy a bit crispy. Takes me back to my childhood.

the slaw... - In a non-reactive bowl, add in your yogurt, mayo, citrus zest and juice. Mix well and season with salt and pepper. Stir in your shredded carrot and cabbage, scallions and avocado. Cover with a lid or plastic wrap and rest in the fridge. - open a beer, insert a lime and chill

the beans... - This recipe uses either cooked & frozen beans, or canned - In a sauce pan, warm olive oil with ramps and scallions - After the veg is soft add the beans, coat in the olive oil and add your stock - Season with salt & pepper and clamp on the lid. Let these slowly warm up while the beef finishes up.

20120507-082333.jpg

20120507-082338.jpg

When it's all done, plate it up. Add a little avocado slaw to your taco, a little cilantro here and there. Chipotle chèvre on the beans and a margarita to wash it down! Hope your Cinco de Mayo was as tasty as mine! What did you have?

20120507-082344.jpg

Cinco de Mayo Eats

Cinco de Mayo is this weekend - and I still don't know what to cook! Or maybe we'll hit up one of our favorite Mexican Restaurants?! While I search for inspiration - that Serious Eats Barbacoa recipe looked pretty good - here are a few of my fav meals for the occasion:

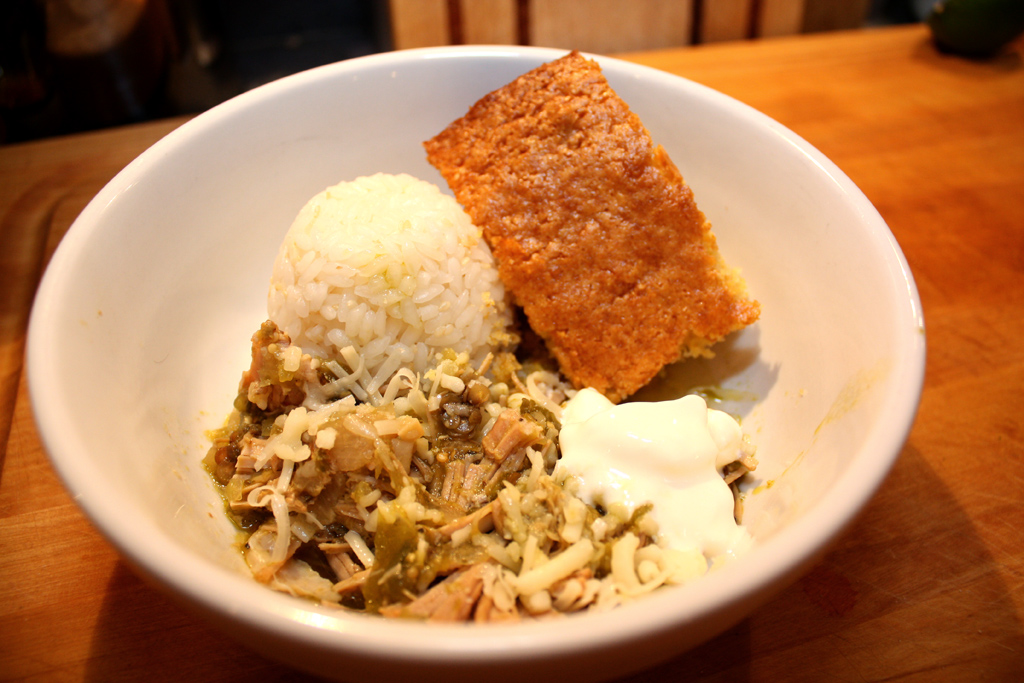
Insideout Chili Rellenos are as spicy as you make them. The tender pork pairs perfectly with sweet corn, smokey poblano peppers, and a side of corn bread is a fam-favorite. Get a jump start on this meal by cooking the pork in tomatillos and spices overnight in your slow-cooker.

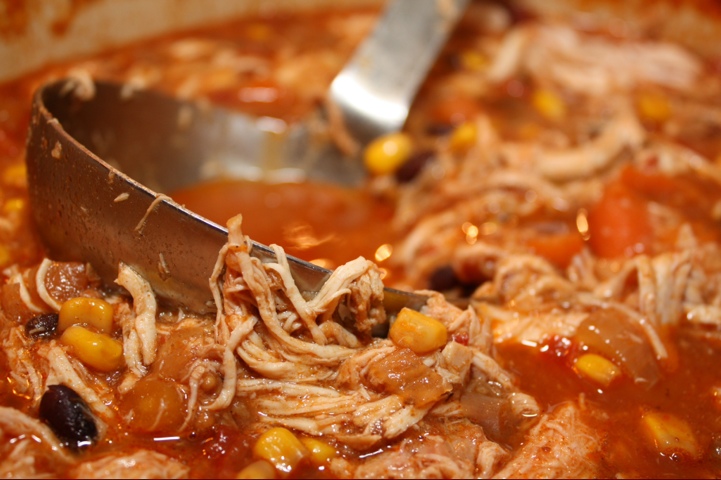
My tortilla soup has a zip of lime and lots of roasted chicken in a tomato base. It comes together quickly if you utilize a rotisserie chicken. I love this with chunks of avocado and sharp cheddar cheese. Don't forget a dollop of sour cream & chips!

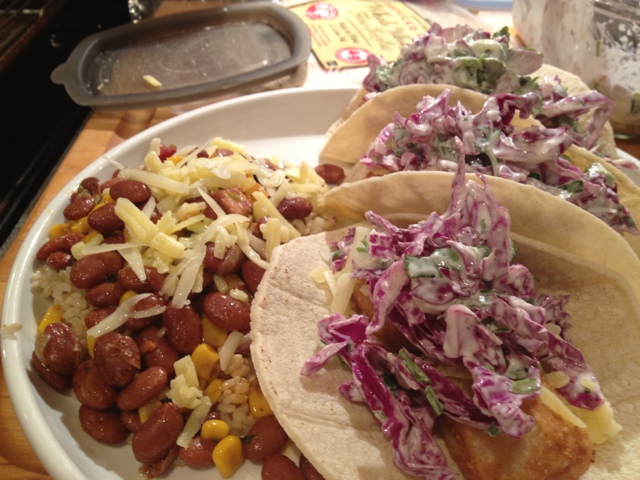
Fish Tacos are a great way to get some omega 3's into your cinco de mayo party. Pair them with cheesy pinto beans, red cabbage slaw, and you've got some good eats.

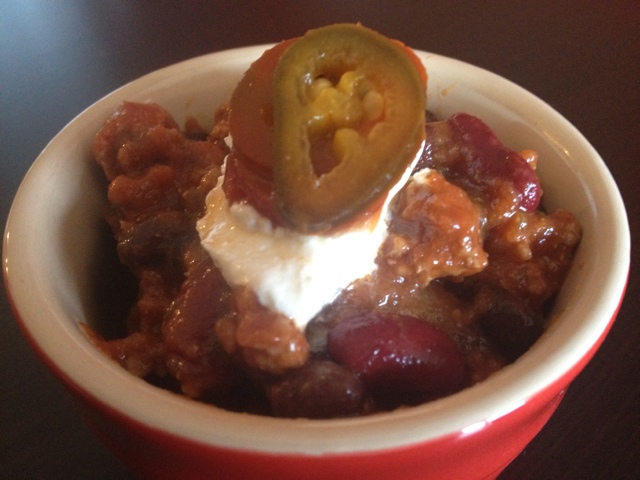
Not exactly Mexican, but you can incorporate lots of traditional Mexican spices and herbs into the chili - make it a one-pot dinner night!

Spicy Salsa Soup is the fastest dinner of the bunch. This soup is easily a vegetarian meal, add a little avocado and some beans and you've got a scrumptious vegetarian meal.

I hope that I gave you a little inspiration for this weekend. Make yourself a margarita (on the rocks w/salt please) and cook up something delicious at home this weekend. I think I will too!

Lobstah Truck Lunch

20120502-200903.jpg Every day, Mon-Fri, DCers line up at 11:30a for lunch from a food truck. Now I don't do this every day, but today I couldn't resist the Redhook Lobster Pound. It's one of the pricier choices along Mass Ave but well worth it on this delightful spring day.

20120502-200923.jpg

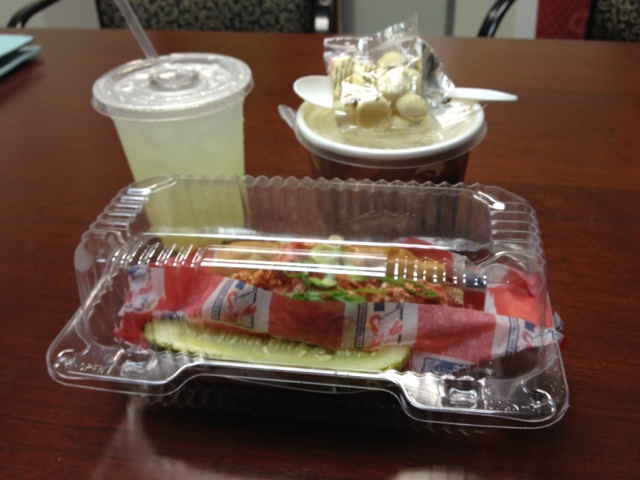
Today I took my lunch back to the office - delightful spring days in DC usually come with a threat of rain. For $22 I scored a lobster roll (a "mainer" which means lobster in a light lemony mayo), a large clam chowdah, and a house made lemonade. Not bad - I've paid more for less! The portions were generous and the service was quick. But get there early! Lines get long in a hurry.

20120502-200929.jpg

First the lobster roll - the bun was slightly toasted and filled to the brim with plump juicy lobster. Red Hook tops the lobster with paprika and sliced scallions. Yum. I wonder if they'll let me do a litle butter on it next time. Hmm....and maybe a dash of ground celery seed.

Bonus - the pickle was actually good too!

20120502-200939.jpg

Next up - the chowdah. Not too thick, not too thin, but oyster crackers are necessary. Surprisingly the clams are bigger than the potatoes in this chowder...and so delicious. I wasn't sure about ordering the chowder, after all it bumped up the price quite a bit - but it was worth it.

20120502-200947.jpg

What's for lunch tomorrow? Probably some hummus and side of blueberries after I jog on the mall. How about you? What's your favorite lunch truck?

Spring Soups - Kale & White Bean (with sausage!)

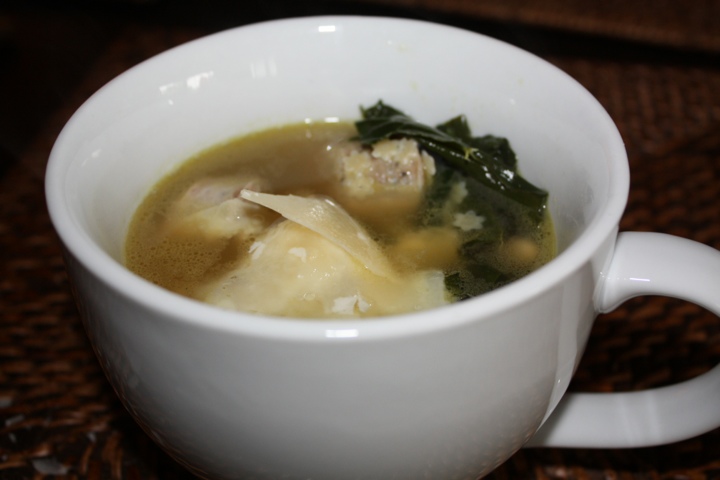
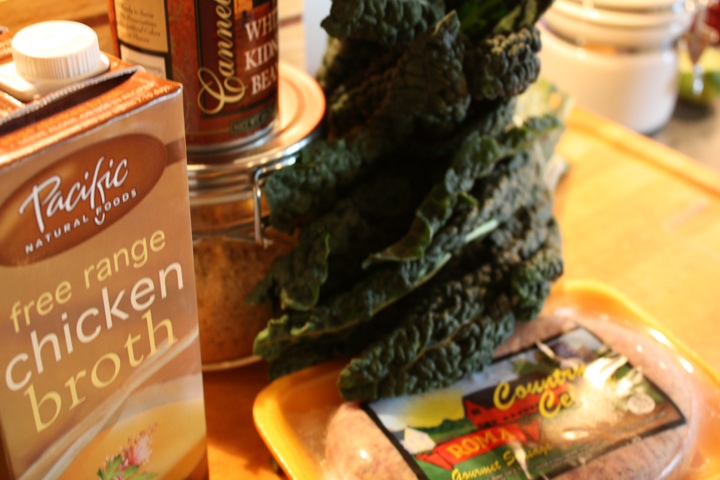
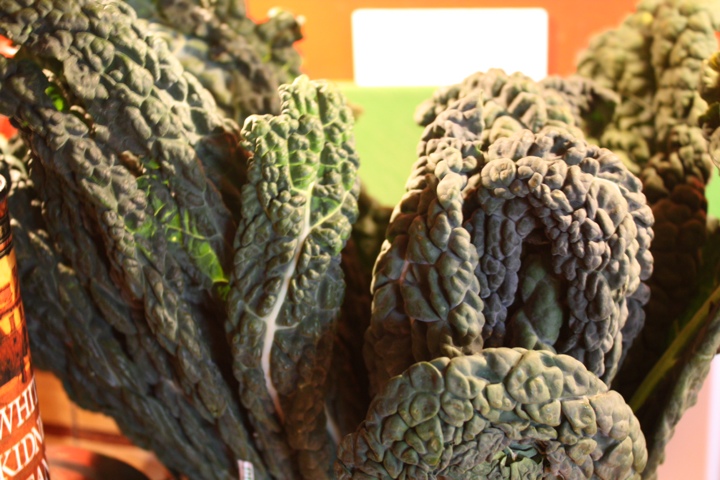
20120501-195522.jpg Farmers' markets - and my garden - are teeming with greens that make great soup. This week, I fell in love with 2 bunches of lacinato kale. They were destined for my soup pot - but I wasn't in the mood for stew. I wanted brothy & fresh flavors, which translates into a delicious quick meal.
20120501-195534.jpg

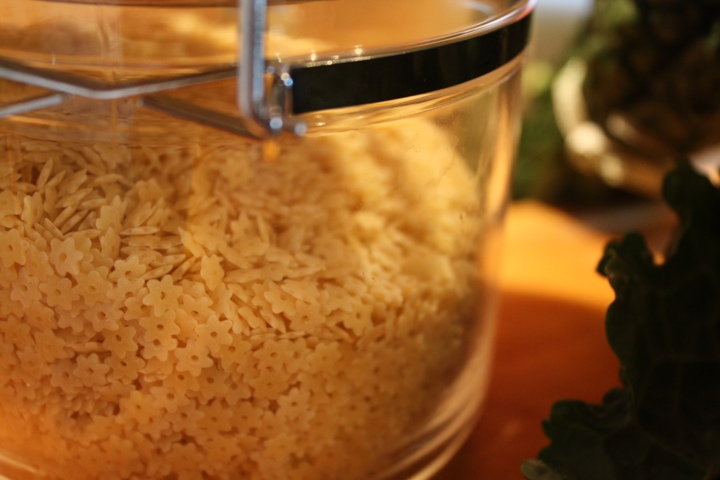
Ingredients: - 2 bunches of lacinato kale, washed & stems removed (chuck the stems in your composter or give them to your pup) - 8 cups of chicken stock, boxed or homemade - 16 oz of cannelini beans - cooked or canned - drained & rinsed - 8 oz dried pasta, something like ditalini or pastina, cooked al dente - 4 cloves of garlic, whole - 1 pound of sweet Italian sausage, whole (sliced after cooking) - extra virgin olive oil - salt & pepper, to taste - shaved parmigiano reggiano cheese

20120501-195544.jpg

20120501-195549.jpg

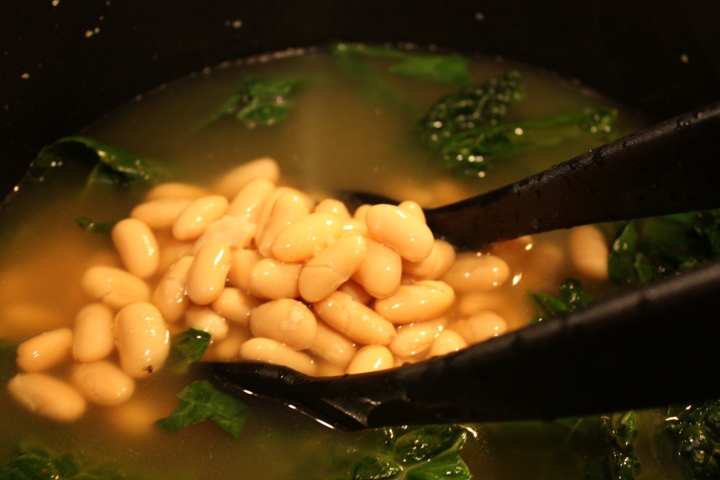
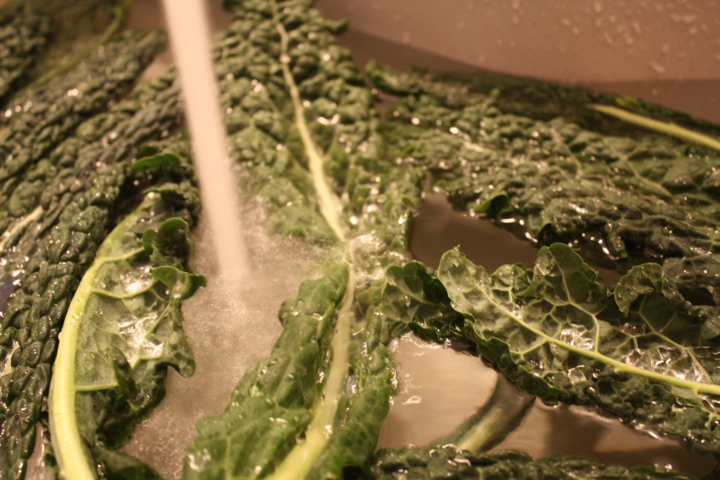
Method: - Wash, wash, wash your kale. Best way is in the sink. Then remove the leaf from the rib and chop the leaves, NOT a chiffonade or julienne. Rustic. - After you've prepped the veg, get the sausage going with some olive oil, in a large soup pot or dutch oven - Brown all sides of the sausage - Fill a second soup pot with water & cook the noodles according to the package instructions - When the sausage is seared, add the chopped kale, salt, and whole garlic cloves - The kale will cook way down. After about 5 mins, add the stock and simmer until the sausage is cooked through - Stir in the beans and simmer for 5 additional minutes - Ladle the soup over a few noodles - Shaved parmigiano reggiano cheese and a drizzle of olive oil is a great finish

20120501-195558.jpg

The soup is light, but doesn't leave you hungry. Something about these little pastina noodles add just enough to fill you up. The cannelini beans help too! Though they're delicate, the velvety texture almost melts into the soup.

20120501-195604.jpg

Temps are supposed to climb into the 80s this week and I have a feeling I'll be craving gazpacho soon. But as long as the kale and other greens are growing, we'll have an appetite for this soup. It's quick, fresh, and the perfect mid-week meal.

Eating Spring Greens

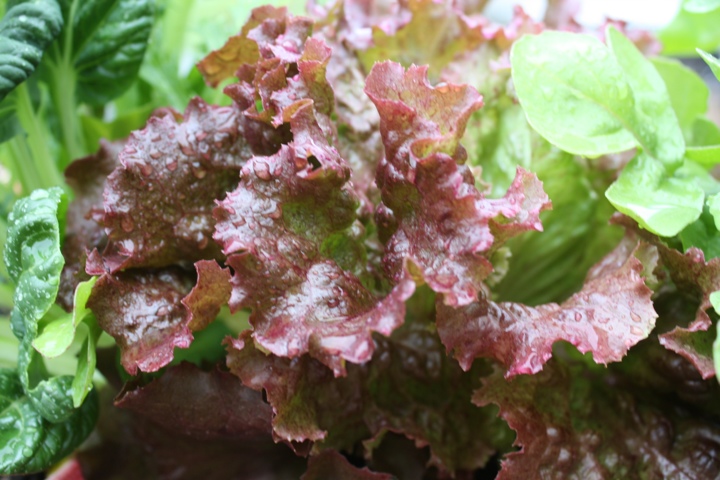
20120422-111020.jpg The whole neighborhood is bright green. My planters are exploding with herbs, lettuces, mustard greens, chard, kale - and the peas & root vegetables aren't far behind. Though I've had my share of summeresque March & April days, I'm not putting out the tomatoes, peppers or eggplant yet. Too risky- one day it's 80, and the same night is under 30 degrees.

20120422-111029.jpg

20120422-111034.jpg

I'm trying to keep the creative cooking juices flowing. Just because we have lettuce doesn't mean salad. In the last year we've become partial to the Korean dish Ssam Bap. This is a meal of fresh redleaf lettuce leaves full of rice, BBQ meat, and whatever else you can fit in. It's a pocket of joy!

20120422-111038.jpg

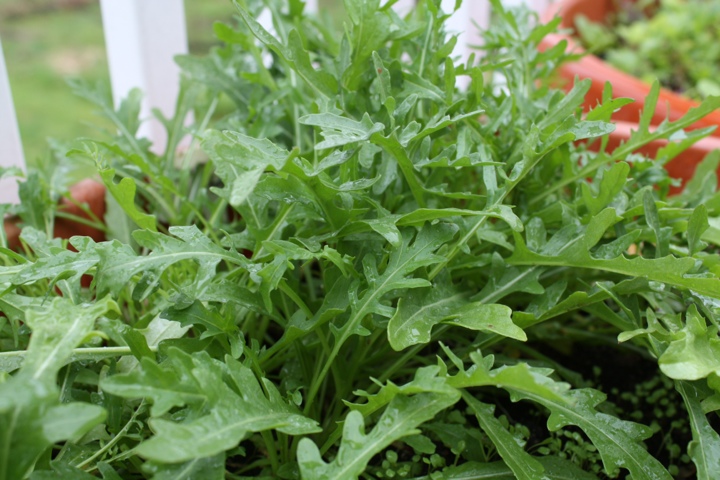
Another fav is arugula - and I have a ton! We've been using it for breakfast sandwiches made with: toasted bagels, herbed cream cheese, smoked salmon, thinly sliced red onion & thin sliced tomato. Divine. It's like being at Nate & Al's, without the 6 hour flight! Speaking of herbed cream cheese. Just cut dill and chives with kitchen or herb snips, right into your fav cream cheese. Zest in a little lemon peel, stir it up...so delicious.

20120422-111044.jpg

Micro-mustard greens are great on a sandwich or in a salad. As they grow, the bitterness intensifies. I just pickled a batch of mustard greens - it took all of 10 minutes. It will taste great in pho, fried rice or on a pulled pork sandwich. Possibilities are endless!

20120422-111050.jpg

What's your favorite way to eat greens?

Pickled Mustard Greens

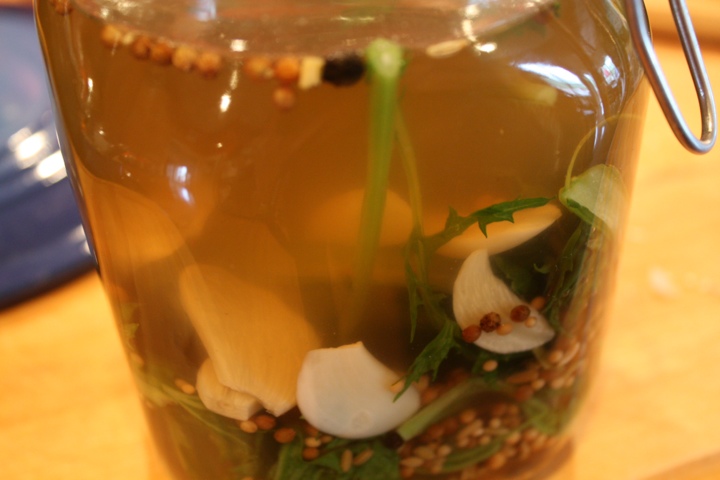
20120422-115643.jpg My garden is under siege - mustard greens are exploding out of my planters and we can't eat them fast enough. In the last few weeks, they've doubled in size! Must have been the recent heat-wave - though its freezing outside now! Mustard greens are great on sandwiches and a spicy addition to salads. They're also easy to fry up and serve as a side of greens. But I wasn't in the mood. Instead - I decided to pickle them.
20120422-115652.jpg

20120422-115656.jpg

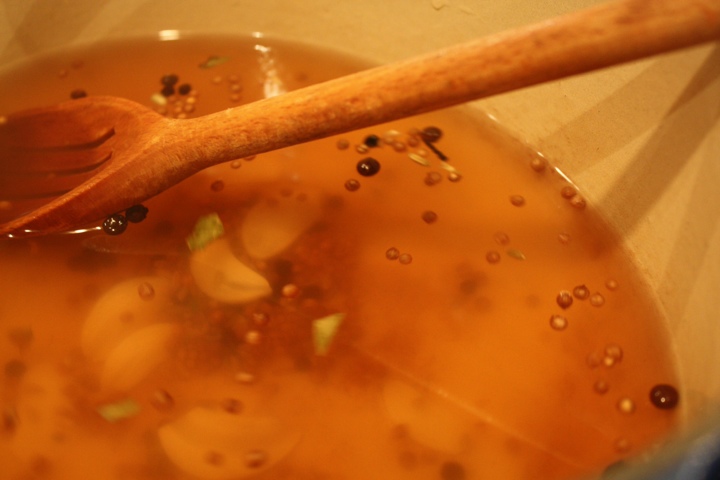
Greens of all kind cook up quickly, so I started with the pickling mixture first.

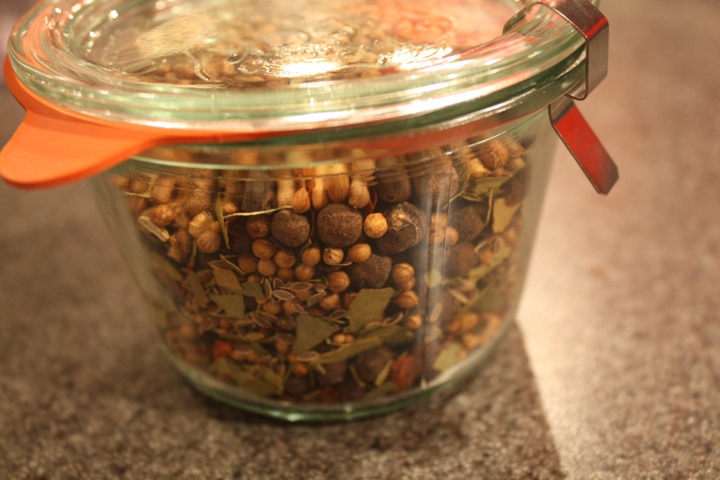
Pickling Solution: 1.5 cups of cider vinegar 1.5 cups of distilled white vinegar 3 cups of water 1 tbsp sugar 1 tbsp kosher salt 2 tbsp pickling spices 4 cloves of garlic, sliced

**Since I literally came up with this on a whim - I did not intend to make this shelf stable, nor should you. When this was boiled, sautéed, jarred & cooled, it went directly into the fridge. And it will be devoured within 2 weeks**

20120422-115701.jpg

20120422-115708.jpg

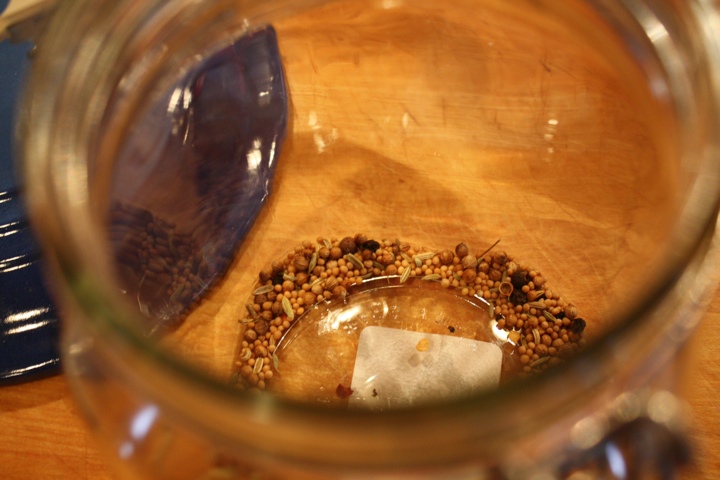
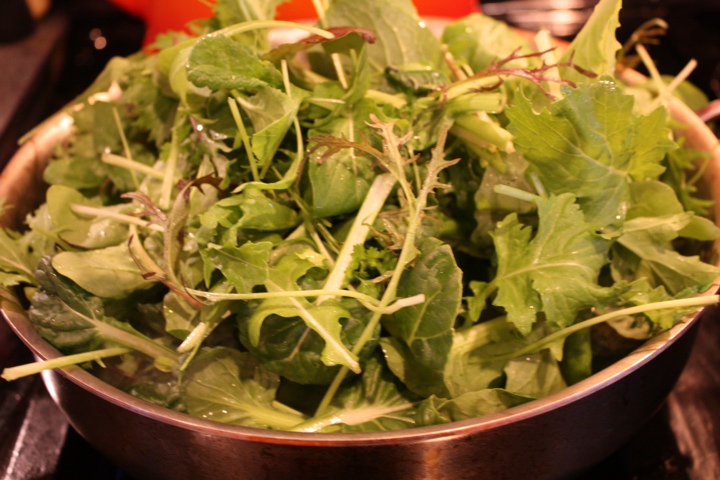
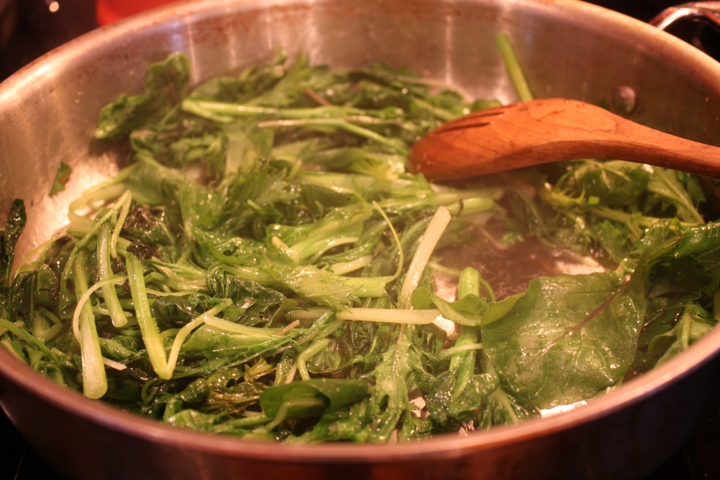
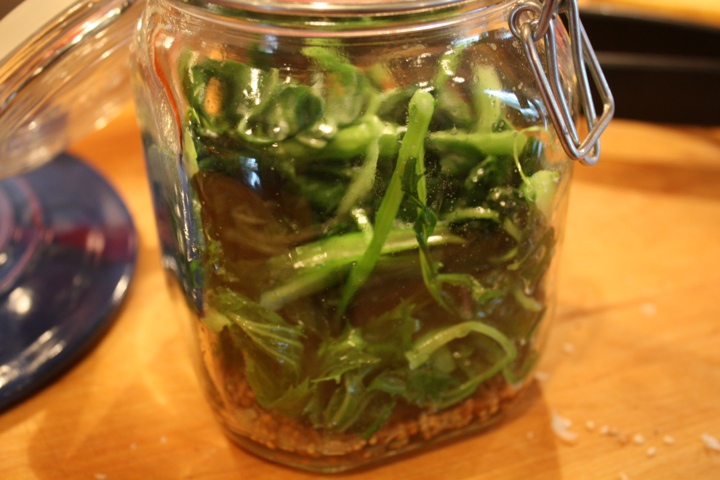
Method: - Wash the greens! - In a large heavy pot, add the garlic, vinegar, salt, and sugar. - While the pickling solution comes up to a simmer, and the salt and sugar dissolve, put half of the pickling spices in the jar, and the other half into the pot. - In a sauté pan, add 1 tbsp olive oil and 1 tbsp sesame oil. Gently wilt the greens. Add a sprinkling of salt. Do not walk away. In a matter of seconds it will reduce from a mound of greens into a few singular strands. You do not want to over cook them! - With tongs, transfer the greens - and any remaining cooking liquid - to the pickle jar - Using a canning funnel, carefully ladle the pickling solution over the greens. Fill up the jar and close it. Allow it to cool on a rack - or outside - for a few hours, then pop it in the fridge. - The greens will be ready to eat in 24 hours, but the longer they are in the jar, the more pickled. - Before serving, make sure rogue pickling spices don't make their way into your meal. - Enjoy in a multitude of ways: in a pork and gruyere panino, in fried rice, or - my current fav - as a soup garnish.

20120422-115714.jpg

20120422-115719.jpg

It's amazing how a little time and a few spices can transform these wild and crazy greens into a mellow and delicious condiment. Last night I stirred a healthy spoonful into a big bowl of homemade pho. The greens were a perfect match with the rich beef and sharp lime. Happy pickling!

20120422-115726.jpg

Grilling: Strip Steaks

I love grilling steaks. The scent permeates the entire neighborhood. We've had a few summery days and that means we're grilling. This dinner was as simple as it looks, good local beef, minimal ingredients. It was all about clean flavors.

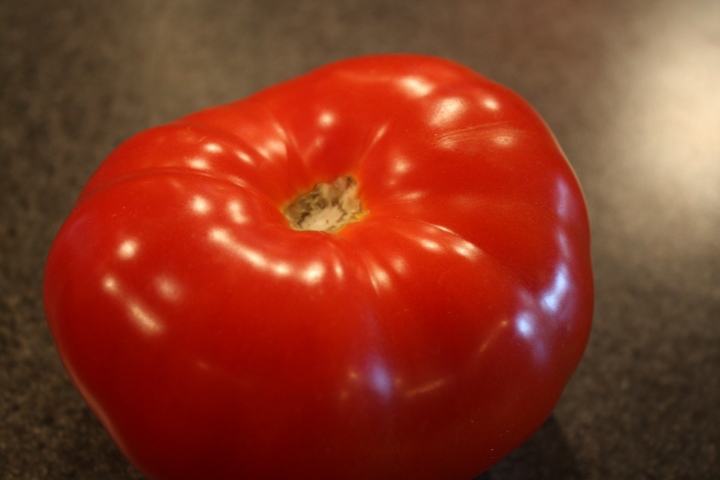
Fresh local basil, tomatoes, bread and steaks. Pulled together with Italian cheeses and olive oil. First was the caprese salad - slices of local hydroponic tomatoes with whole basil leaves and thin slices of cheese. Drizzle some fruity/peppery extra virgin olive oil, salt and pepper - done!

While the steaks are grilling and the caprese salad marinates, slice up a baguette & prep some delightfully creamy gorgonzola cheese. I like a little cheese on my steak and the toasty bread sops up the golden olive oil.

A meal like this is quick, satisfying and doesn't get old. Once I have my own tomatoes and basil, it will be even better. In the coming months I'll be grilling up seafood, fresh veg from the garden (and the CSA) and who knows what else. Our steamy summer is right around the corner, but I'm enjoying the little glimmers of it.

On the Grill: Tandoori Chicken & Veg

20120415-202851.jpg Sneezing & pollen aside, it's grill-time at my house! One of the fam favorites is tandoori chicken. Tough I lack a tandoor, I make up for it with lots of spices and a hot charcoal grill. Accompanying the chicken, are sweet potatoes & radicchio. Both go straight on the grill and bring balance to the spicy chicken. The sweet potatoes become intensely sweet, and the radicchio looses bitterness and sings after a drizzle of olive oil and balsamic vinegar.

20120415-202906.jpg

20120415-202925.jpg

Ingredients For the chicken:

  • 1 whole chicken, spatchcocked
  • 14 oz of 2% Greek yogurt
  • 2 lemons, zested & juiced
  • 1 tbsp garam masala
  • 5 cardamon seed pods crushed
  • 1 tbsp smoked sweet paprika
  • 1 tsp curry powder
  • 2 tsp ground cumin
  • 1 bunch of cilantro, stems chopped & reserved, leaves reserved for vinegrette & garnish
  • 5 cloves of garlic, smashed
  • extra virgin olive oil
  • salt

For the veg:

  • 2 sweet potatoes, scrubbed & sliced into 1 inch thick rounds
  • 1 radicchio, quartered
  • balsamic vinegar drizzle on radicchio
  • extra virgin olive oil
  • salt & pepper

Optional vinaigrette:

  • 1 lime zested & juice
  • 1 tbsp sweet/hot mustard
  • cilantro leaves
  • extra virgin olive oil
  • salt & pepper

Method Chicken Marinade First:

  1. combine yogurt, cilantro stems, garlic, all of the spices, lemon, a few tbsp of olive oil and season with salt and pepper, reserve a cup for basting
  2. on a foil lined sheet pan, coat the spatchcocked chicken in the yogurt marinade
  3. pop it into the fridge for 1-2 hours, no more than 2 because the enzymes in the yogurt and the lemon acid will start breaking down the chicken

Now the rest...

  1. prep your veg and make the vinaigrette
  2. drizzle olive oil and salt your veg before putting them on the grill
  3. at the 30 minute marinade mark, get the charcoal going, or get your gas grill up to 450. If you are doing this in your oven, sear the skin of the chicken in a castiron pan first then roast at 450 for 45 mins or so, until cooked through
  4. when the coals are hot, get them in the kettle and get the lid on. We always preheat the grates and grill for 10 mins before putting food on the grill
  5. put the chicken on, my husband swears by skin side up first and that's what we did. Then place the sweet potatoes around the chicken. Lid on, make sure your vents are open!
  6. set your timer for 15 minutes, when time is up, flip your sweet potatoes, and slather a bit of yogurt on the bird
  7. set your timer again, 15 minutes, this time remove the sweet potatoes (keep them warm in oil or a 150 degree oven)and flip the chicken
  8. set your timer for 20 mins, baste the bird again, and when the chicken is done, toss the radicchio on the grill for 10 or so mins while the chicken rests. I like my dark meat around the 180 mark and light meat around the 165 mark. An instant read thermometer is a griller's best friend.
  9. plate it up, drizzle some vinaigrette & salt on the potatoes, dress up the radicchio with olive oil, balsamic and sea salt and dig in!

20120415-202841.jpg

20120415-202858.jpg

Fried Goat Cheese

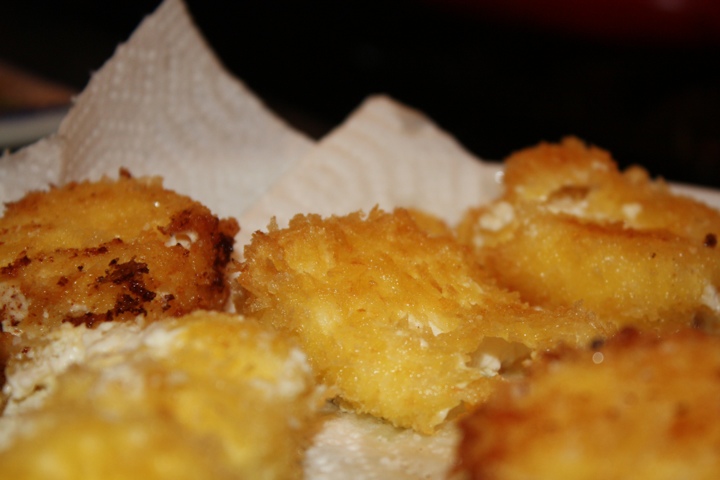
20120416-193944.jpg On my way way home from work, I was trying to come up with a way to jazz up leftovers and use up stuff that has lingered - far too long - in the fridge. Then I remembered that box of panko bread crumbs and the log of goat cheese, yum. Goat cheese is tangy, smooth, and is quite versatile. Panko bread crumbs are flakey, crisp, and do magical things when introduced to a vat of hot olive oil!

20120416-193951.jpg

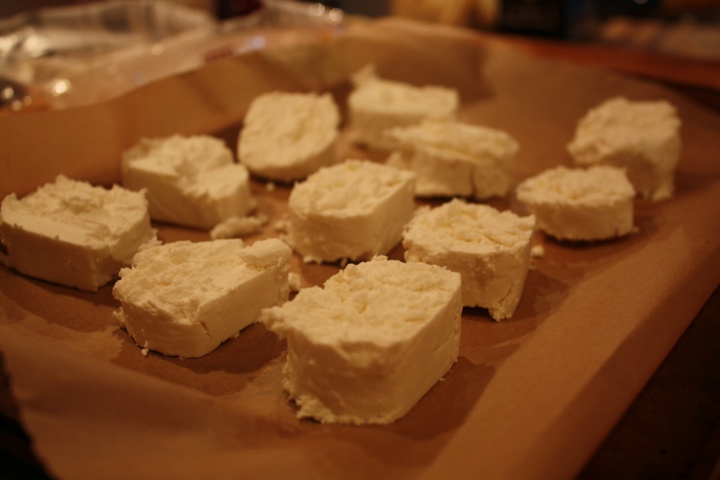
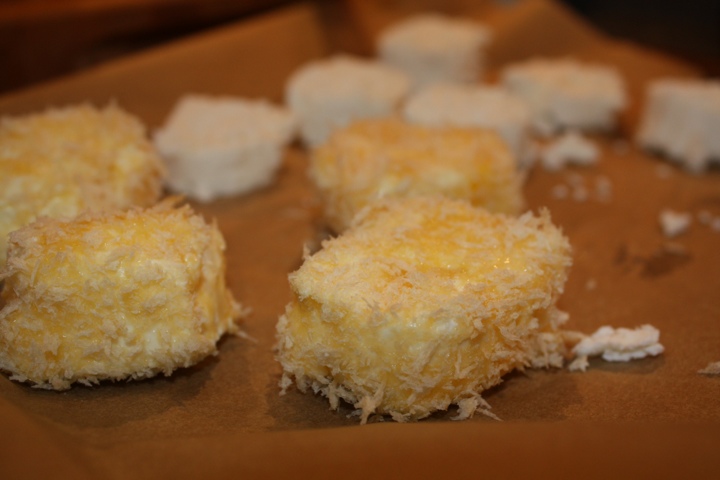
First things first, slicing the goat cheese into rounds. There are a couple of different ways to slice up goat cheese; freeze first then slice or, slice into rounds then freeze. We tried the latter and had decent results. Freezing allows the goat cheese to firm up just enough to keep from liquifying while in the fry pan.

20120416-193959.jpg

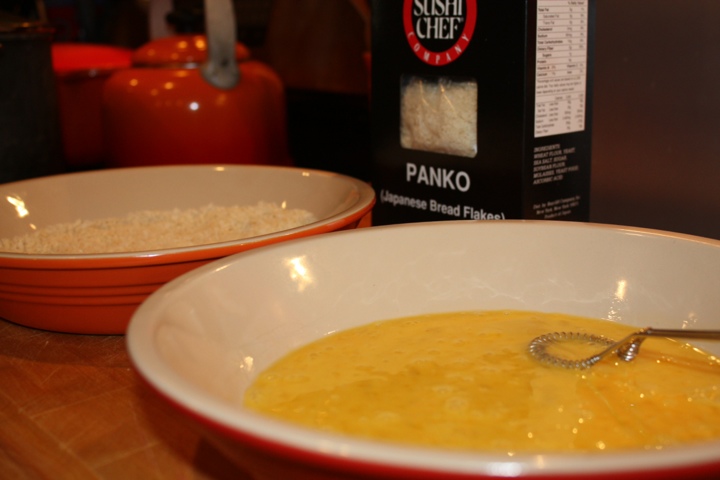
I used two earthenware pie dishes for my dredging station, easy to dip & coat. Remember to season your bread crumbs and eggs with a touch of salt!

20120416-194006.jpg

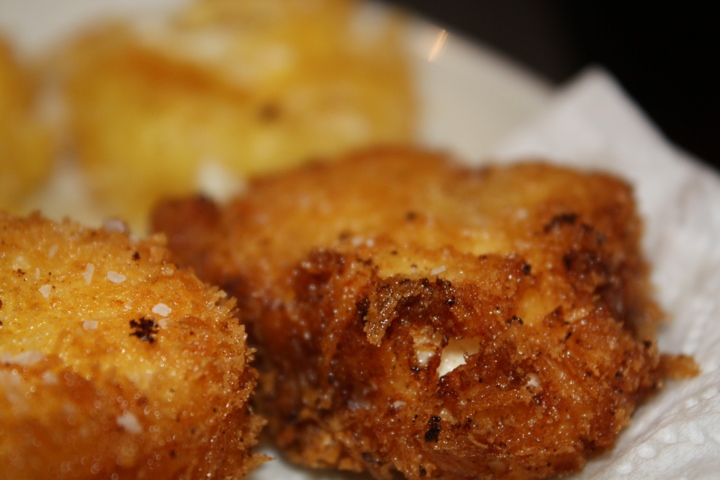
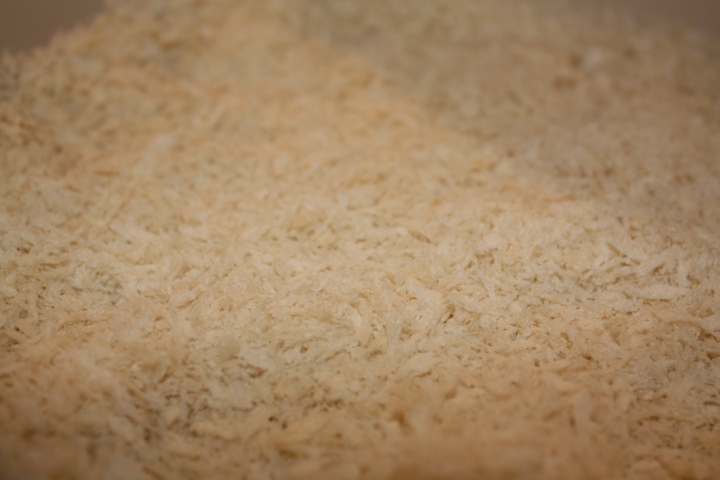
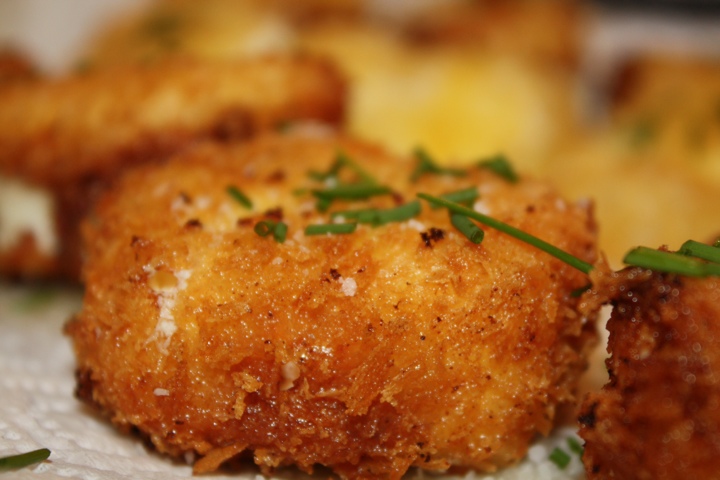
Look at those crispy flakes of panko. I have not been able to make breadcrumbs this light and flakey, I leave it to the pros. I always have a box on hand, just keep the crumbs sealed in a plastic bag to keep them crispy and fresh.

Ingredients: 1 log of goat cheese 1.5 cups of panko bread crumbs 2 eggs Salt Chives to garnish Olive Oil - extra virgin & enough to fill your pan 4 inches deep

20120416-194014.jpg

20120416-194020.jpg

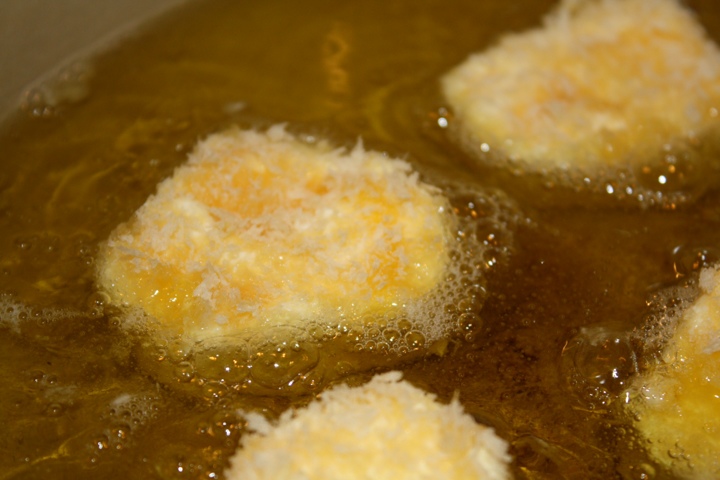
Method: - Slice the goat cheese into rounds about 1-1.5 inches thick, place on a metal sheet pan covered in parchment. Slide into the freezer, set your timer for 15 minutes. Don't forget! - Prep dredging stations, 1.5 cups of panko in one & two eggs, beaten, in the other. Don't forget to season with salt. - In a large dutch oven heat the oil over med/high heat (aprons on, this is hot) - Prep a plate with paper towels to drain excess oil & get a chopstick & spider strainer to get the rounds in and out of the oil - Get the cheese out of the freezer, dip and coat in egg, dredge and coat in the panko - When they are all coated, add one at a time into the hot oil. 3 rounds max at a time. - Slide it in gently and slide a bit with the chopstick to make sure they aren't sticking to the bottom of the pot. After about 45-60 seconds flip when the crust is golden brown. Be careful! - Then fry the other side, drain on the paper towels and sprinkle with salt. Mine got more crisp as the oil heated up. Don't walk away from this - it's quick and hot. - Continue until they are all done. - Sprinkle with chives, and eat!

20120416-194029.jpg

A spring salad is not complete without something simultaneously crispy & smooth, in this case fried goat cheese. These medallions are simple and delicious. Easy to make at home and worth the extra effort, even on a Monday night!

20120416-194035.jpg

Eating Local: Herb Omelette & Tomato Jam Toast

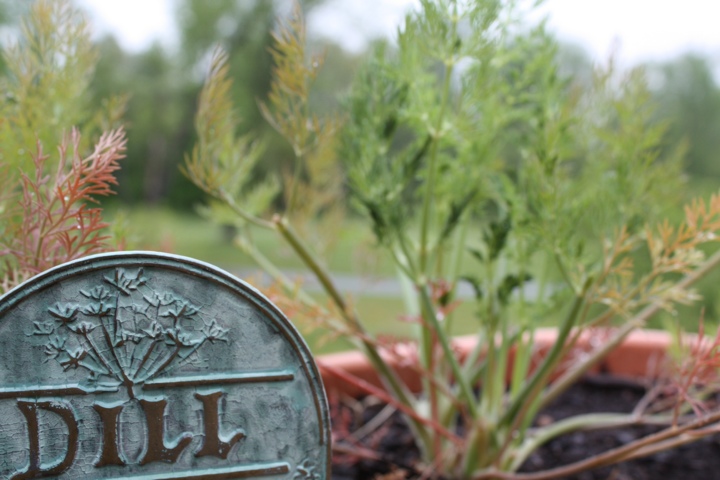
Herbs are bursting out of the garden! Chives are popping up, the dill is fresh and the chervil is ready for salad, pasta & rissotto. This week my challenge is to cook breakfast from local ingredients. This is also the last post of the 2011-2012 Dark Days of Winter Challenge. For my last DDC post I wanted to highlight what's in my garden and keep it simple.

To pull this meal together I enlisted a jar of homemade tomato-basil jam, eggs from Alderfer Farm, Trickling Springs Farm Butter, Canela Bakery Dill Bread and herbs from the back yard. Actually, aside from toasting the bread, cutting the herbs, and making the jam last summer I didn't cook this meal. My amazing, artist, husband did the cooking. He's kind of awesome & so is his art. In between projects, he made this delectable breakfast. He rocks!

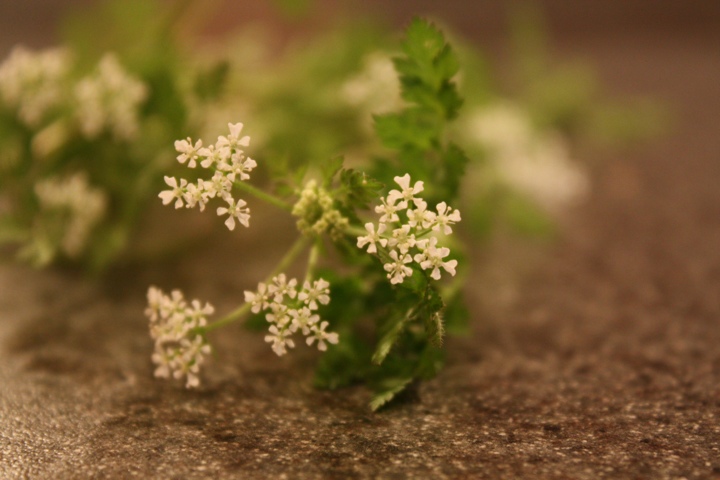
While Josh lovingly whisked and gently cooked each pair of eggs, I snipped herbs from the front yard and the deck. The combo of dill, chervil, and chives is perfect with the light, delicate omelet. It tastes like spring.

As you can see - he makes one mean omelette! This summer I look forward to using the eggs from our CSA in countless omelettes, tortes, spanish tortillas, and poached over salads of mixed greens.

Thanks for following me throughout the Dark Days of Winter. The challenge has changed how I approach eating & cooking locally as well as what to grow in the coming years. Oh - do I have spring fever, or what?!

Do you have spring fever too? Months of digging in the garden and eating fresh local veg is upon us! Happy Gardening!

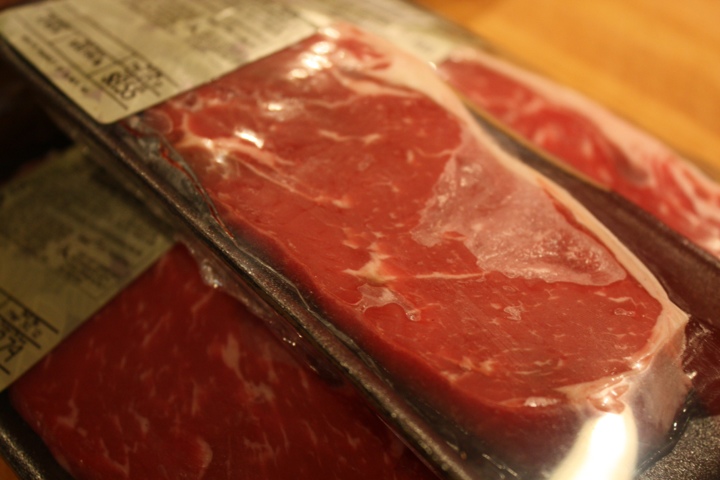
Eating Local: Strip Steaks w/ Warm Asparugus Salad

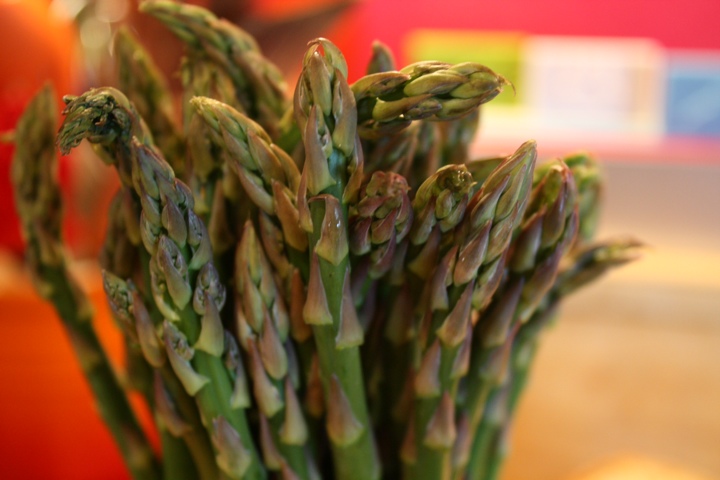
It's that time of year, when I eat all the asparugus I can get! I love it raw, grilled, seared, broiled, etc...So on the way home I picked up some tender stalks from a farm stand. Tonight I had grilling on my mind but those 75 degree March days have vanished so to the oven I went.

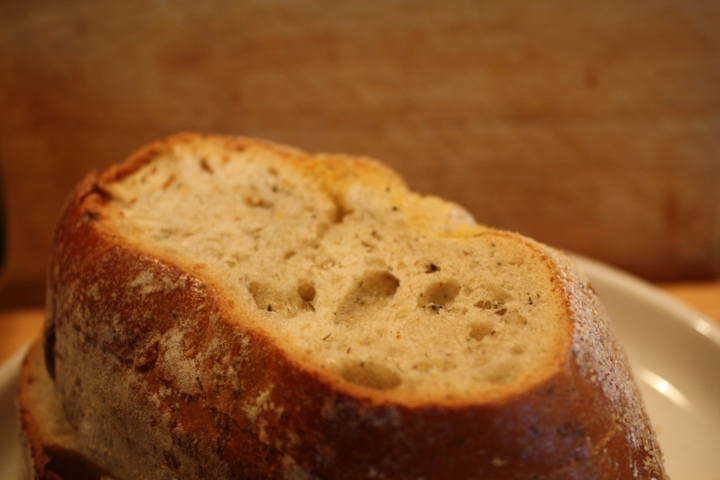
Over the weekend I picked up another hydroponic tomato, some canela bakery dill bread and some beautiful NY strip steaks from Roots.

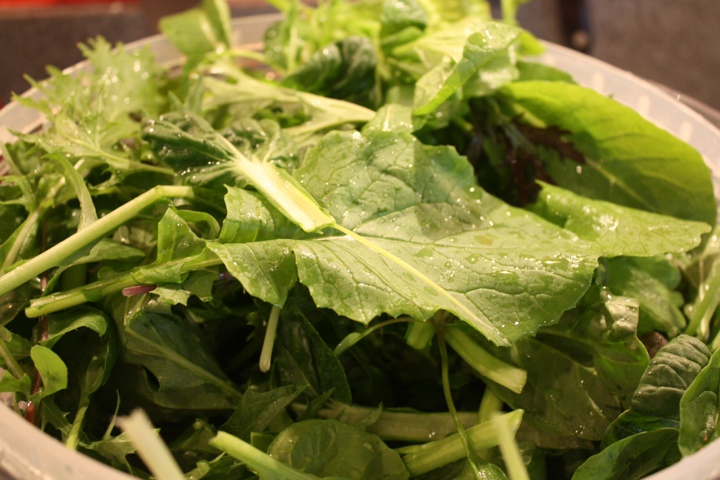
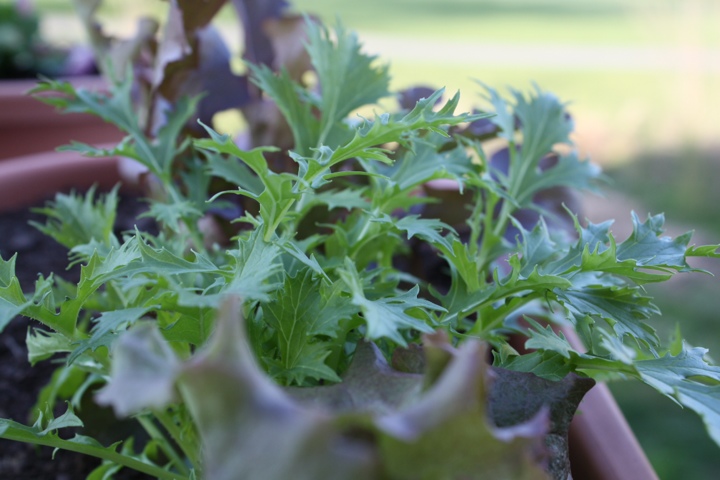
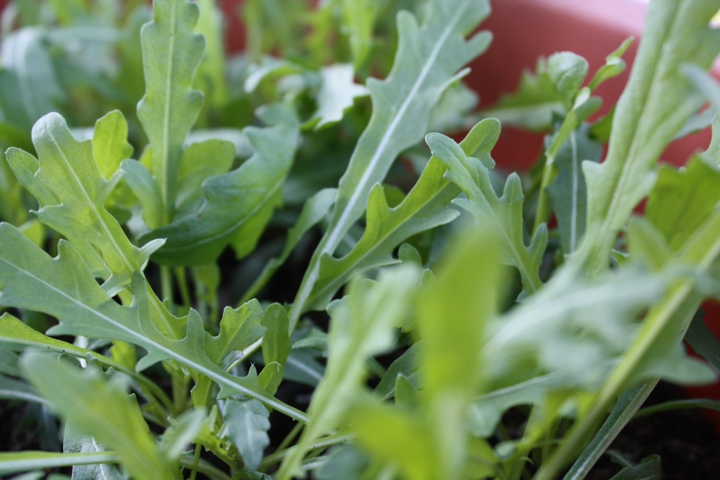
I craved something green and crisp to go with this meal. Thankfully my red leaf lettuce, arugula, frisée, and mizuna are coming in nicely! I snipped a few leaves and got cooking.

Here's how I did it:

Ingredients: 3 NY Strip Steaks, patted dry 1 bunch of asparagus, rinsed 1 large tomato, cored and sliced Fresh salad greens, washed and rinsed, and spun in a salad spinner Olive oil Salt & Pepper Dill bread

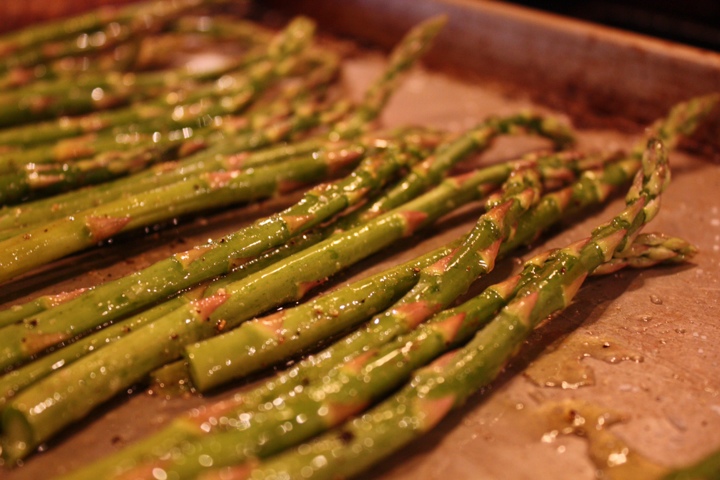
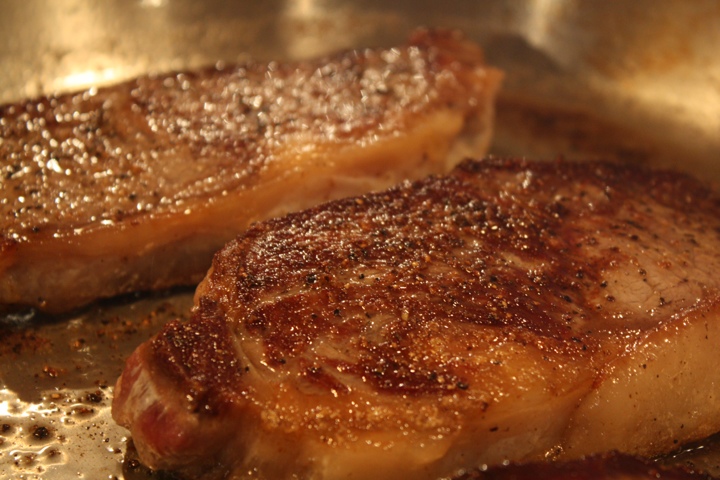
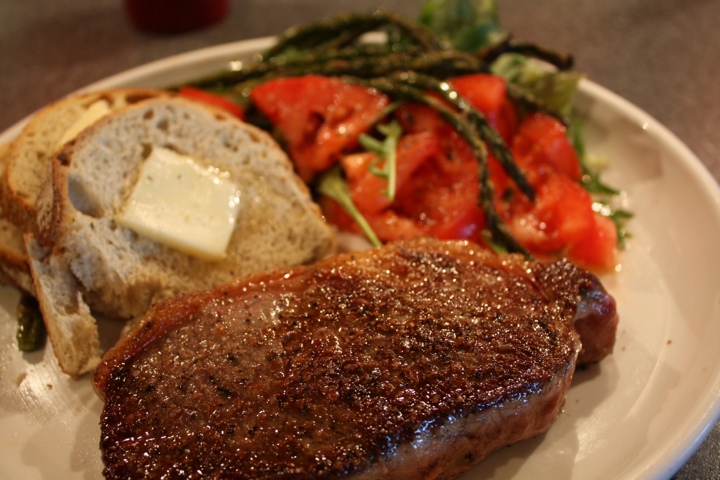
Method: - Pre-heat broiler - In a large skillit or cast iron pan, heat olive oil - Season the steaks with salt & pepper and cook them over medium high, take your time, you want a yummy caramalized crust - Toss the asparugus in olive oil, salt & pepper, broil for 5-10 mins. You want to get some color on them but do not burn them! - Turn back to the steaks, they'll need 5-7 mins per side - Check on the asparagus, turn off the oven and warm the bread on the asparagus pan while the steaks finish - Plate the bread, salad greens, tomatoes, and asparagus. Remember to let your steaks rest for 5 mins before you dig in. This would be a good time to pick out some wine. We enjoyed some Black Ankle - its my favorite MD vineyard.

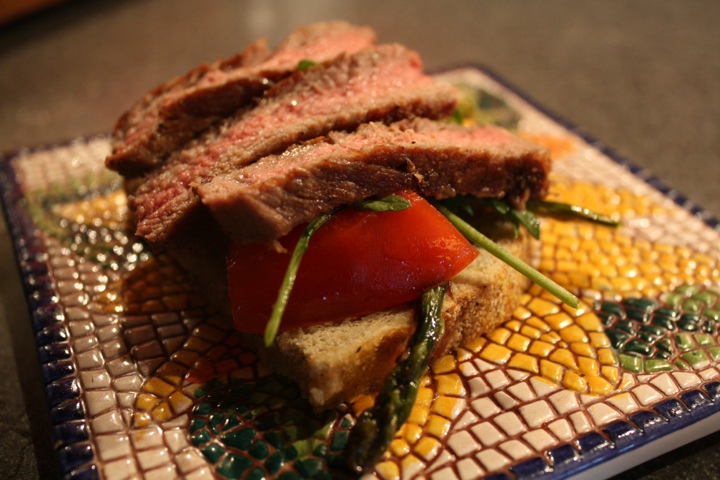
Normally my husband sees bread and goes sandwich crazy - not tonight! Right before tucking into dinner I thought how yummy this could be together. I layered the asparagus, greens, tomato and a few slices of steak - heaven. I think this meal will be a summer staple. Fresh, easy, and local. Yum!

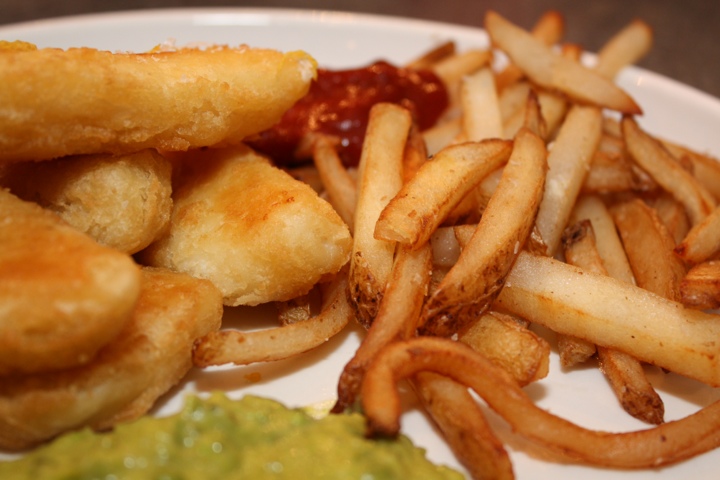
Fish & Chips w/ Mushy Peas

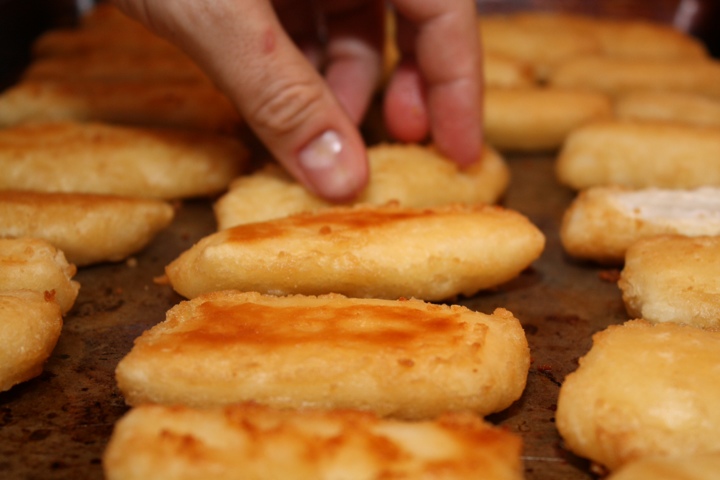
It was so easy - I almost forgot to post last week's Friday meal! Trader Joes offered a lot of help but I don't mind that, especially on Friday nights! Here's what I did:

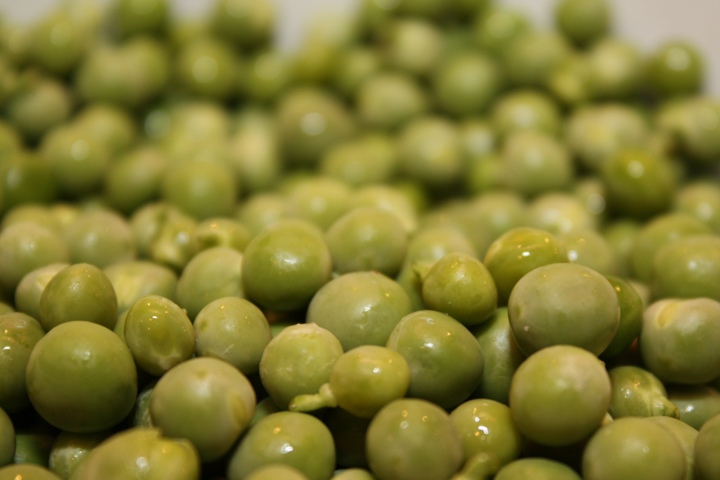
Ingredients: - 1 bag of fresh shelled peas - 1 sprig of mint, leaves removed & chopped - 1 leek, diced - 2 cups of vegetable stock - 1 box of breaded halibut - 1 bag of steak fries - 1/4 cup fresh grated parm - 1 lemon zested & cut into wedges - salt & pepper - 1 tablespoon of butter - dips: ketchup, cocktail sauce and tartar sauce

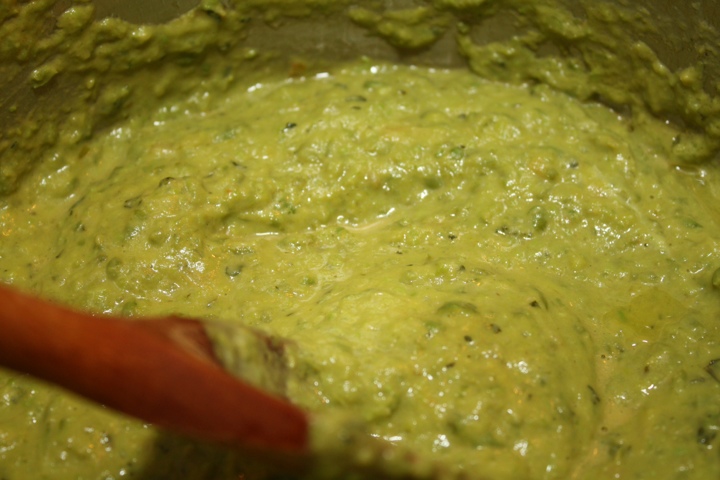
Method: - While you bake the fish & fries according to the package instructions... - sauté leeks in butter, 5 mins - add peas & stock, then bring the peas up to a simmer - simmer peas for 5-10 mins until soft, add mint - blitz the mixture in a blender, or with a stick blender

- return to pan, stir in cheese - plate everything up! - jazz up the cocktail sauce with some horseradish, add pimenton and chipotle flakes to the ketchup and add zing to the tartar sauce with lemon zest

Eating fish on Friday is certainly taking us around the globe. Some days I have the wherewithal to cook up a storm, while other nights I've got 20 mins top. Either way, we're having fun culinary experiences and experiencing different cultures through food.

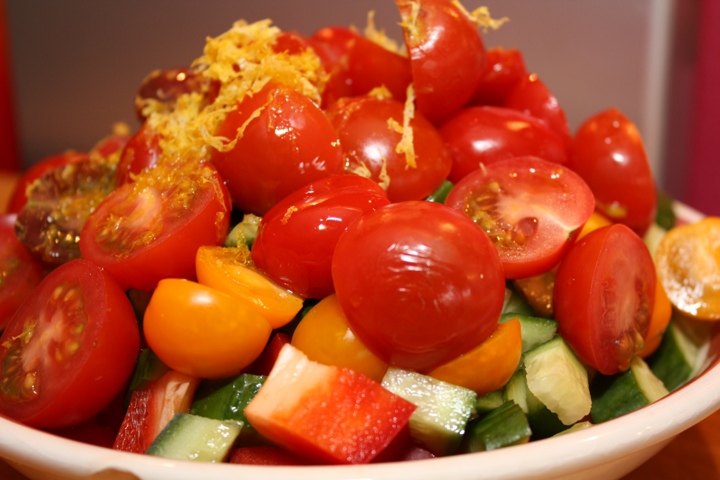
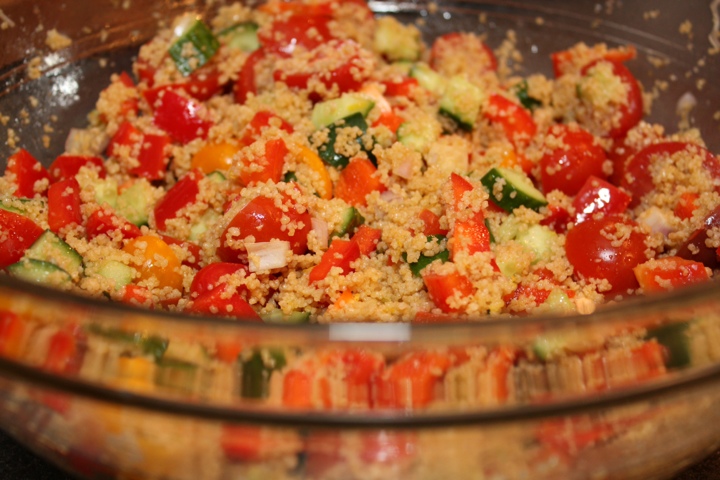
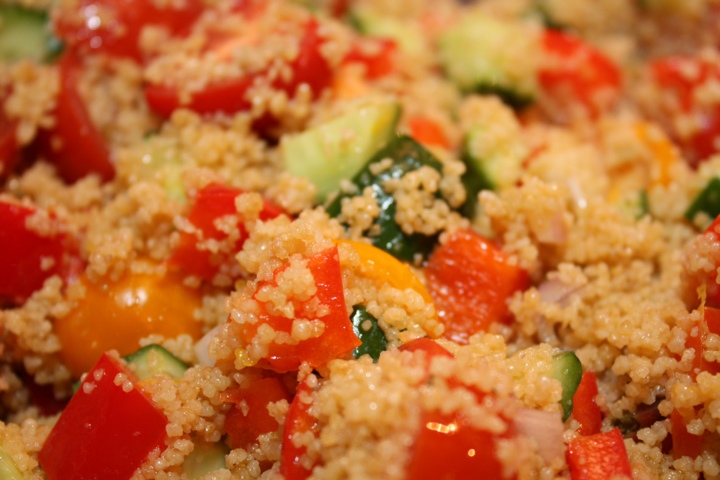
Tabouleh Salad

Spring is here & summer is around the corner! When I think of warm beachy weather, I think tabouleh salad. It's light, bright & refreshing. Here's how I pulled mine together on a warm March day:

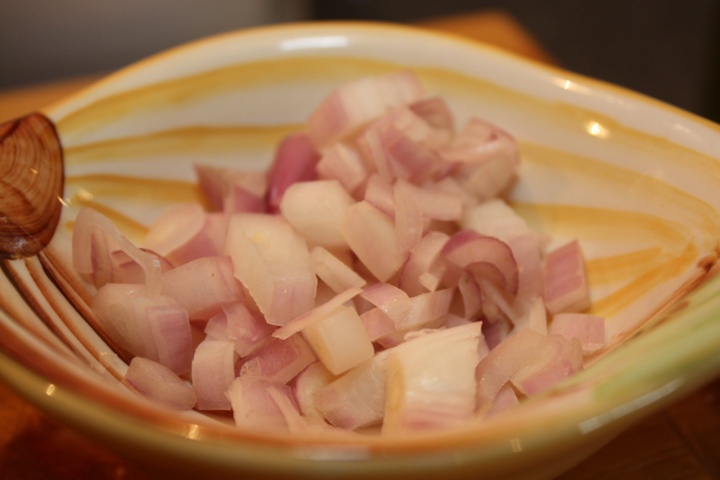
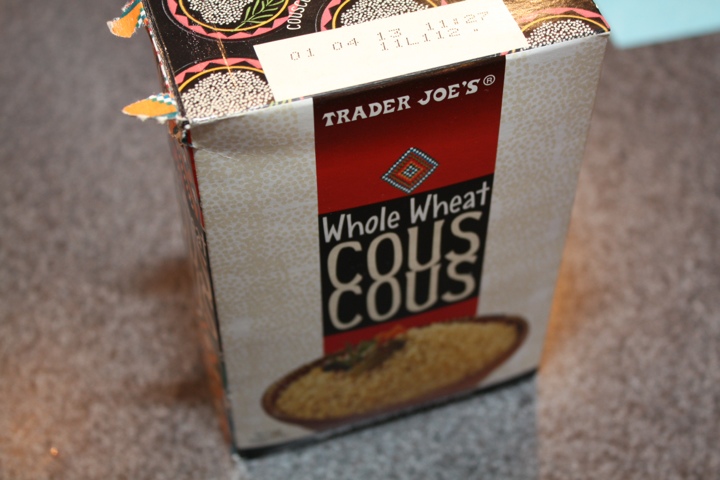
Ingredients: - 1.5 cups of whole wheat cous cous - 1 lemon, zested & juiced - 1 pound of cherry tomatoes, halved - 1 seedless cucumber, diced - 1 red or orange bell pepper, diced - chopped chervil - 6 tablespoons of extra virgin olive oil - 1 shallot, diced - 1/2 cup of boiling water - salt & pepper to taste

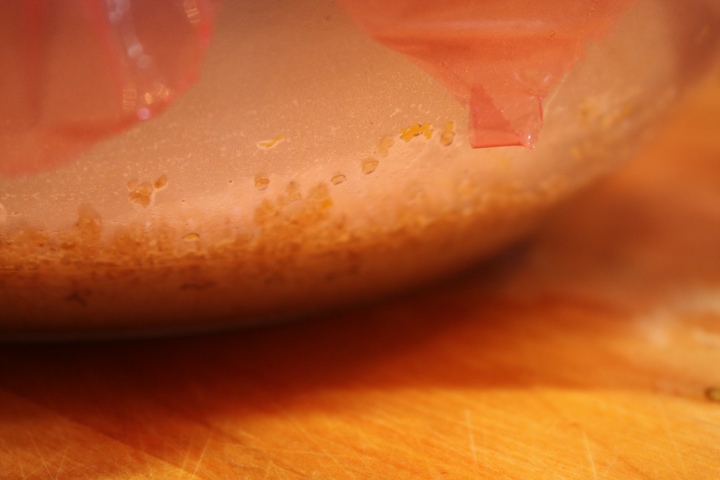
Method: - put cous cous into a large (heat-safe) glass bowl, have a cover or cling wrap close by - when the water boils, pour into the cous cous then stir in lemon juice, olive oil & cover QUICKLY! - while the cous cous steams, 5-10 mins prep your veg - when the cous cous cools, and is soft (no crunch), stir in your veg, a smidge more olive oil, zest & season

Dig in!

This can be made ahead, and is best at room temp. I bring his to every picnic and bbq. Everyone la la loves the refreshing crunch of the cucumbers and the pop of the tomatoes. It stores in the fridge for a few days and makes a great lunch. For dinner we serve it with grilled shrimp....mmmm. Yummy.

What are your fav summer sides?