Unknown Blooms

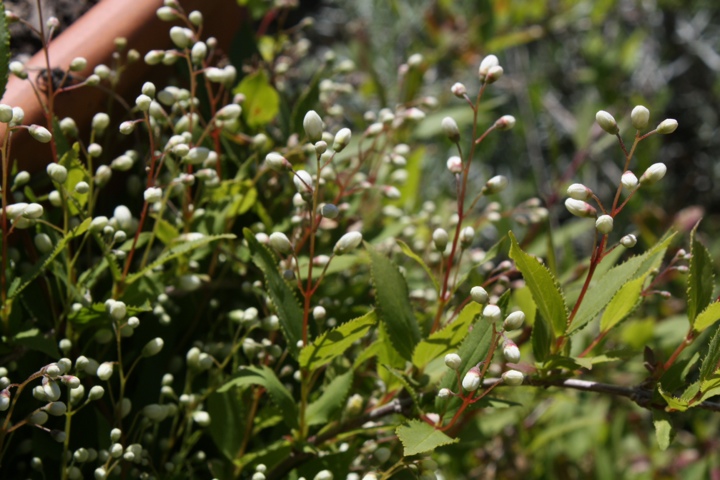
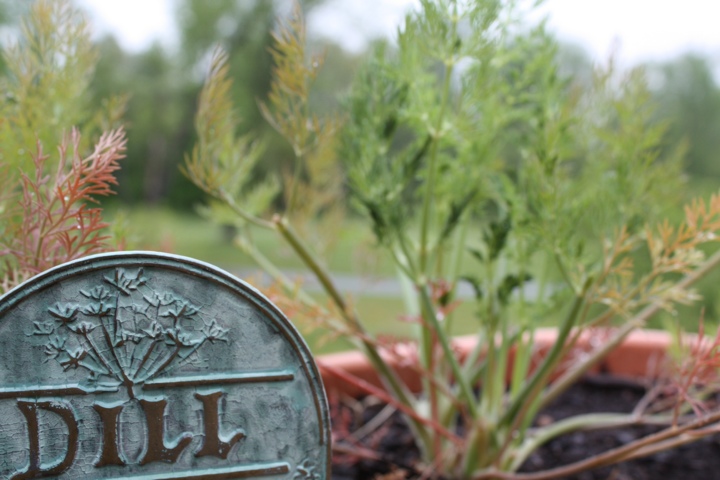
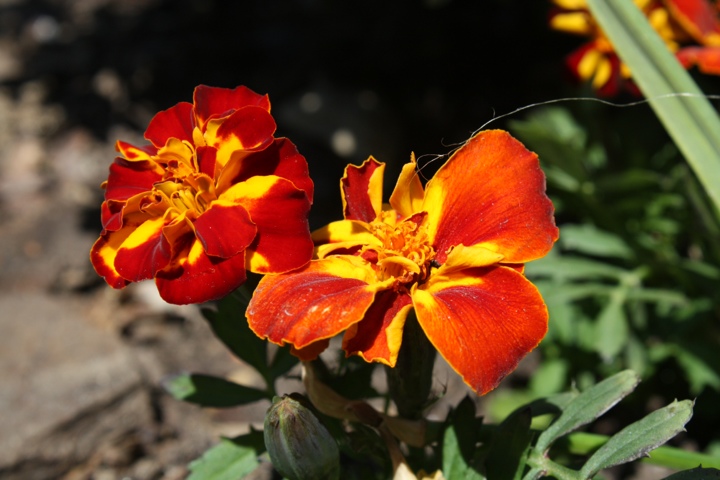
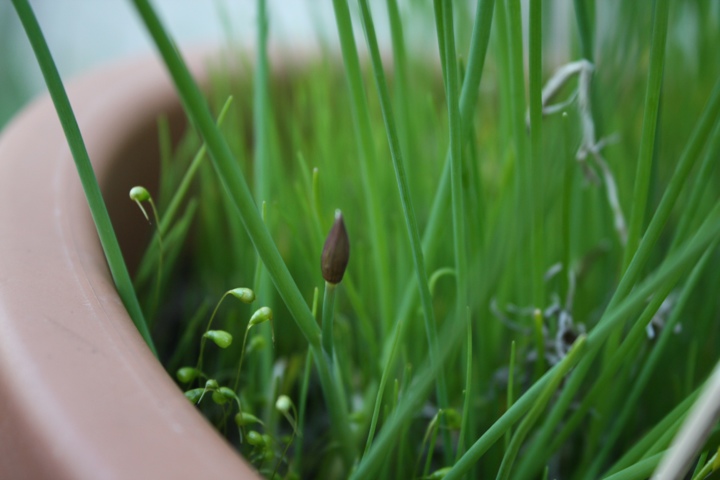
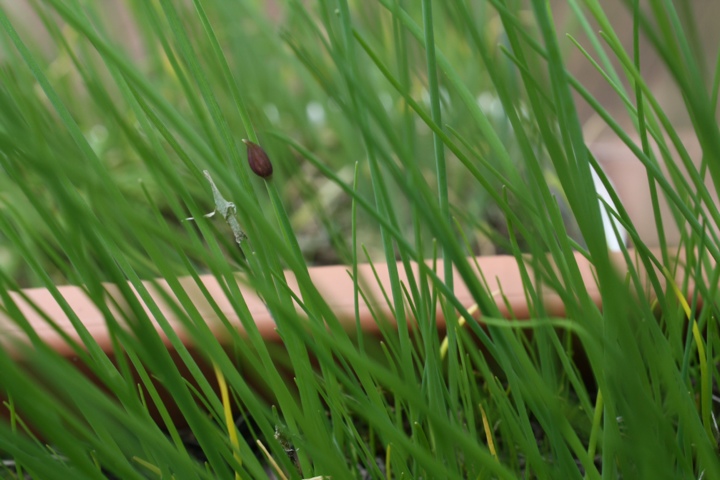
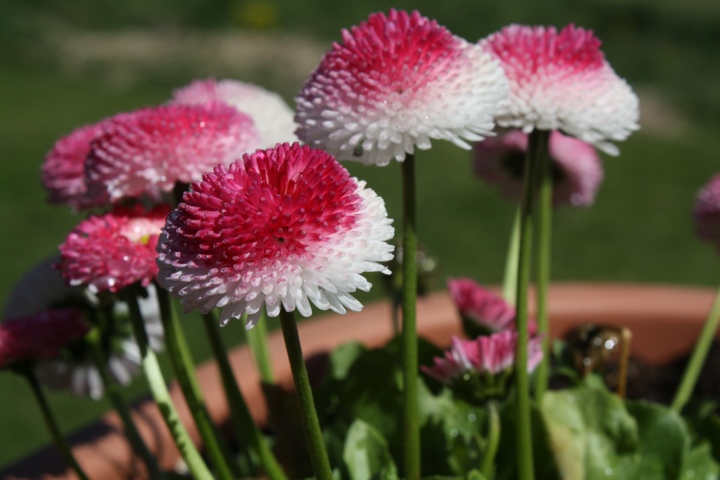
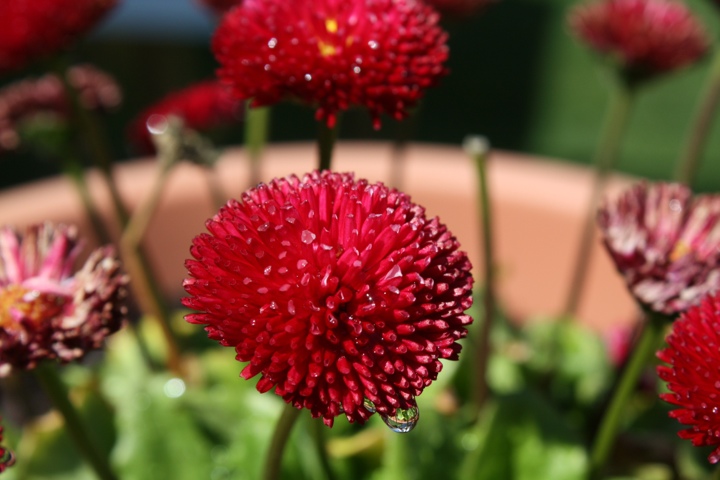
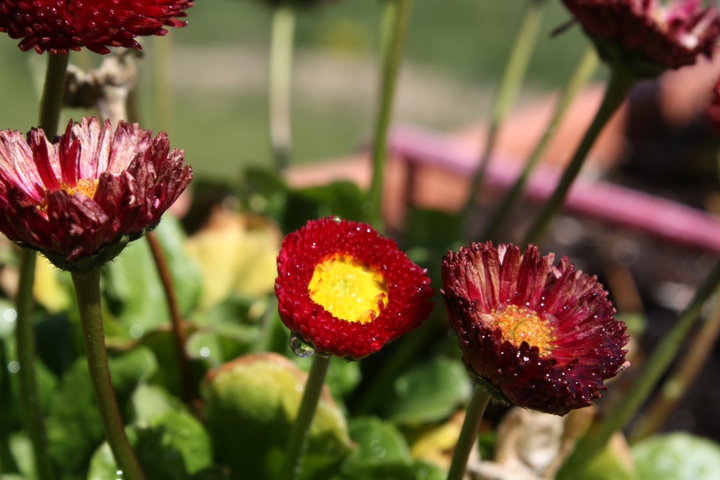
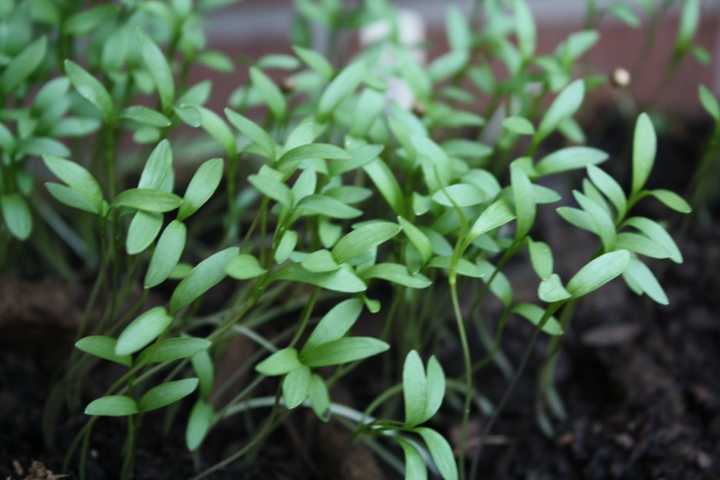
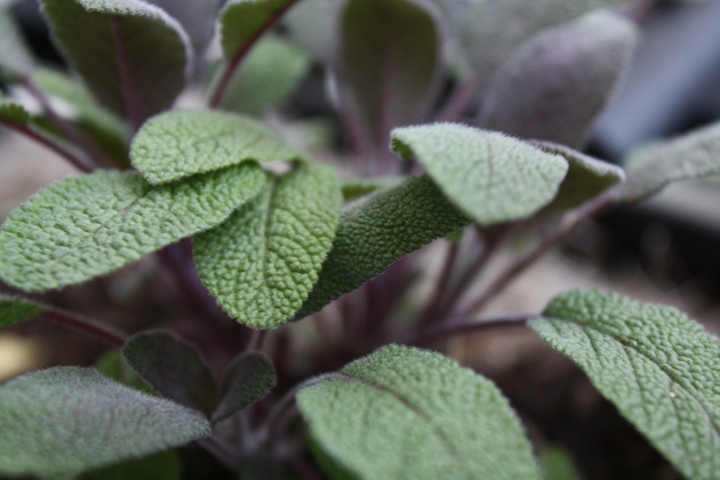
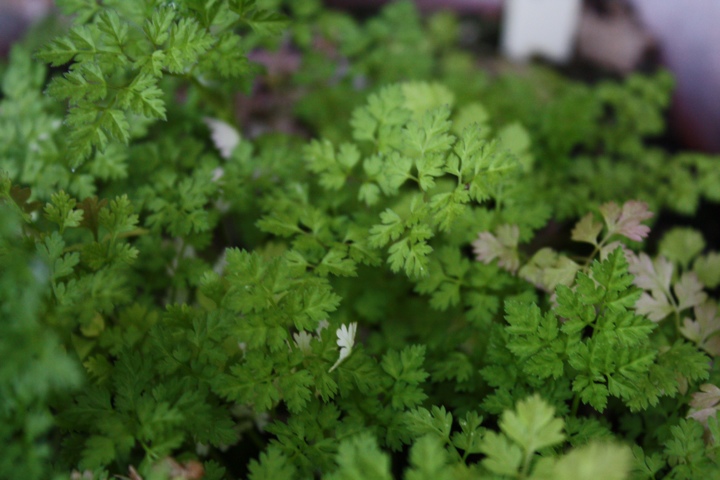
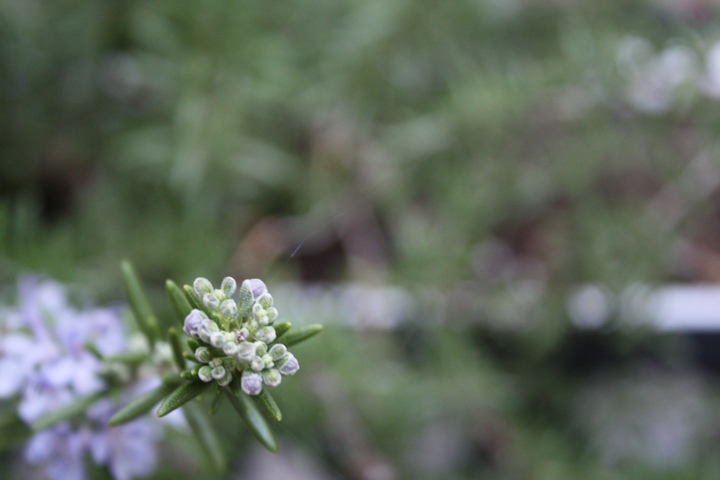
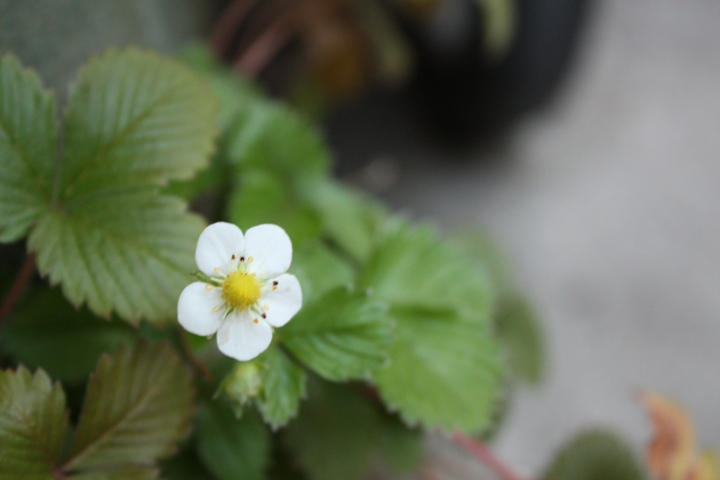
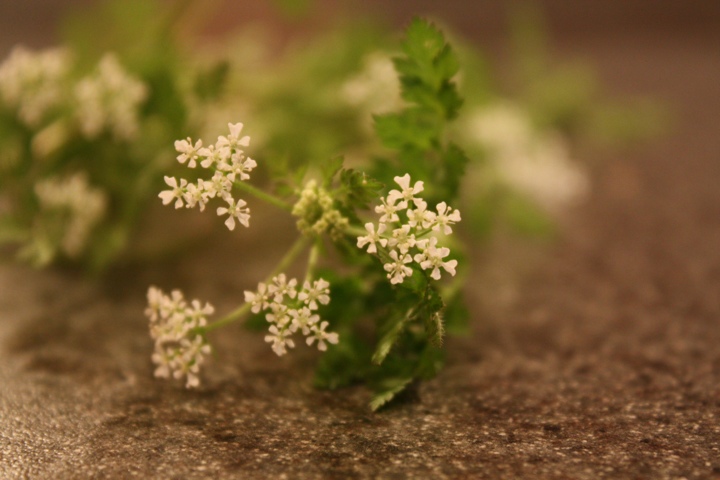
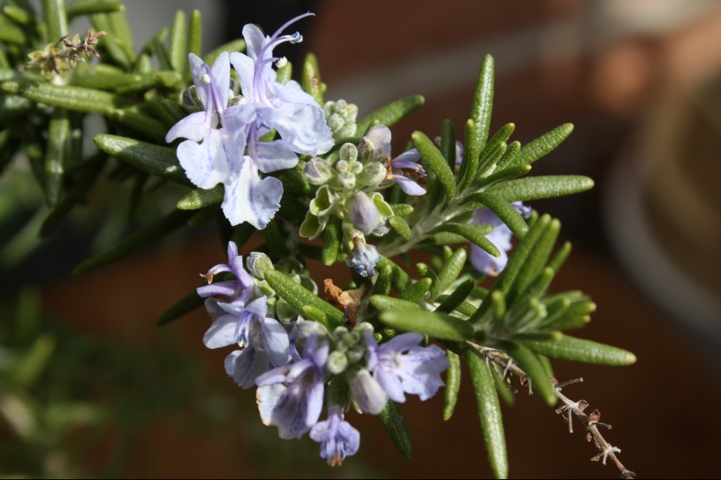
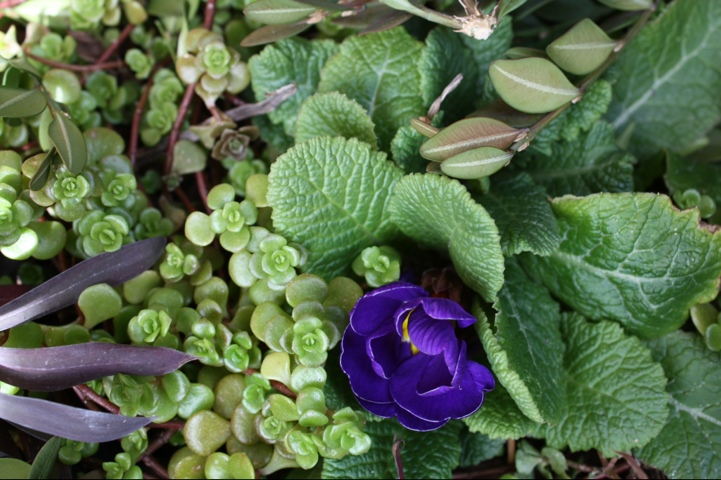
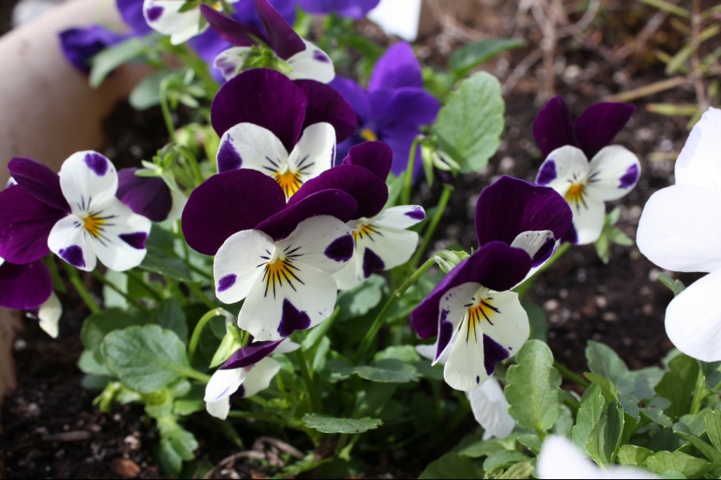
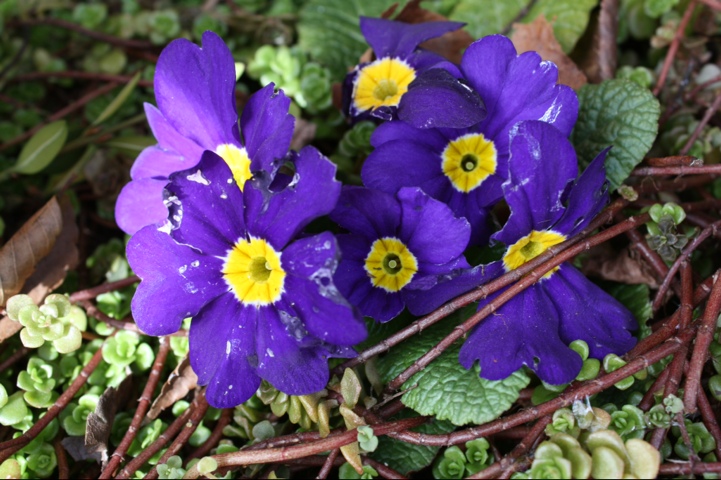
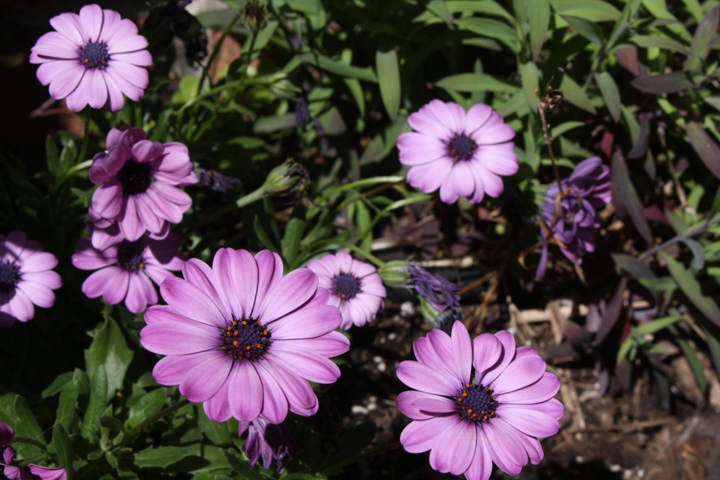
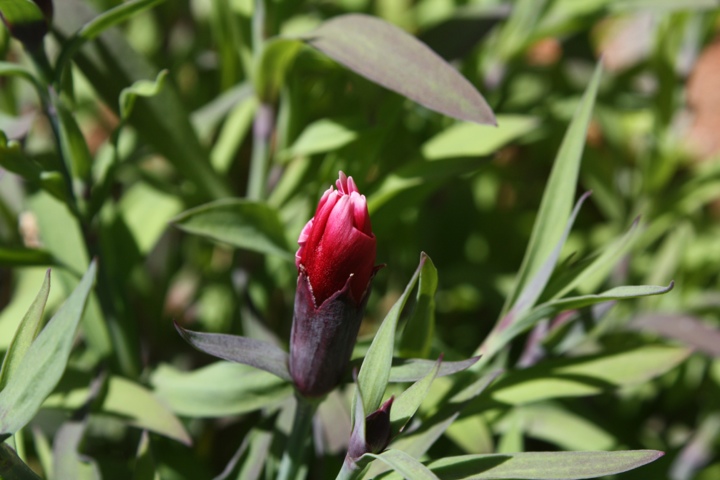
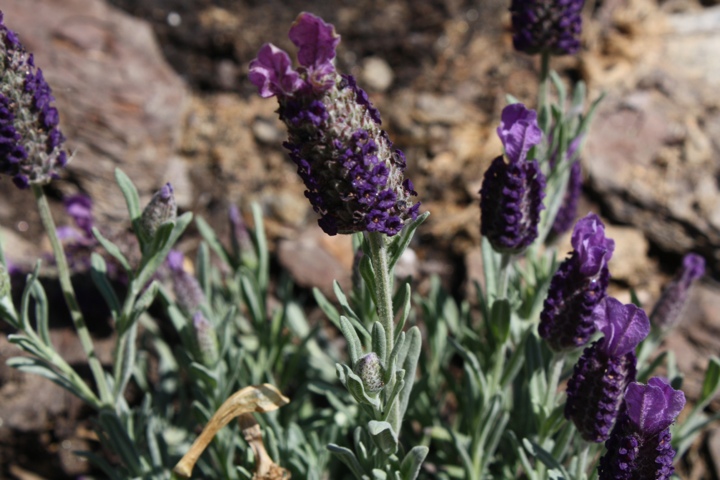
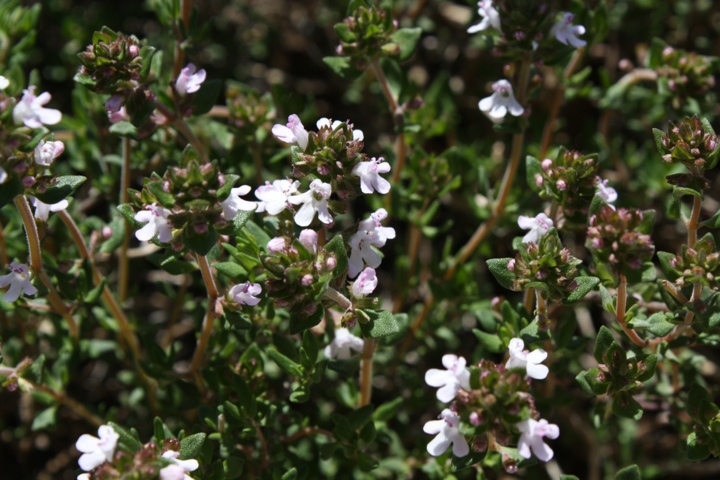
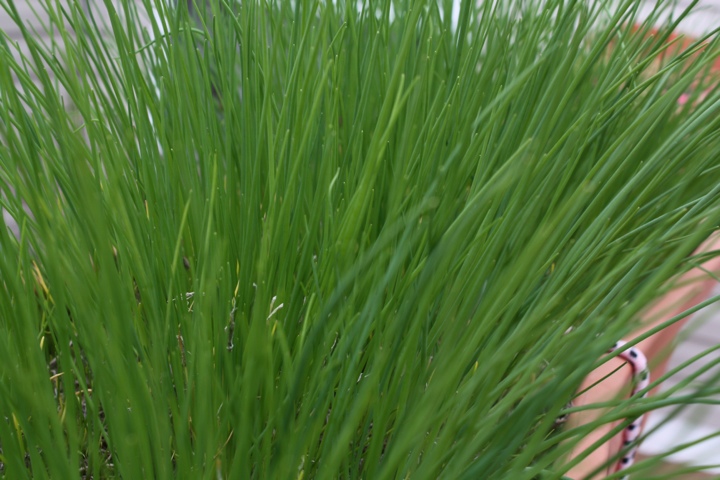
There are a few things in the garden that I admire, but I have no clue what they are. Most undergo big changes between spring and summer, and then go dormant in the winter. So I don't have time to figure out what they are. Below are a few examples. One plant was I just planted - my son loves to bring home random flowers from the farmstand. He's got great taste, but often looses the tags! The second plant was a mothers day gift, and the third I planted when I first moved in.

Any of these look familiar to you?

I spy: Assassin Bug

20120416-193819.jpg Bzzzzzzz...Thud. That was the sound I heard yesterday evening on my deck. I looked up and saw a bug peering into my bedroom window, time to investigate. Having a 4 year old brings out the inquisitive nature-girl in me, while growing vegetables makes me want to know each and every tenant in my plants!

20120416-193829.jpg

20120416-193837.jpg

I grabbed my camera and my go-to insect guide, Good Bug Bad Bug. Before tearing into the book, we snapped some pictures. After reviewing the pics I decided it must be an Assasin Bug. The body shape, legs, and the unmistakeable beak. Good Bug Bad Bug gives the Assasin Bugna beneficial rating. The bugs rarely bother humans, are not commonly seen, and feast - quite veraciously - on other bugs. I'm hoping they enjoy Stink Bugs.

20120416-193849.jpg

I did a bit more research and found a great overview by the University of Kentucky Entomology department ("UK"). According to UK, these bugs can be a nuisance in some parts of the country, but they really stick to their bread and butter, eating other bugs by injecting them with poison and sucking out their liquified body. Gross - but fewer bad bugs is fine with me!

UK stated that Assassin Bugs should not be handled by humans. The Assassin Bugs have a sharp beak that can cut pierce human skin, and may cause an allergic reaction. That said, there are few bugs I'd want to pick up! Other than ladybugs, no thanks! As long as the Assasin Bugs eat up the bad guys in my garden, they are welcome.

Eating Spring Greens

20120422-111020.jpg The whole neighborhood is bright green. My planters are exploding with herbs, lettuces, mustard greens, chard, kale - and the peas & root vegetables aren't far behind. Though I've had my share of summeresque March & April days, I'm not putting out the tomatoes, peppers or eggplant yet. Too risky- one day it's 80, and the same night is under 30 degrees.

20120422-111029.jpg

20120422-111034.jpg

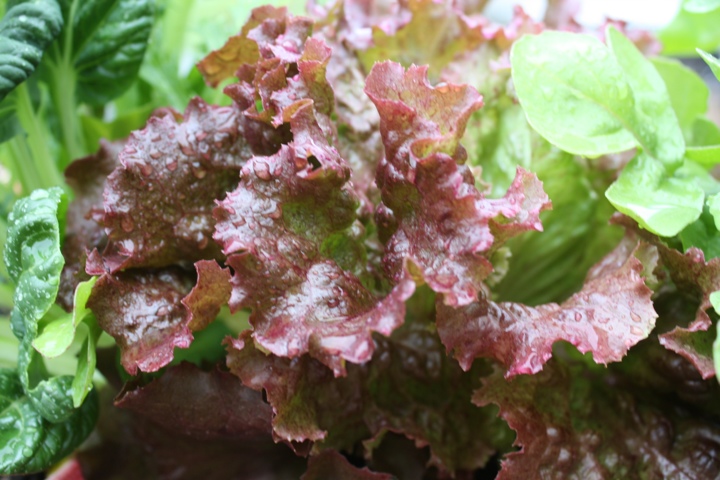
I'm trying to keep the creative cooking juices flowing. Just because we have lettuce doesn't mean salad. In the last year we've become partial to the Korean dish Ssam Bap. This is a meal of fresh redleaf lettuce leaves full of rice, BBQ meat, and whatever else you can fit in. It's a pocket of joy!

20120422-111038.jpg

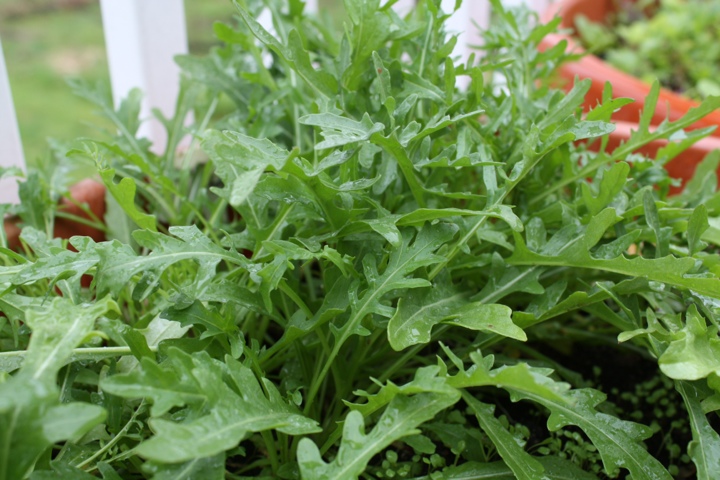
Another fav is arugula - and I have a ton! We've been using it for breakfast sandwiches made with: toasted bagels, herbed cream cheese, smoked salmon, thinly sliced red onion & thin sliced tomato. Divine. It's like being at Nate & Al's, without the 6 hour flight! Speaking of herbed cream cheese. Just cut dill and chives with kitchen or herb snips, right into your fav cream cheese. Zest in a little lemon peel, stir it up...so delicious.

20120422-111044.jpg

Micro-mustard greens are great on a sandwich or in a salad. As they grow, the bitterness intensifies. I just pickled a batch of mustard greens - it took all of 10 minutes. It will taste great in pho, fried rice or on a pulled pork sandwich. Possibilities are endless!

20120422-111050.jpg

What's your favorite way to eat greens?

How Does Your Garden Grow?

20120422-110517.jpg I still can't believe it was 80 degrees last Saturday, then flurries Monday night. Only in Maryland! Though the weather's a bit nutty, I try to take advantage of the super-sunny days when I get them. Most of my veg plants are still in their seedling trays and I don't plan on transplanting them to cowpots until this weekend. This allows me a bit of flexibility. I can move them in and out of the house with ease, and the plants get all the benefits of hardening-off, (aka getting ready to be outside.)

Plants still indoors: Tomatoes Hot & Sweet Peppers Butternut Squash Cucumbers Eggplant Tomatillos

20120422-110526.jpg

20120422-110535.jpg

20120422-110540.jpg

20120422-110546.jpg

20120422-110551.jpg

There are a few plants that like the chilly temps in my garden. In addition to the indoor/outdoor bunch I'm growing a lot of lettuces, root vegetables, peas, onions, dark leafy greens and garlic. I've been lucky to have a good amount of rain and I've only watered a few times. When I do transplant, and things warm up, I'll be adding a little Neptune's Harvest to the weekly watering. It's a liquid plant food made up of emulsified fish and kelp. Additionally, the garden will get a dose of compost mid-summer. Happy plants grow yummy veg!

20120422-110558.jpg

20120422-110603.jpg

20120422-110611.jpg

20120422-110616.jpg

20120422-110622.jpg

20120422-110630.jpg

I'm thankful for the success I've had so far and I can't wait to try my very own peas. What are you growing this year? Anything new? Anything tried and true?

20120422-110713.jpg

Earth Day Pledge

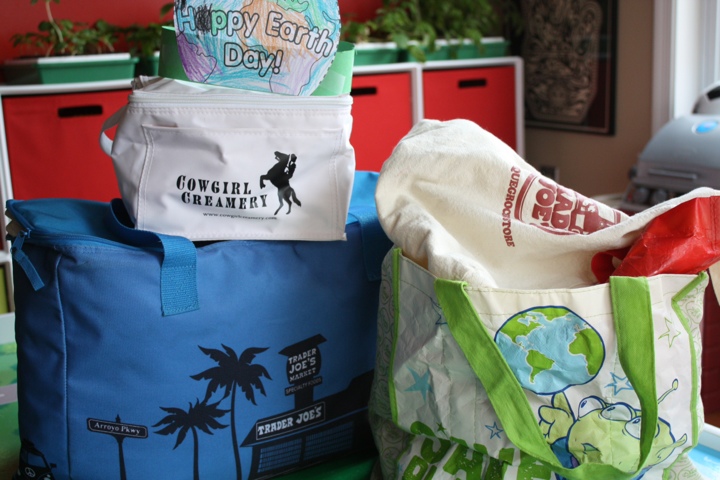
Over the past 5 years I've focused a lot on eating and growing organic food, lowering our red meat intake, and eating sustainable seafood. But it's time to focus on a vice that we all deal with everyday - plastic bags. Years ago I would have scoffed at giving up grocery bags but now I have at least 40 reusable bags from IKEA, Trader Joes, Roots, Whole Foods, etc...Now I'm pledging to use these bags at non-grocery stores as well.

Though I have been diligent about recycling plastic and paper bags, even before our recycle program picked them up, it's time to cut out something as unnecessary as plastic especially for my produce - I'm still on the fence about plastic for seafood & raw meat. I found these fabulous reusable canvas produce bags on Etsy, they should fit right in with the rest of the bags.

Little things like using reusable bags leads to composting, harvesting rain water, growing and preserving your own veg, joinging a CSA, eating locally, and so many other good things. Take time today to think about what you and your family can do for the Earth, afterall it is your home.

Rain Barrel 101

Last year's big resolution was compost, compost, compost! This is the year of the rain barrel. For months I've researched, shopped, and admired other rain barrel set-ups, like Sincerely Emily's.

I spent months agonizing over what rain barrel was right for me. Almost every home improvement store carries them, and so does Amazon. But I wasn't satisfied. One afternoon I did an Internet search for "Maryland Rain Barrels" and something new popped up: Arlington Echo Outdoor Education Center. Arlington Echo is just 30 miles from my neck of the woods and sits right on the Severn River in Millersville, Md.

Arlington Echo is part of the Anne Arundal County School System and offers so much to the kids and residents in the area. They cover everything from composting, camps, rain barrels, bay restoration, environmental studies, green roof, and so on. It is an amazing place. after reading about their rain barrel making process, and their programs, I knew this is where I wanted to buy my barrels from. So two weeks ago I placed my order online, and the rest is history!

Setting up the rain barrels was fairly simple but having my handy husband made this so easy I didn't have to do much more than supervise. I'm a mama, gardener, cook, athlete, but not a handy-woman. Not at all. Here's how we set it up:

1. Figure out the best location & closest down-spout. Though our county is "green", many HOAs don't like rain barrels or composting, or, or, or...you get the drift. So our barrels are under the deck and are also shielded by a beautiful privacy screen.

2. Put on Gloves!

3. Remove a part of the downspout, we used tin snips, and fasten the new flexible downspout with a tiny galvanized (rustproof) screw on each side.

4. Elevate the barrels - gravity is your friend - using cinder blocks or pavers 5. If you have 2 barrels, connect them with the feeder tube, the second barrel should be lower than the first

6. Feed the overflow tubes into your drainage spout 7. Make any final adjustments 8. Insert screens, these should be rinsed often 9. Make sure all nozzles and faucets are closed

Done!

And - just in time. Ten minutes later we had a storm blow through. In just a few minutes the rain started to fill the tank! The entire process took 2 people, one handy and one not, 35 minutes to install the rain barrels.

Not only will my garden reap the benefits of rain water on a sunny day, but my water bill will be a little smaller this summer!

Buzzing in the Garden

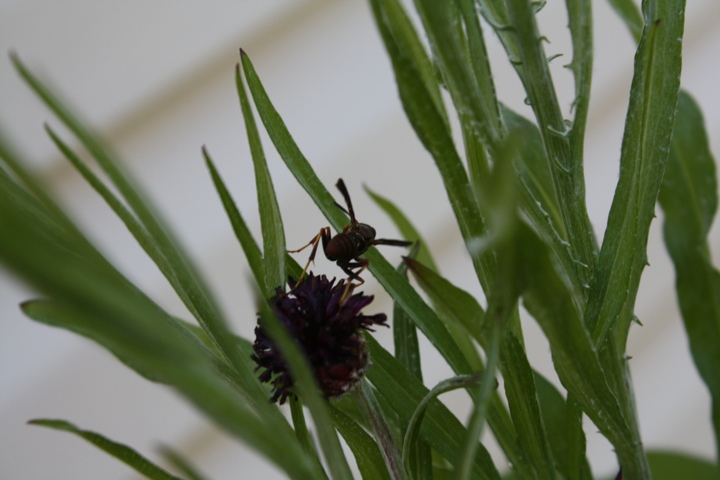
When I returned from a recent Easter adventure in Ohio, my first stop - before unpacking and all that unfun stuff - was the garden. While inspecting the Bachelor's Button, I noticed a wasp on a bloom. The wasp circled and stayed for hours. As long as it doesn't try to build a nest in my eaves or under the deck, it's welcome to the flower nectar.

This is one of the first pollinators I've seen this season. I wonder what it thinks of the English Daisies I planted a few containers down. In about a month my lavender, chamomile, and zinnias will be in full bloom. Besides the Bachelor's Button & English Daisies I have a few other flowers in bloom:

What's your favorite bloom? Anything in your garden drive the pollinators wild?

I spy: Chive Blossoms

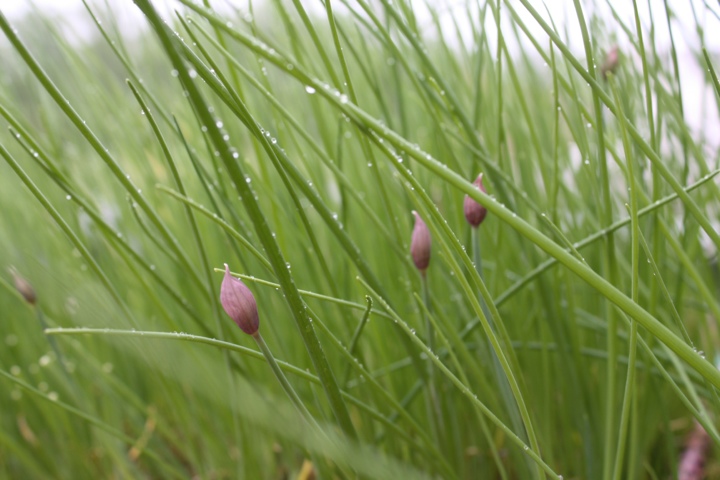
Saturday morning I headed outside to get some dill for my eggy crumpets and noticed something in the chives. A few pink buds are making their way up toward the sun - chive blossoms! I love love love chive blossoms. Not only are they beautiful - and attract the good bugs - but they are tasty. We keep them raw, I think cooking this delicate blossom would be too much. Last year my chives sent up quite a few blooms, and continued to bloom in the heat of the summer, check them out.

Year after year my chives come back. They are certainly the toughest herb in my garden, and they taste awesome too. They grow easily from seed, and are fairly tolerant of any extreme condition - heat, shade, dry, drenched - I don't think anything can slow them down. Well except for my fam's appetite for them!

What's your fav herb? Have you tried growing chives?

English Daisies

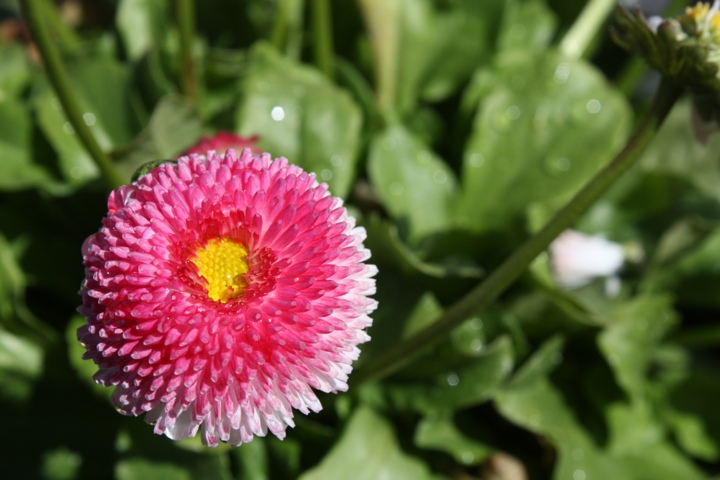
A few weeks ago I stopped at my local farm stand - a dangerous move for a gardener/cook/shopper. While peering though the endless rows of geraniums & local veg, I found something new. These dazzling pink pom-poms were popping out from the end of the row. Instantly, I fell in love with these flowers. English Daisies are low-profile, flower non-stop, and are with standing the recent lack of rain & cold nights. In my book, that's a keeper.

They come in red too!

None of the pollinating insects - butterflies, lady bugs, honey bees, etc...- have taken an interest, yet. But the recent chilly nights have probably kept them away. Come to think of it, I haven't seen any buzzing around in the front yard either. To get a better sense of what to expect out of the daisies, I did a little research. According to the Washington State University Master Gardener program, these beauties are a weed! Arg! Sounds like they are similar to dandelions. Which I don't despise, but I don't cultivate them either. The WSU article offers many different ways to remove the flowers, should they take over your lawn, including numerous applications of herbicide. I don't recommend using any herbicides. Put on a pair of gloves and remove whatever is taking over your space. Herbicides have a nasty habit of getting into ground water and the soil we grow our food in.

We'll see if they survive the scorching mid-Atlantic summer. If not, marigolds will easily take their spot. Weed or not - these flowers were a welcome burst of color during our odd spring. I hope that I can save the seeds and grow them again next year!

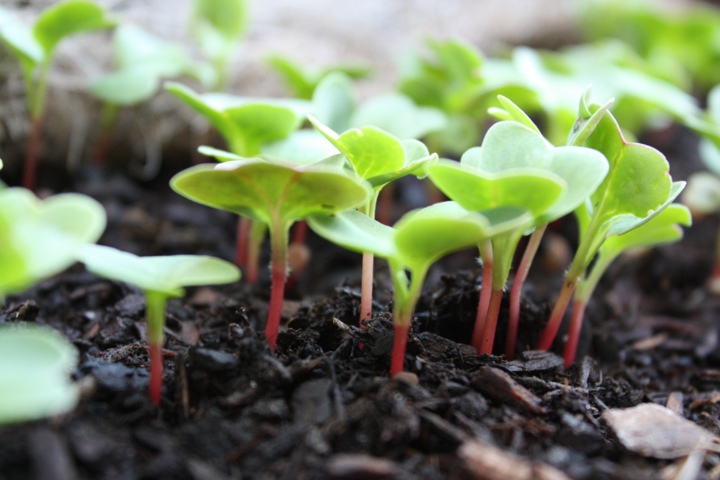
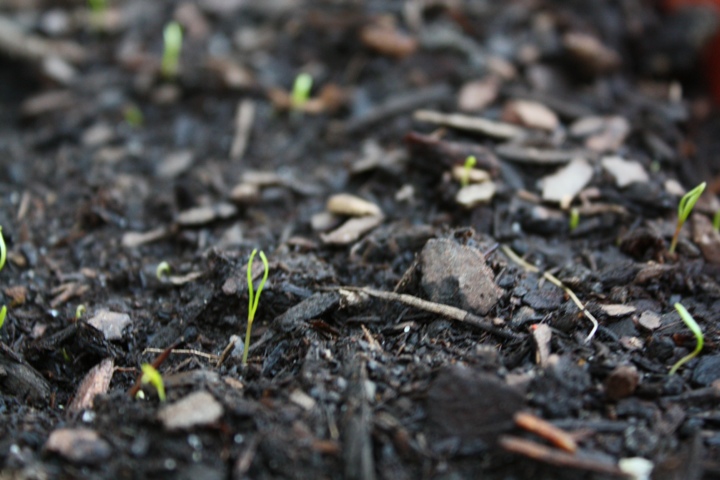
Garden Sprouts

After a weekend of hard work, it's rewarding to see a little garden green!

There's so much green in the garden these days. Thankfully we've had some rain to keep things growing sans-hose. Right now I've a wide variety of veg outside:

    French Breakfast Radishes Lacinato Kale Parmex Carrots Beets - chioggia & golden Cippolini onions Hardneck garlic Lettuce Mustard greens Golden & Rainbow Chard Kohlrabi Peas Herbs: chervil, chives, dill, cilantro, thyme, sage, rosemary, lavender, and I'm trying to coax my mint, lemongrass and lemon verbena back to life

Wow - that's more than I thought!

Things are coming along in the basement too. Some plants are not ready to venture outside, I still have evenings that get frosty. For now, these plants are growing indoors under florescent bulbs:

    Tomato: orange pixie, pruden's purple & purple cherokee Tomatillo Sweet bell peppers Pequillo peppers Hot peppers: passilla, poblano, fish, cayenne, and jalapeño Cucumbers Butternut squash Okra Eggplant - one measly seed sprouted. I'm thinking about a last minute order... Herbs: genovese basil, thai Basi, and marseilles basil Green beans

No vegetable garden is complete without bait for the pollinators! Here's my flower plan:

    Queen Sopihia Marigolds Bachelor's Button Chamomile English Daisies (I love them even if they are considered a weed!) Zinnias - bright green

A few flowers are bursting outside too:

I'm sure I forgot something...or will fall prey to the delights of my local garden center. I was especially prudent - sort of- with my garden budget this year. I joined a new CSA, full share, and I'm a little nervous/intimidated/anxious/excited. Sould be quite an adventure!

Eating Local: Herb Omelette & Tomato Jam Toast

Herbs are bursting out of the garden! Chives are popping up, the dill is fresh and the chervil is ready for salad, pasta & rissotto. This week my challenge is to cook breakfast from local ingredients. This is also the last post of the 2011-2012 Dark Days of Winter Challenge. For my last DDC post I wanted to highlight what's in my garden and keep it simple.

To pull this meal together I enlisted a jar of homemade tomato-basil jam, eggs from Alderfer Farm, Trickling Springs Farm Butter, Canela Bakery Dill Bread and herbs from the back yard. Actually, aside from toasting the bread, cutting the herbs, and making the jam last summer I didn't cook this meal. My amazing, artist, husband did the cooking. He's kind of awesome & so is his art. In between projects, he made this delectable breakfast. He rocks!

While Josh lovingly whisked and gently cooked each pair of eggs, I snipped herbs from the front yard and the deck. The combo of dill, chervil, and chives is perfect with the light, delicate omelet. It tastes like spring.

As you can see - he makes one mean omelette! This summer I look forward to using the eggs from our CSA in countless omelettes, tortes, spanish tortillas, and poached over salads of mixed greens.

Thanks for following me throughout the Dark Days of Winter. The challenge has changed how I approach eating & cooking locally as well as what to grow in the coming years. Oh - do I have spring fever, or what?!

Do you have spring fever too? Months of digging in the garden and eating fresh local veg is upon us! Happy Gardening!

Growing Dinosaur (Lacinato) Kale

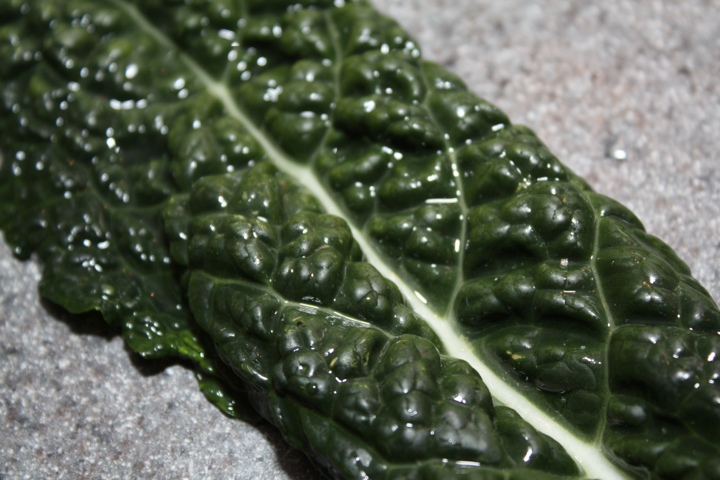
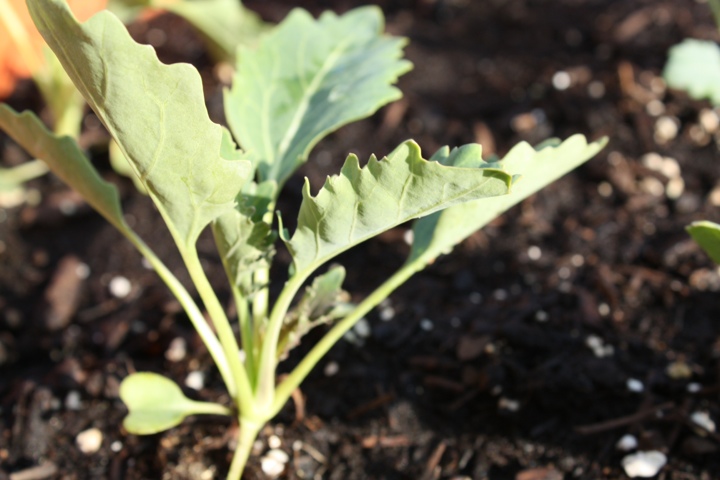
Kale is a beautiful, tough, nutritious & delicious vegetable. For years I've purchased it at farmers markets, but this year I'm growing it. There are countless varieties of Kale, I picked Dinosaur, Lacinato, Kale for two reasons: 1. I love Italian food especially if it grows well in my garden, and 2. I have a four year old who loves dinosaurs - so there you have it!

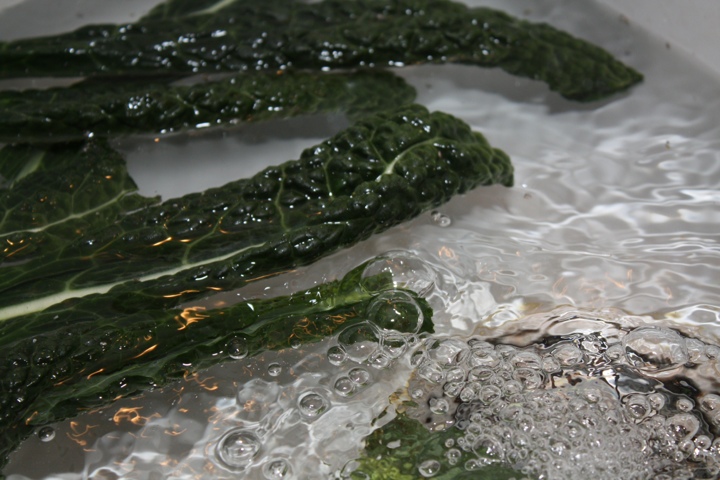
One thing about Dinosaur Kale, it gets REALLY dirty. I had to do some serious soaking and rinsing to get the dirt out of the pockets under the leaves - totally worth it. I'm not sure what I'll make with my first batch of kale. A few blogger friends have made knock-out kale chips, sounds delicious! But in honor of my first kale season, I might go with a classic Tuscan soup - Ribolita. Bread, olive oil, kale, tomatoes....sounds amazing, no?

Back in February my little seeds got started and were recently transplanted outside. The seedlings are now little plants - and they are growing strong. The seed packet says they grow up to two feet tall - yikes! I'm thrilled to make room in my garden for Kale, now let's hope it cooperates and grows like crazy!

Are you growing anything new this year? Giving up on something to make room for others?

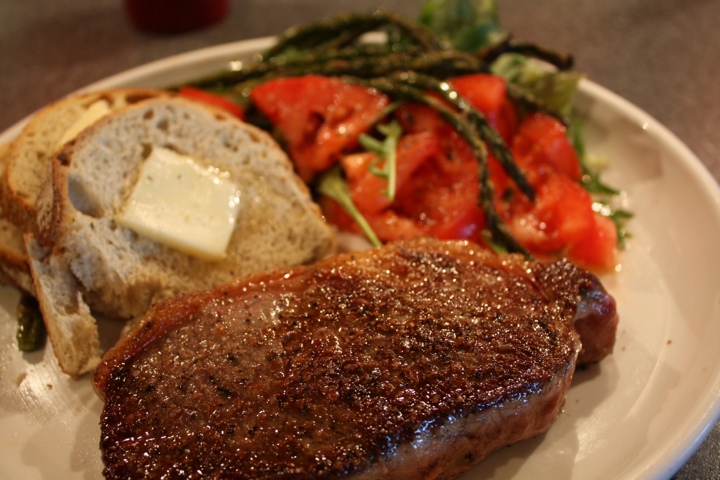
Eating Local: Strip Steaks w/ Warm Asparugus Salad

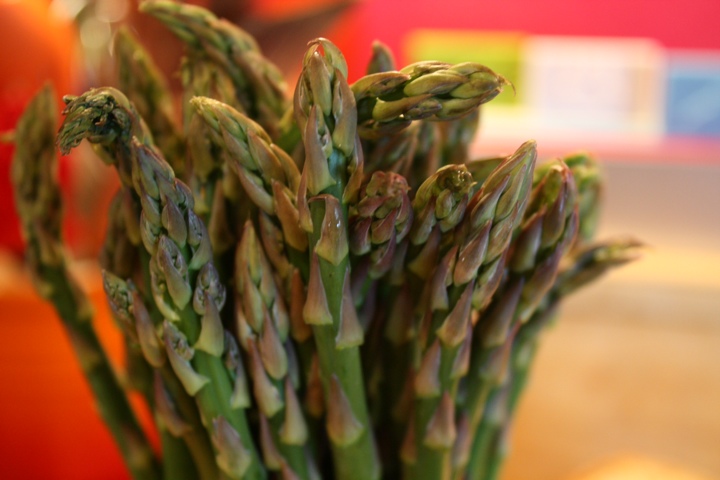
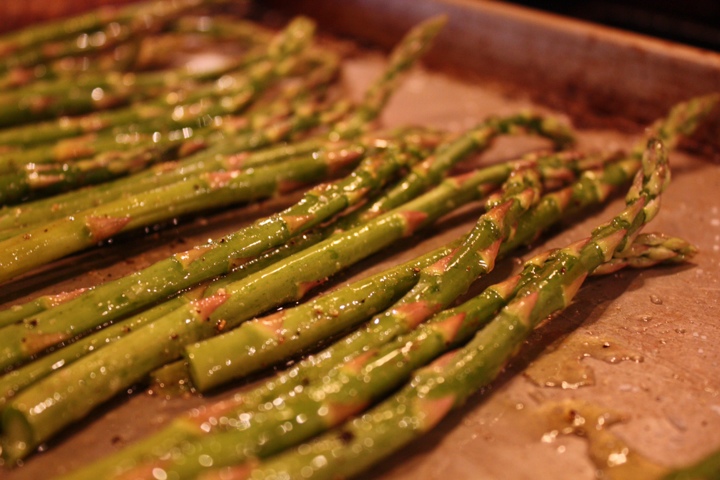
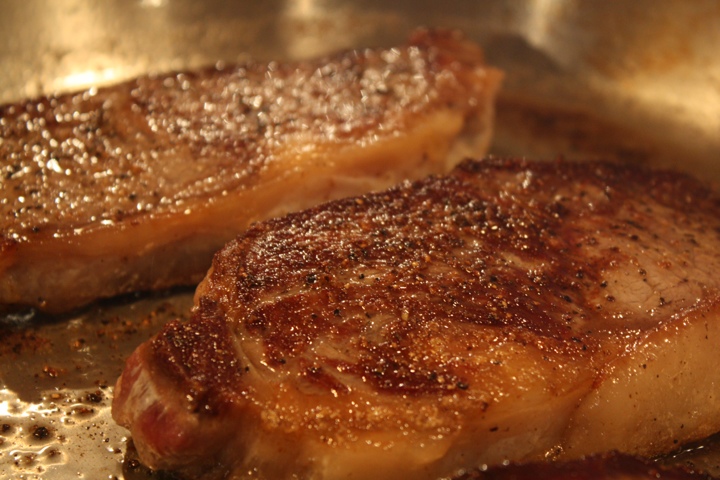
It's that time of year, when I eat all the asparugus I can get! I love it raw, grilled, seared, broiled, etc...So on the way home I picked up some tender stalks from a farm stand. Tonight I had grilling on my mind but those 75 degree March days have vanished so to the oven I went.

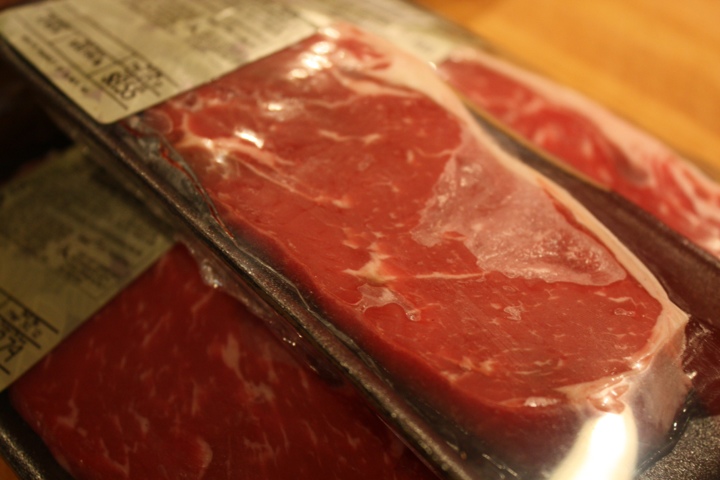
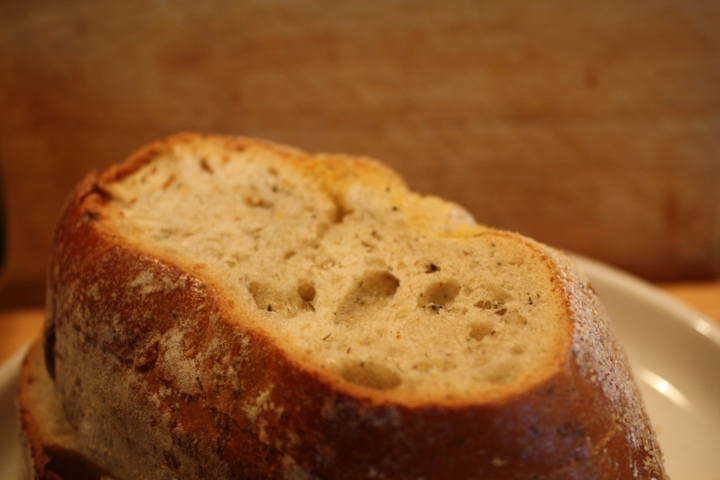
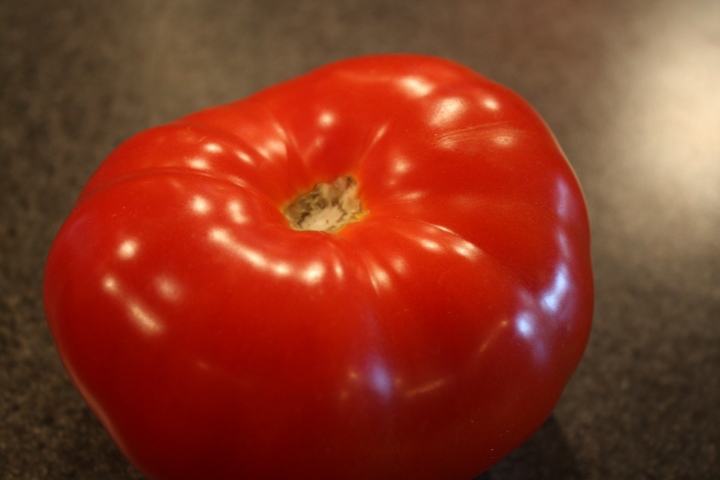
Over the weekend I picked up another hydroponic tomato, some canela bakery dill bread and some beautiful NY strip steaks from Roots.

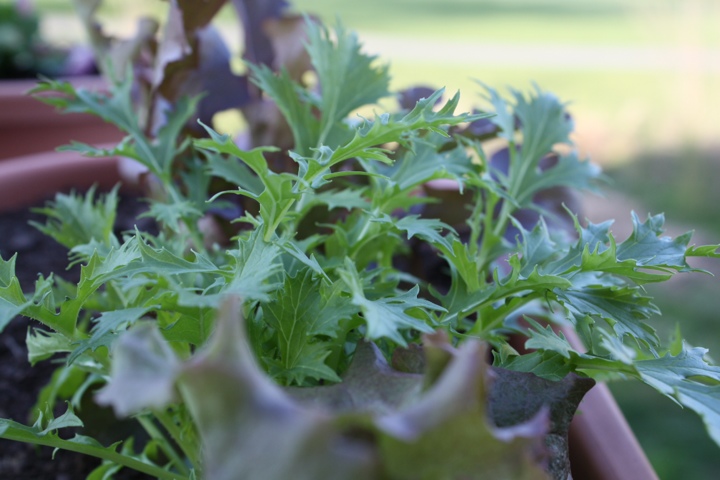
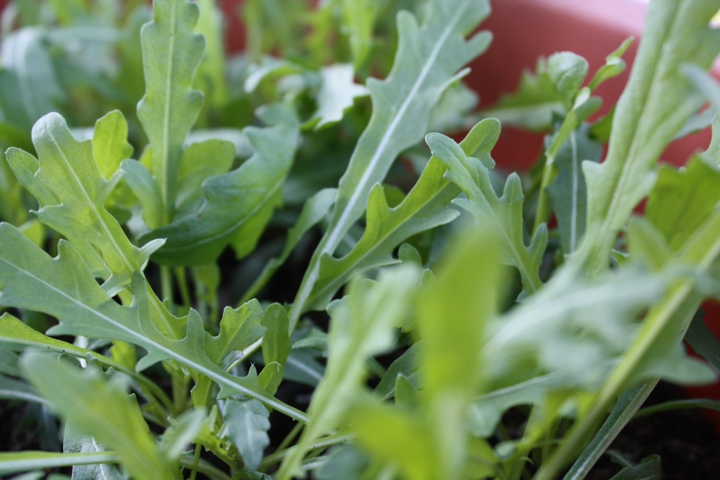
I craved something green and crisp to go with this meal. Thankfully my red leaf lettuce, arugula, frisée, and mizuna are coming in nicely! I snipped a few leaves and got cooking.

Here's how I did it:

Ingredients: 3 NY Strip Steaks, patted dry 1 bunch of asparagus, rinsed 1 large tomato, cored and sliced Fresh salad greens, washed and rinsed, and spun in a salad spinner Olive oil Salt & Pepper Dill bread

Method: - Pre-heat broiler - In a large skillit or cast iron pan, heat olive oil - Season the steaks with salt & pepper and cook them over medium high, take your time, you want a yummy caramalized crust - Toss the asparugus in olive oil, salt & pepper, broil for 5-10 mins. You want to get some color on them but do not burn them! - Turn back to the steaks, they'll need 5-7 mins per side - Check on the asparagus, turn off the oven and warm the bread on the asparagus pan while the steaks finish - Plate the bread, salad greens, tomatoes, and asparagus. Remember to let your steaks rest for 5 mins before you dig in. This would be a good time to pick out some wine. We enjoyed some Black Ankle - its my favorite MD vineyard.

Normally my husband sees bread and goes sandwich crazy - not tonight! Right before tucking into dinner I thought how yummy this could be together. I layered the asparagus, greens, tomato and a few slices of steak - heaven. I think this meal will be a summer staple. Fresh, easy, and local. Yum!

Working Hard: cleaning up the backyard

The cherry blossoms are just about done in my neck of the woods, which means it's time for some outdoor spring cleaning. This is my favorite time of year to be in the yard. The work is hard, but my two helpers rocked the back yard with me this year. They even helped me empty the composters!

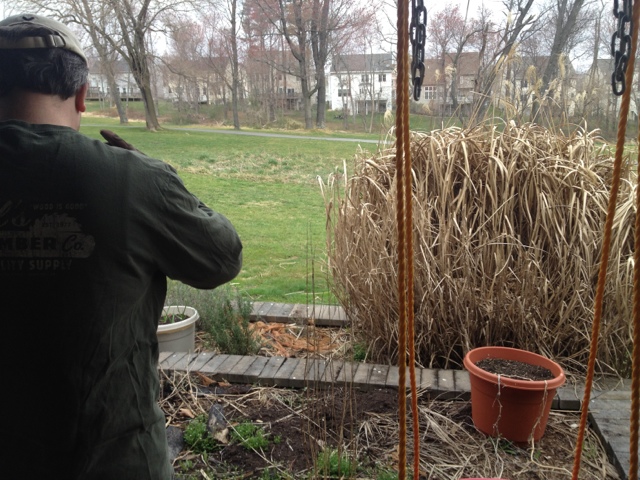
The yard was a mess. Overgrown grass, weeds, dead perennials, and lots and lots of dirt. Thankfully, my backyard consists of two large planter boxes, a lawn, & some golf-course rough. Armed with an electric hedge trimmer, 2 rakes, gloves, & a shovel we went from this:

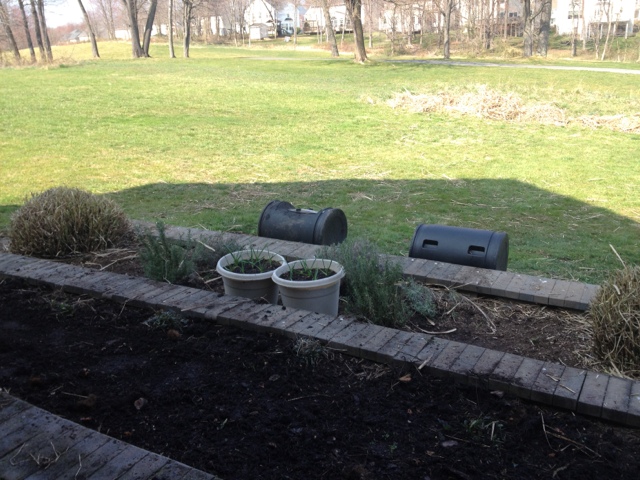
To this:

The composted food scraps, yard trimmings, etc...turned into a beautiful black muck just waiting to feed the plants and soil. After raking into the top planter box, and around some of the plants, we covered it with some soil from the deck containers. For now we have a clear view to the course, but in a month the tall grass will reach to the sky. Giving us a little extra privacy. Now I have to start thinking about what to plant. Black Eyed Susan's and a few other perennials will be back...and I certainly have plans for butternut squash!

How is your spring cleaning going? Do you compost?

The Garden List * 2012

Winter might have been lacking in the cold department, but it still wasn't warm enough for me to garden outdoors. In the down-months (Dec-Feb) I map out the garden plan, start seeds, inventory tools & think about ways I can simplify - automatic watering! Here's a list of some or the invaluable tools I use to make it all happen as well as some new tricks I'll try this season.
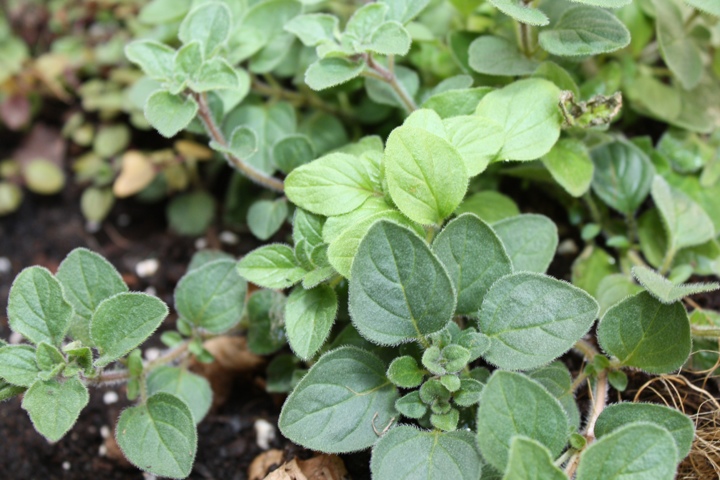
Map & Plan (expectations): - Garden Journal: for the second year I'll plan out spaces, track seed growth & all my garden thoughts in a garden journal. I think one journal can be used for 2 years.

- Mother Earth Online Garden Plan: I haven't tried this yet, maybe next year, but it looks s cool. No matter your space limitations, this plan will keep you on track year after year.

- Expectations: start small. Think about what you like to eat, how much time you have and the amount of sunshine in your yard. I recommend reading both of Ed Smiths garden books: The Vegetable Gardeners Container Bible and The Vegetable Gardeners Bible.
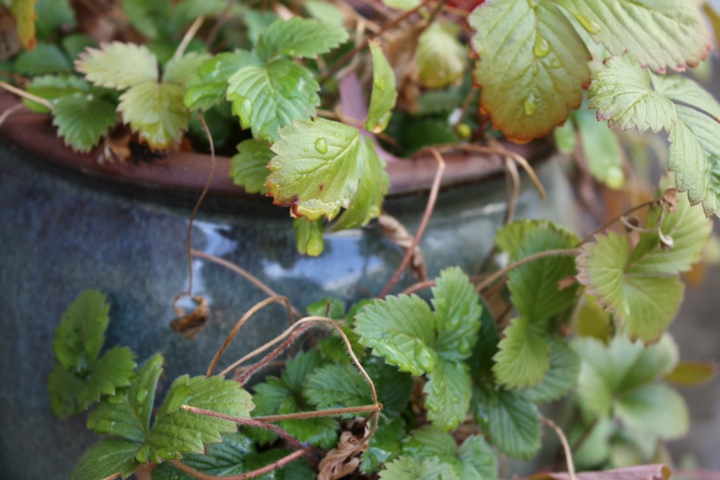
Space to grow seeds: - Seed Cart: Unless you buy your tomatoes and peppers as seedlings, or live in a warmer climate you'll need to start the indoors. A few weeks ago I featured my seed cart, built with my own two hands - um I mean Josh's own two hands! Alternatively, you can buy them through Amazon or Gardners.
Soil & Compost: - I do my own composting, so that's covered!

- But soil is different. Since I do most of my gardening in containers I have to buy some new soil every year. I buy Miracle Grow Organic Soil. The one that says "not for containers." Since these containers don't come inside my house, I'm comfortable with using this soil in my containers. - Each season, I rotate what i grow in the containers & replace 30%-100% of the soil. Soil needs to be rotated and most experts recommend a 3 year rotation schedule. That's difficult for gardeners like me, I grow a lot of the same things year after year. So I buy extra soil to have strong plants, and I do not compost leftover tomato, bell pepper or eggplant plant part. They are lovingly placed in the overgrown/wooded area of my yard. - A word on mulch. I don't mulch the plants in containers. There's rarely an issue with weeds and it just seems wasteful to me. I do mulch my front garden & backyard planters. The weeds invade fast and mulch seems to help a lot. It takes 20 bags for me to mulch my front garden & backyard planters.

Tools & Necesities: These are necessities, but you don't have to spend a fortune. Don't leave them outside, or in bags of soil....and have a place to store them when your hard work is done. - garden gloves - trowel - shovel - rake - soil scoop - pruning sheets - hose - hose holder - spray nozzle (and plumbers tape for a solid seal) - harvest basket - trellis, garden stakes, plant supports

Containers & Garden Beds: Depending on your space, you'll probably want to go for containers, or raised beds - or both! Here are links to a few of my fav containers and raised beds. The possibilities are endless. - Containers - Deck Railing Container (I secure these with bungee cords. Might not be pretty, but it is soul crushing to see a broken container splattered across the patio. Trust me.) - Windowboxes - Raised garden bed

Watering: During the spring I water the plants 2-3 times a week. I always water in the morning. The summers are hot in my neck of the woods and some plants need to be watered twice a day.

- Rain Barrels: this year we hope to supplement with stored rain water as often as possible. It's a good way to keep the water bill down too! We have been warned to keep the barrels on sturdy cinder/cement blocks, water gets heavy!

- Automatic Watering I just installed a set in my front garden. I love it. I'm setting up another set on my deck & in the backyard planter boxes next week.
Maintaining & Journaling: - Back to the journal, it really is essential. Having last year's garden results, successes, and utter failures, is really helpful. Why waste your time on something that you try and try to grow but it doesn't taste good? Journals - seriously.

- Feed your plants. I feed my plants liquid fish/sea kelp 2 times a month during the spring and summer. I also feed the plants a few scoops of compost once a month. Happy plants will produce longer and be disease resistant.

- Enjoy your garden. During the spring & summer I enjoy most meals and most of the weekend in the garden. Get yourself a nice comfy chair and watch the bees buzz, butterflies & tomatoes ripen.

Canning??!! I'm not ready to think about this....not quite yet!

I'm sure there's something I forgot, and something I'll do different next year. What are your fav methods & plants to grow?
Growing Mushrooms

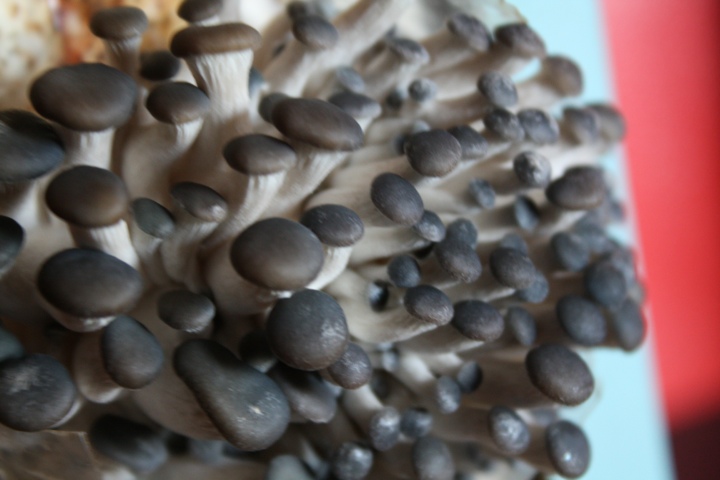
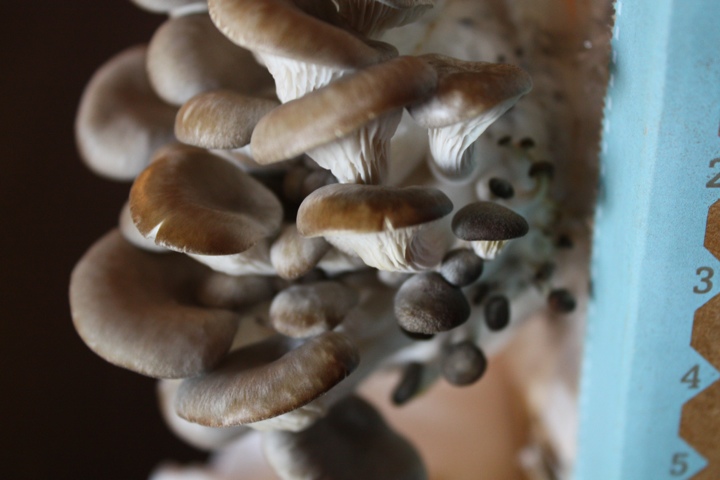
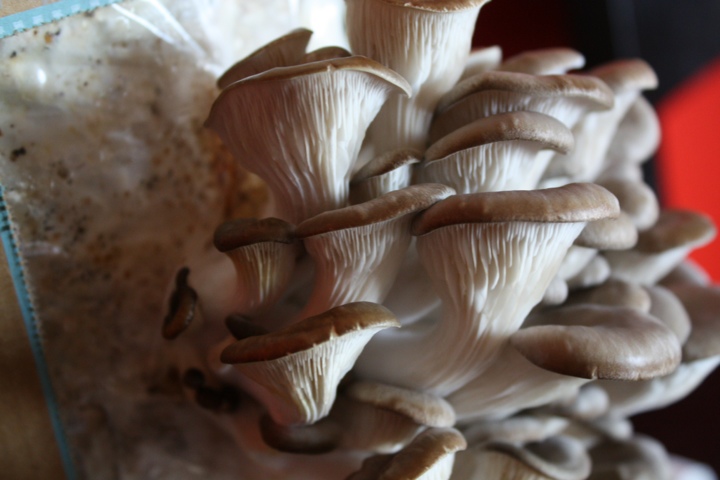
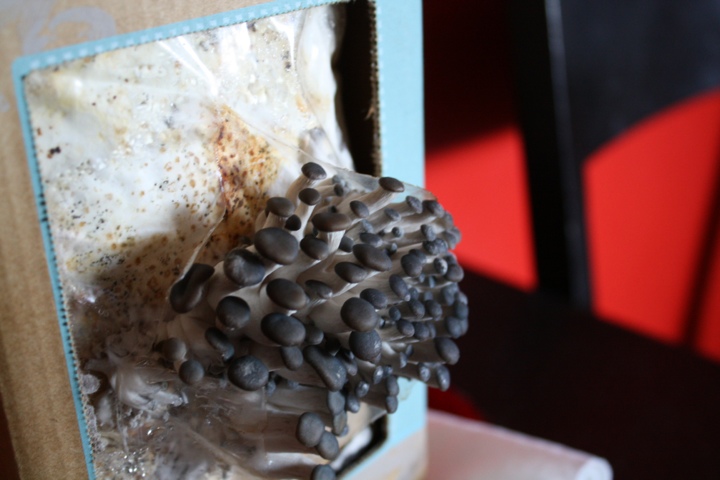
A dear friend gave me the coolest birthday gift - mushrooms in a box! Now the rest of my gifts were really awesome but two things took this simple box of spores & dirt over the top: 1. She hates mushrooms, with a passion & 2. I'm growing my own mushrooms and don't have to buy a special book to decipher their toxicity! How cool is that?!
Now it's been a painless process but getting started was kind of awkward. After I mastered the soaking & drainage part it was a cinch. The kit is made by Back to the Roots and you can purchase kits in stores or through their website; they offer replacement bags as well.
I highly recommend this kit, overall it's easy, mess-free, and only requires a spritz of water twice a day. Right now the company offers oyster mushrooms - I look forward to additional varieties in the future. I'm also looking forward to cooking with these bad boys! What should I make?!

Blooming in the Garden

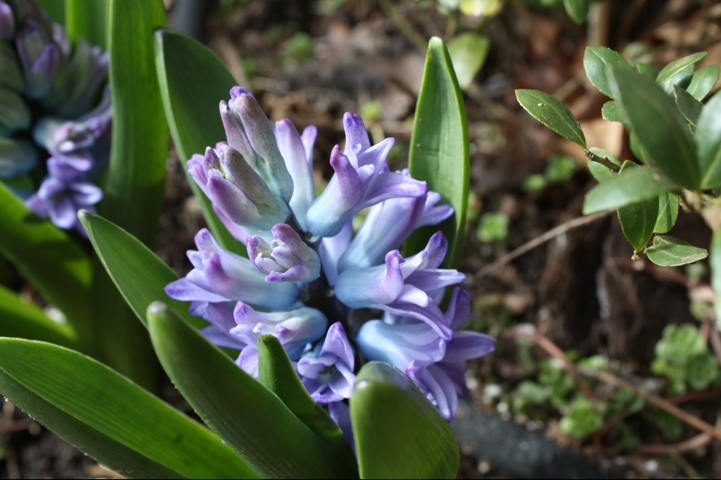
Over the past few weeks some garden beauties have popped up from the dark cold soil. My garden is full of purples, pinks, yellows & blues. Every day something new is in bloom - I love this time of year!

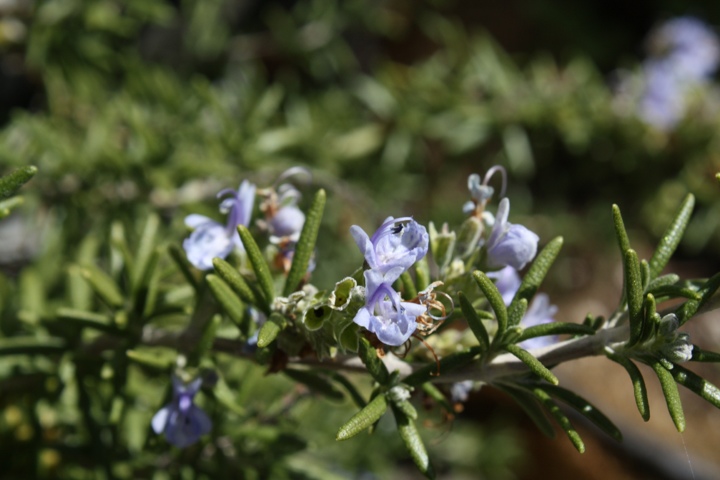
Inspired by the daffodils, rosemary flowers, iris, primrose, and hyacinth in my yard, I took a few moments to spruce up my neighbor's planter. Last year I planted thyme, oregano, rosemary, and bachelors button in her planter. Most are still going strong - but I wanted to put a little spring in her yard too. This year I added another rosemary plant and some purple & white violas. She just had a baby, so I know she doesn't have the time and it only took me 10 minutes.

The veggie seedlings in my basement continue to grow, and think it's about time to plant my root veg (carrots, beets, kohlrabi, etc..) But this time of year I make sure to take a moment to enjoy the early spring flowers. Soon those effortless gems will be gone, and before I know it I'll be fretting, watering, feeding and searching for yellow tomato flowers!

Eating Local: Feta & Roasted Red Pepper Pizza

This week's DDC challenge has a vegetarian twist! To be honest - while I was shopping for local ingredients from Breezy Willow I spotted some sausages. No no no (as my 4yo would say) I kept to the constraints of the challenge, but my darling husband did not. He was overcome with sausage and made a tandem pizza...what a punk! If you're interested in the rule breaking meal - check out my Pizza Two Ways post. Time to talk veg.

Isn't she pretty? Almost too perfect to eat....

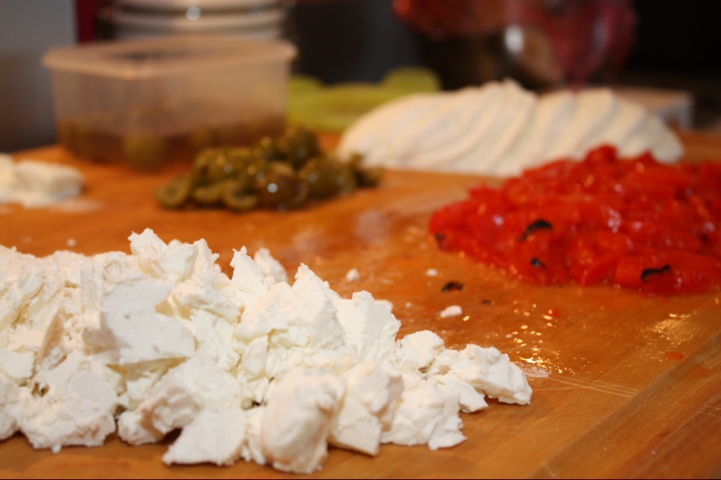
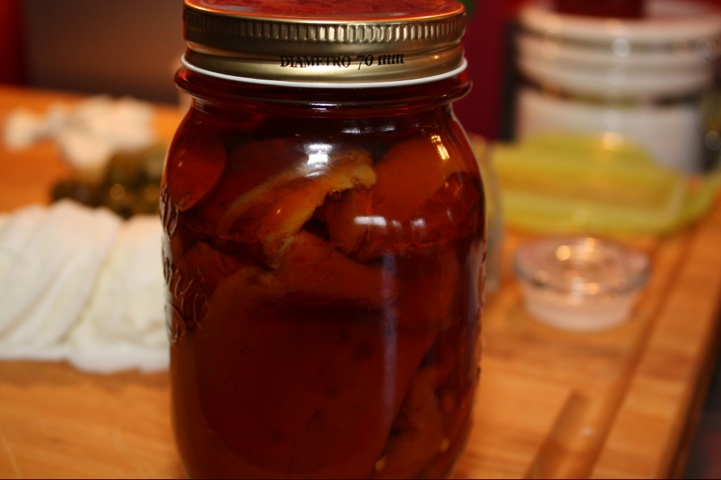
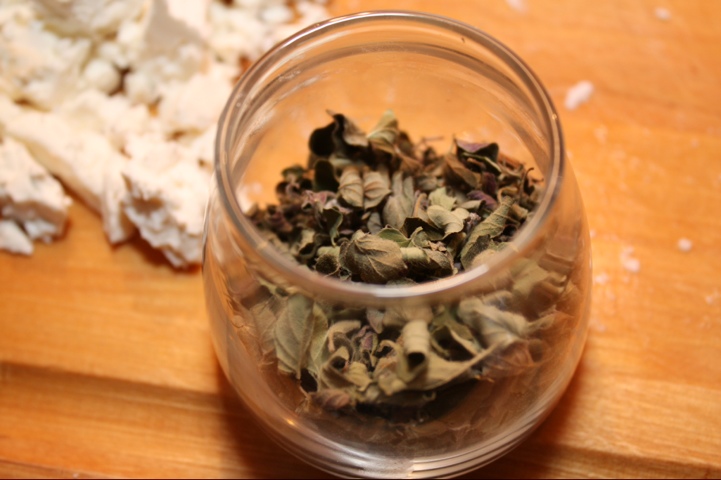
Over the weekend I raided my pantry and found a jar of roasted pequillo peppers (that I grew, roasted & canned), a jar of homemade tomato sauce (same story), and a nice jar of oregano - it smells heavenly. I needed cheese...that's when I headed to Breezy Willow and fell into meaty temptation.

In all the only non-local ingredients are yeast, salt, semolina, olive oil and a teensy tiny bit of mozzerella. Here's how I did it:

Ingredients: For the dough ¼ cup white wine ¾ cup warm water 1 ½ ounces yeast 1 tablespoon honey 1 teaspoon kosher salt 1 tablespoon extra virgin olive oil 3 cups all-purpose flour 2 tablespoons of semolina

For the sauce - 1 jar of homemade tomato sauce

For the toppings - 1 jar of roasted red peppers, drained, patted dry & sliced - 1 lb of feta cheese broken up - 2-3 slices of mozzerella cheese - 1/2 tbsp dried oregano

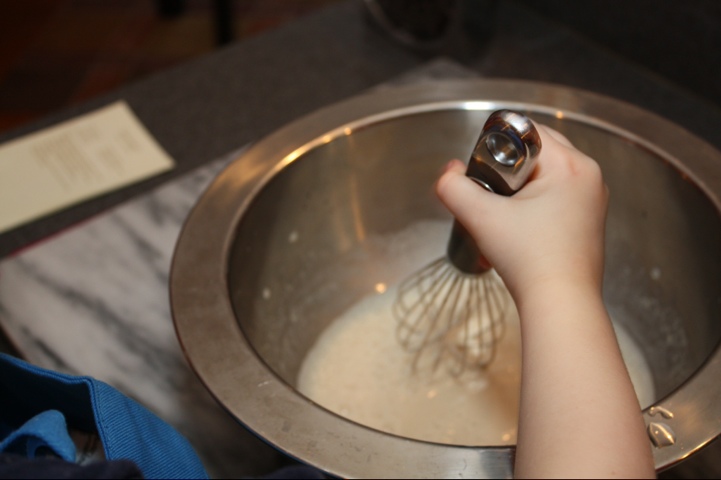
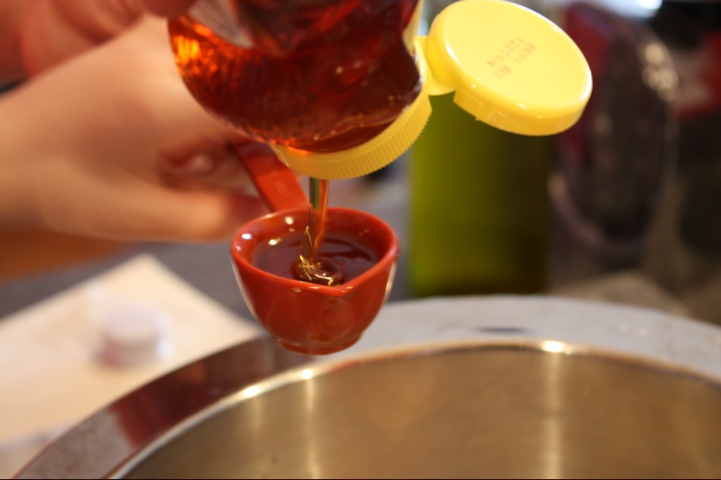
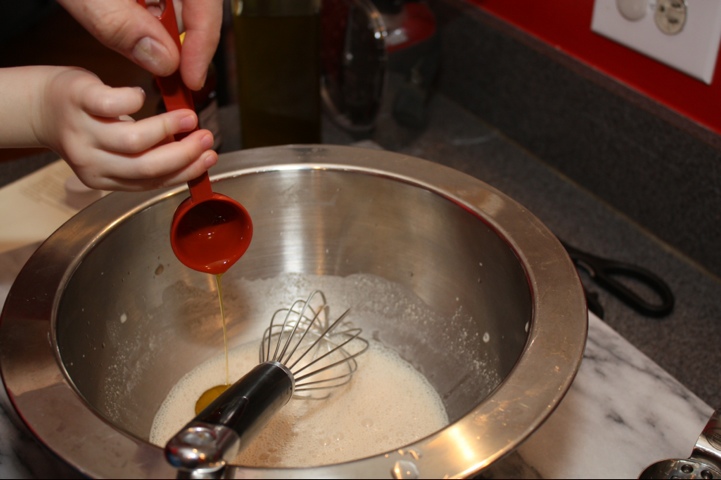
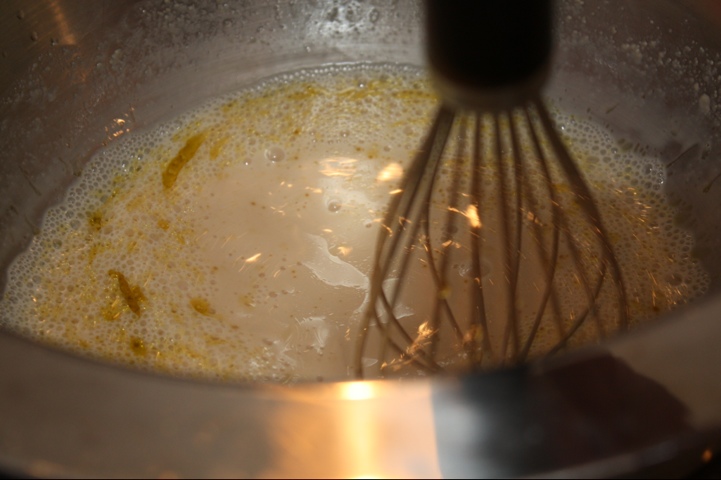
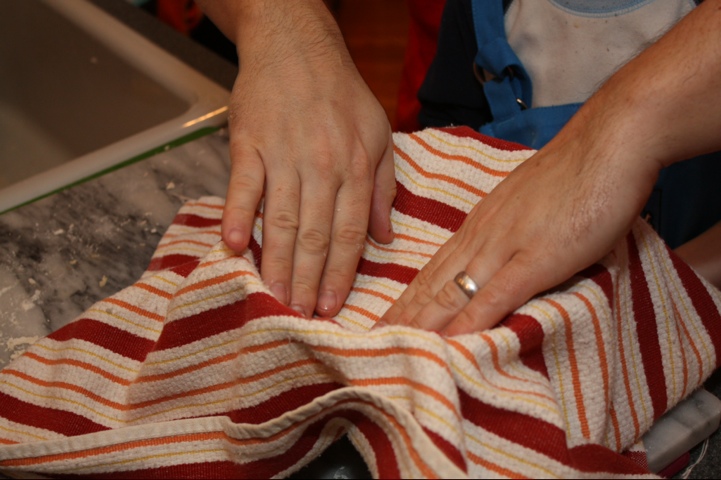
Method: For the dough we love Mario Batali's recipe & stick to it -Combine wine, water and yeast in a large bowl and stir until dissolved. Add the honey, salt and olive oil and mix thoroughly. Start by adding 1 cup of flour and make a wet paste. Add remaining flour and incorporate. -Place dough on a lightly floured board and knead for 2 to 3 minutes. -Place dough in a lightly oiled bowl and cover with a towel. Let rise for 45 minutes -Roll out the dough into your desired shape & sprinkle with semolina -In a hot skillit, brown the dough on each side (can also be grilled)
For the sauce -Warm up the sauce over a gentle simmer, only use enough sauce to coat the pie. You are not using the whole jar!

Top it & Broil it -spoon sauce over the pizza then layer on the mozzerella, feta and roasted red peppers -broil the pizza until its bubbly then top with the oregano (crush it in our hand while you sprinkle it)

Check out the pics below to see most of the steps of the dough process. As you can see, I had little helpers again!

The pizza really was divine and we had enough leftover to freeze. I cannot wait to open it up for lunch this weekend! As I use up all of the items I canned, dried & preserved last summer I can't believe spring is just around the corner.
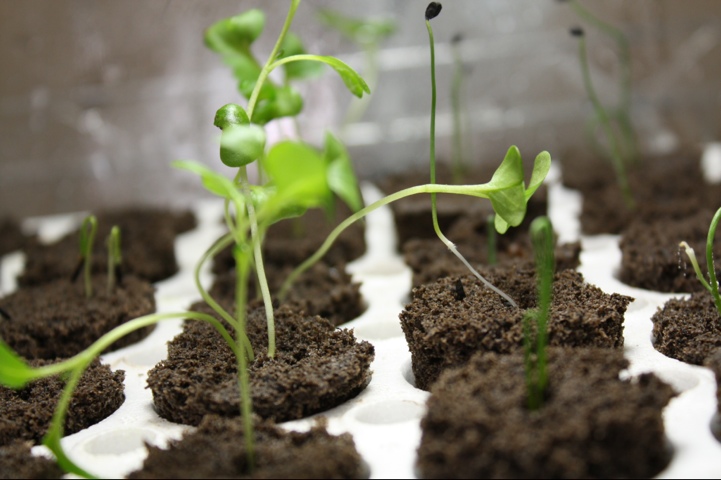
And right now I'm in the process of starting all over again. As I type little tomato, pepper, onion, kale, and chervil seeds are sprouting in my basement!
Happy Birthday to Me!

Earlier this week I celebrated my birthday, not quite in my mid-thirties! So far I've been showered with Facebook love, cards from loved ones, delghtful crafts from my son, an Aveda giftcard, and then we celebrated at one of my favorite local restaurants, Iron Bridge Wine Company.

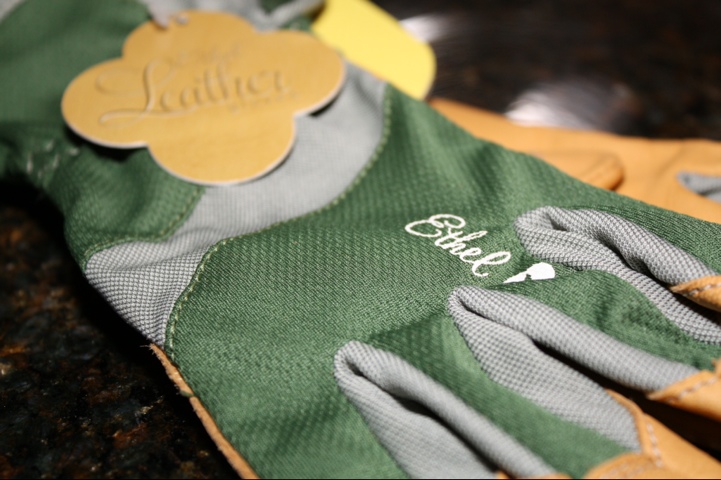
Among the thoughtful presents were a few garden necessities. First up is a pair of Ethel Gardening Gloves. I'm notoriously careless with my garden gloves, so much so that I never use them! I have high hopes that these beauties will keep my hands a bit prettier.

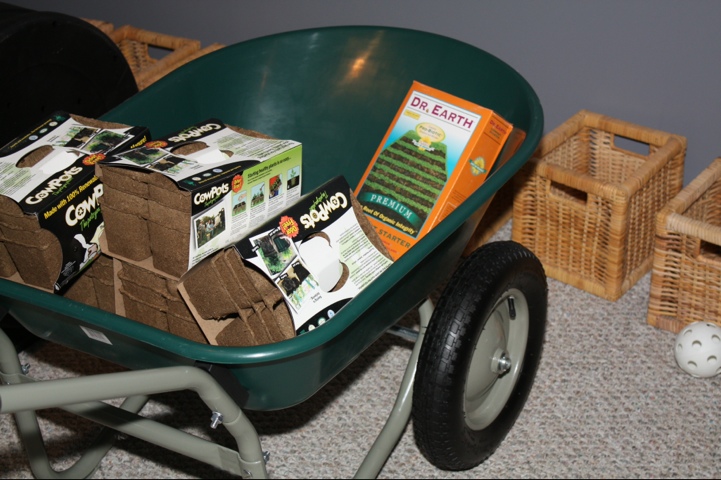
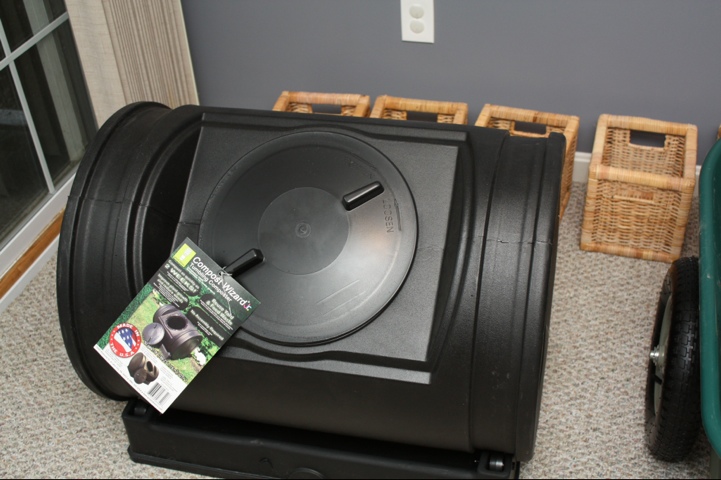
The rest of the garden gifts will keep me dirty! A wheelbarrow full of cow-pots for growing seedlings and a second barrel composter. These are headed outside this weekend! All I need now is a rain-barrel to capture the spring showers!

Next week I'll be posting my 2012 Garden List - like my kitchen list - detailing my favorite tools and where to find them.

Ready or not, here comes spring!

20120226-200650.jpg It's technically still winter, and much of my garden remains in a "restful" state. But soon my days will be full of weeding, tilling, and planting. Each winter I allow my garden to rest. Much to the chagrin of my neighbors, I don't rake leaves, and I don't clear out the dead branches from my perennials, or from my annuals. Nope - as of November I'm on a vacation from my garden.

20120226-200659.jpg

Maybe it's laziness, but I do believe that a rested gardener and garden make for a much healthier team come spring. The leaves & dead branches in the yard are a blanket on he ground. They give shelter to some plants & put nutrients back into the soil. In a few weeks I'll have my final garden plan in hand. I'll start triming, clearing, transplanting, seed sowing, and seedling planting.

20120226-200602.jpg

20120226-200618.jpg

20120226-200630.jpg

20120226-200639.jpg

Though much of my garden still slumbers, there are a few signs of spring, and not just in my basement.

20120226-200545.jpg

20120226-200554.jpg

Waxy chard leaves emerge from the cold soil, chives are shooting up, garlic is growing, chervil thrives, rosemary flowers, and primroses are popping! These moments give me joy & bring great anticipation. I'm so excited that I plan on powering through the laundry during the week just so I have extra time to work outside this weekend - dedication!

20120226-200710.jpg

20120226-200723.jpg

20120226-200740.jpg

20120226-200747.jpg

As I clear out the brush I'm sure to find additional surprises. I love finding a forgotten plant or flower pushing through the soil toward the sun. This is what I've been resting up for!

Did you work in the garden this winter? Or did you take a few months off?